Quartz Floor System



What's a Quartz Floor System
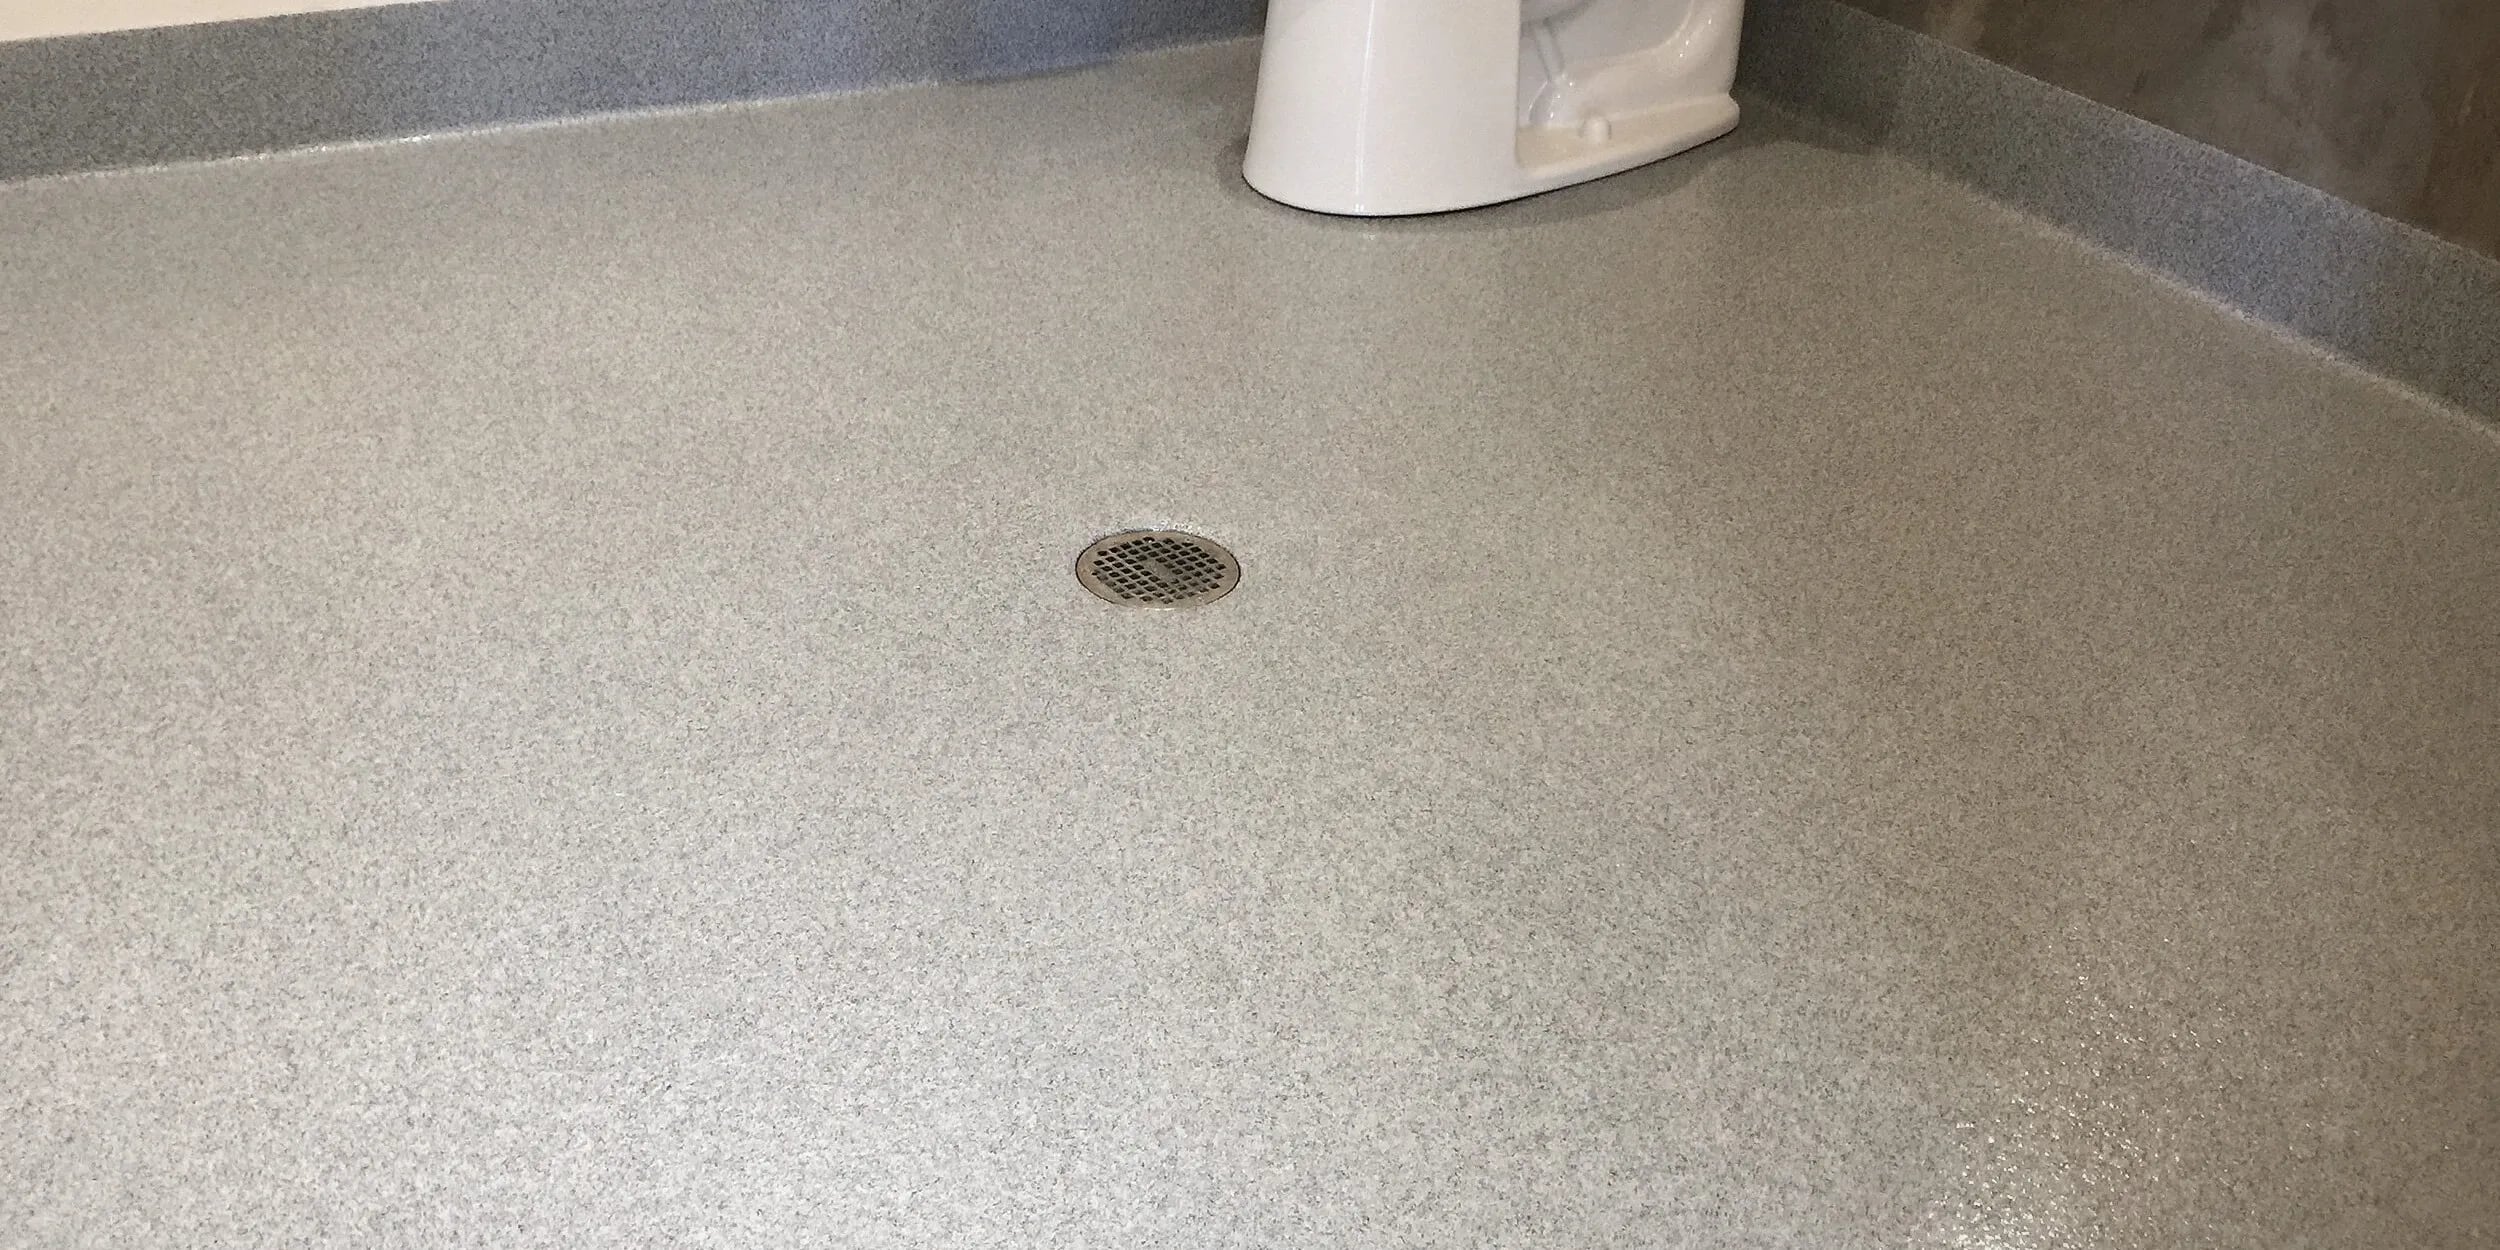
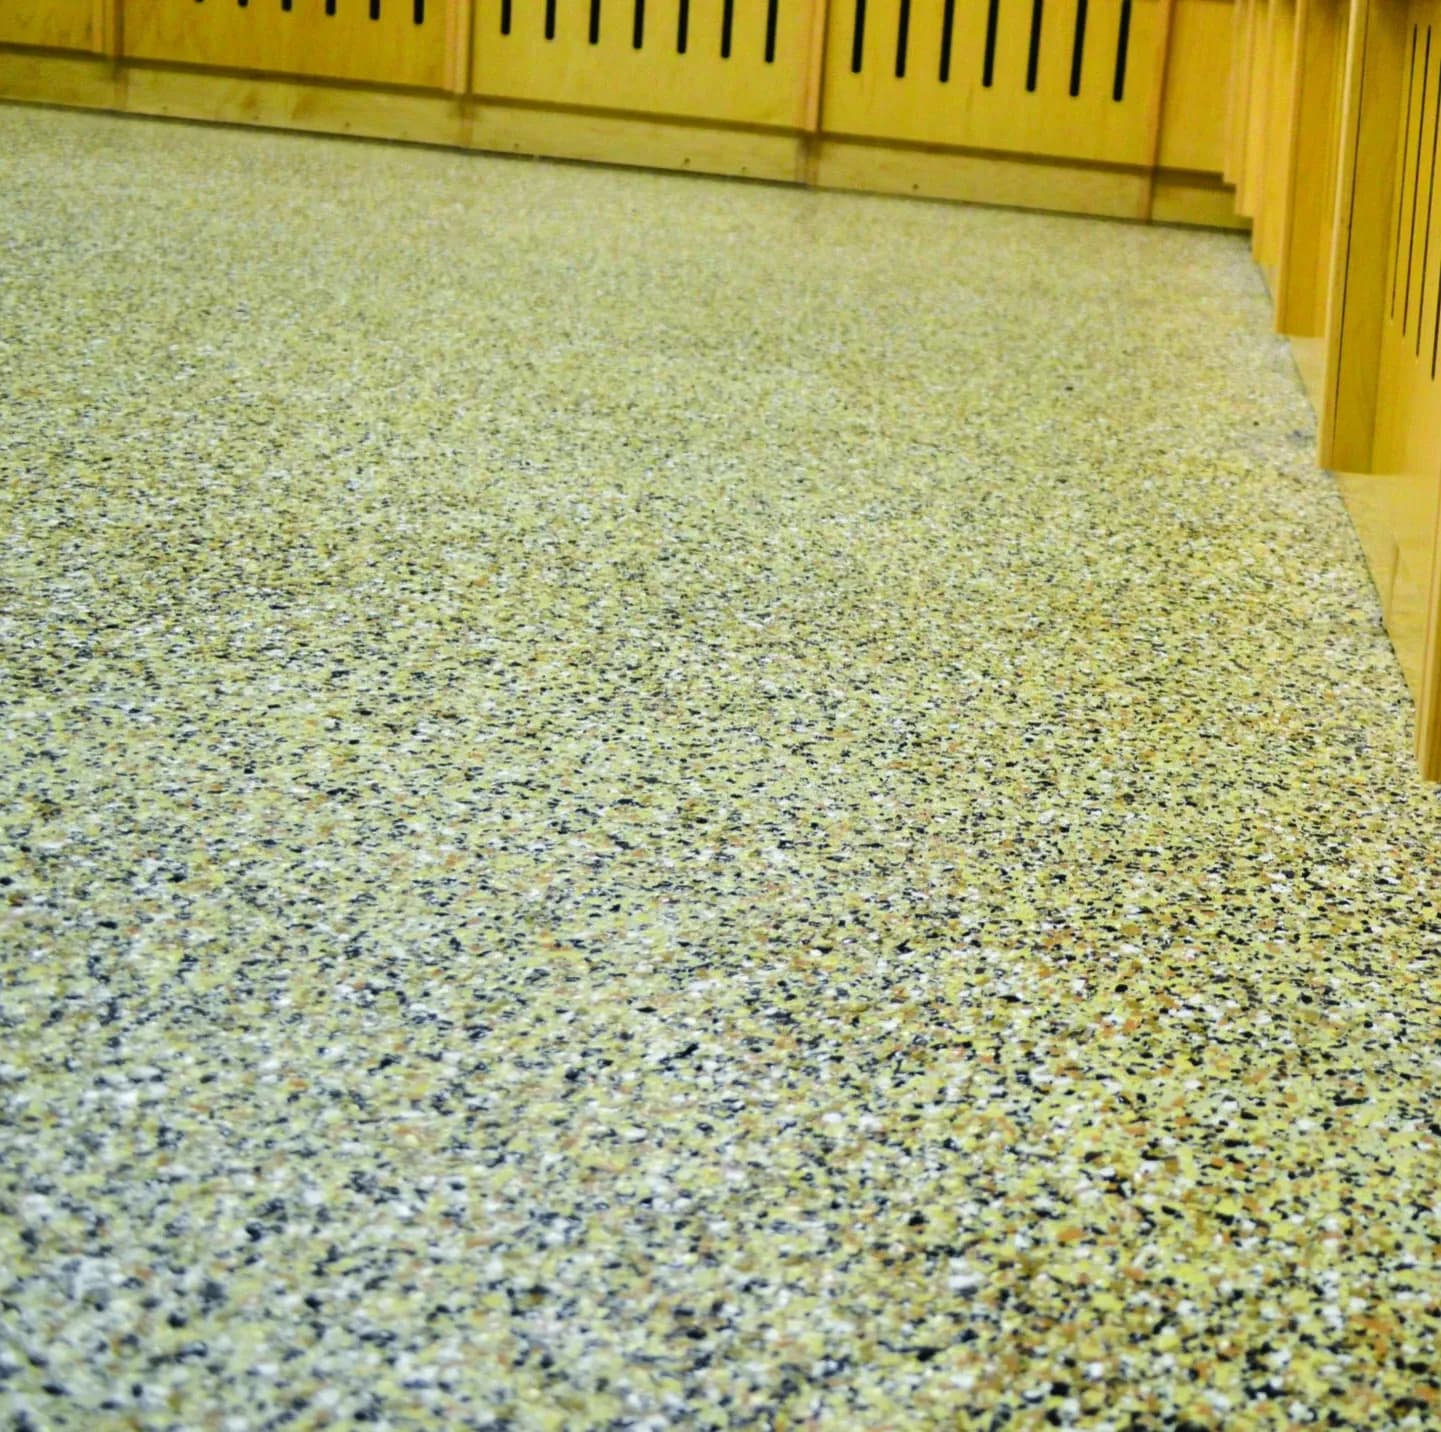
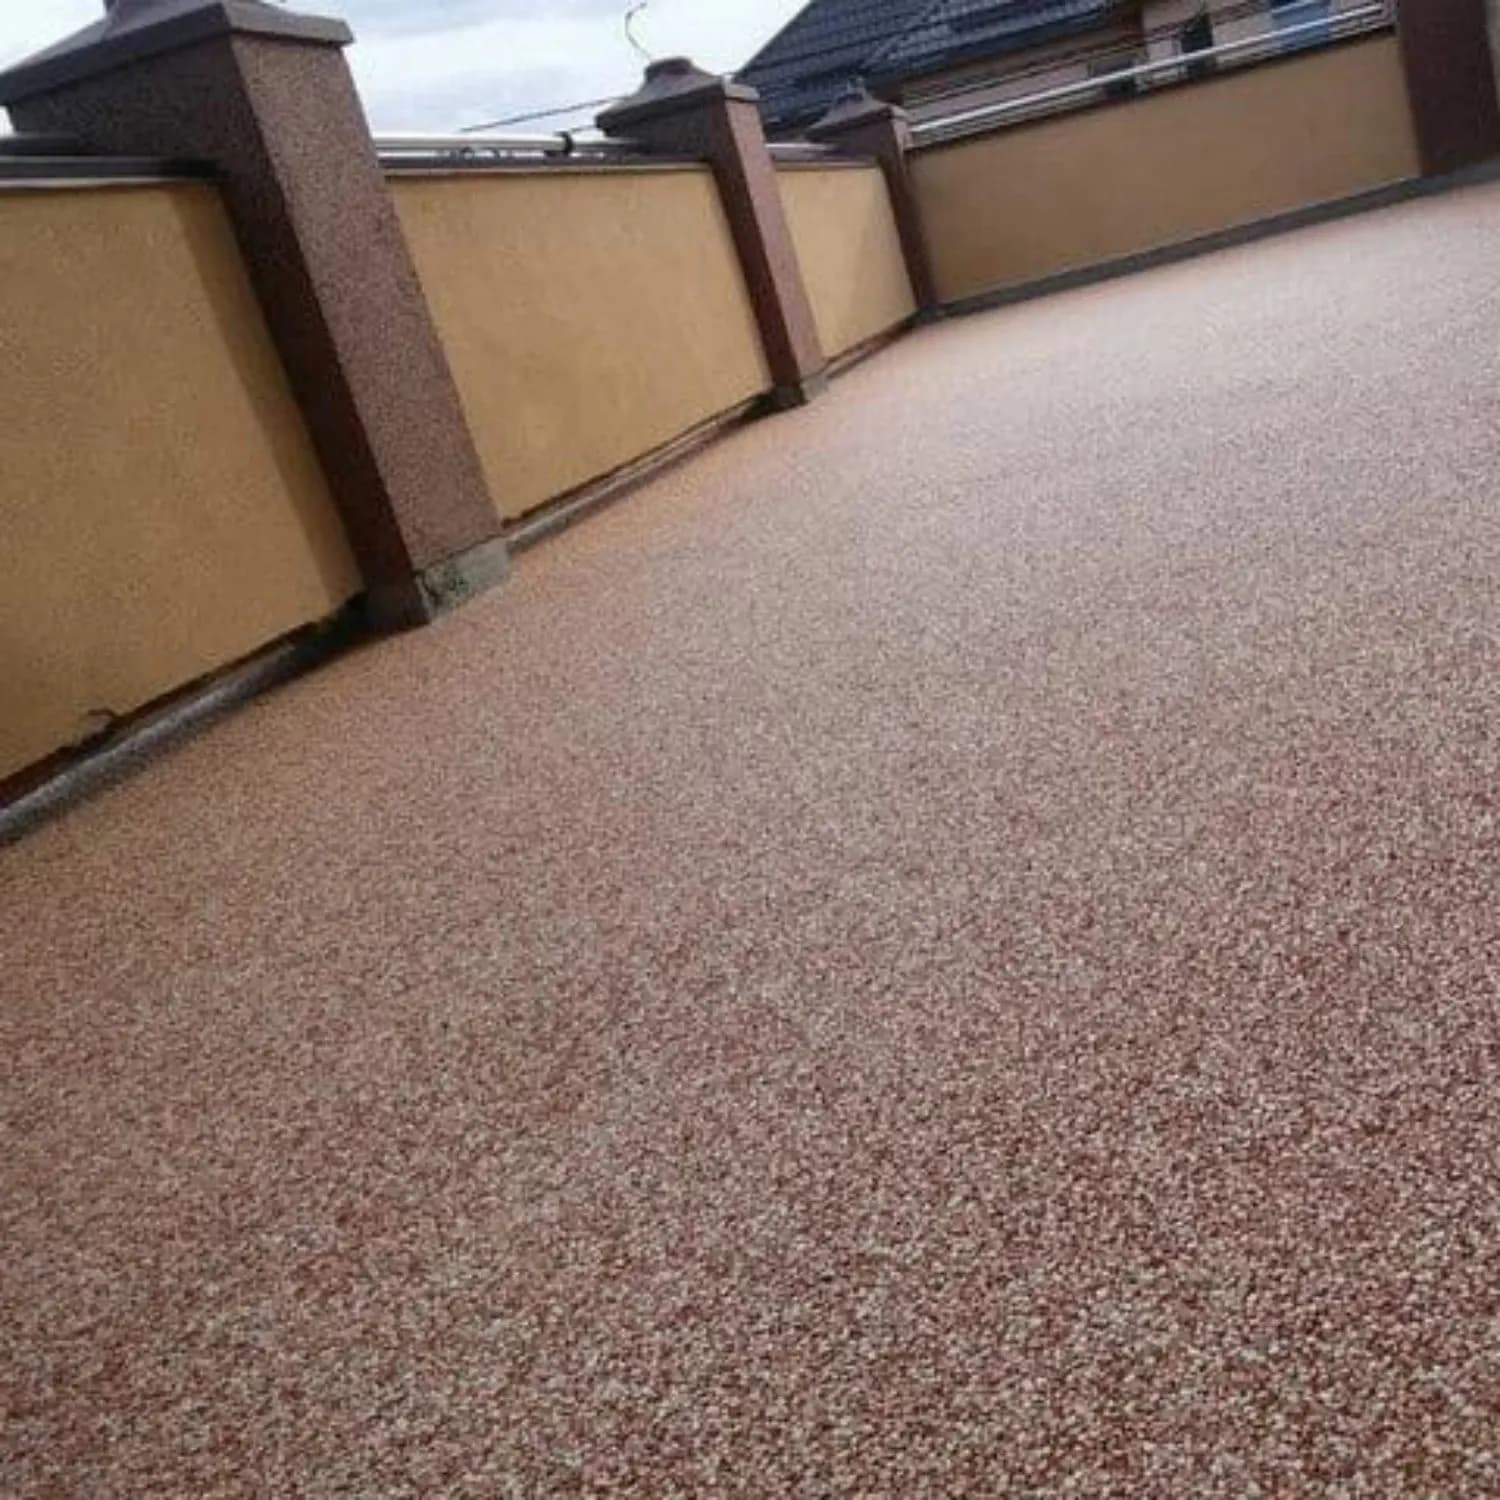
An epoxy quartz floor system is a tough and decorative flooring option designed for high-traffic or demanding environments. It's created by embedding colored quartz granules into a base layer of epoxy and sealing it with a clear topcoat.
This system provides a seamless, slip-resistant surface that's extremely durable, easy to clean, and resistant to chemicals, stains, and heavy wear. With customizable colors and textures, it's a versatile choice for spaces like commercial kitchens, hospitals, restrooms, or industrial facilities.
Epoxy quartz floors combine strength, safety, and style, making them a long-lasting solution for both functional and aesthetic needs.
Advantages of Quartz Floor System
- ✓Durability
- ✓Chemical Resistance
- ✓Slip Resistance
- ✓Seamless Surface
- ✓Easy Maintenance
- ✓Customizable Aesthetic
- ✓Moisture Resistant
- ✓Impact Resistance
- ✓Long Lifespan
- ✓Hygienic
- ✓Environmentally Friendly
- ✓Cost-Effective
Installation Steps
Our Step-by-Step Installation Process
Surface Preparation
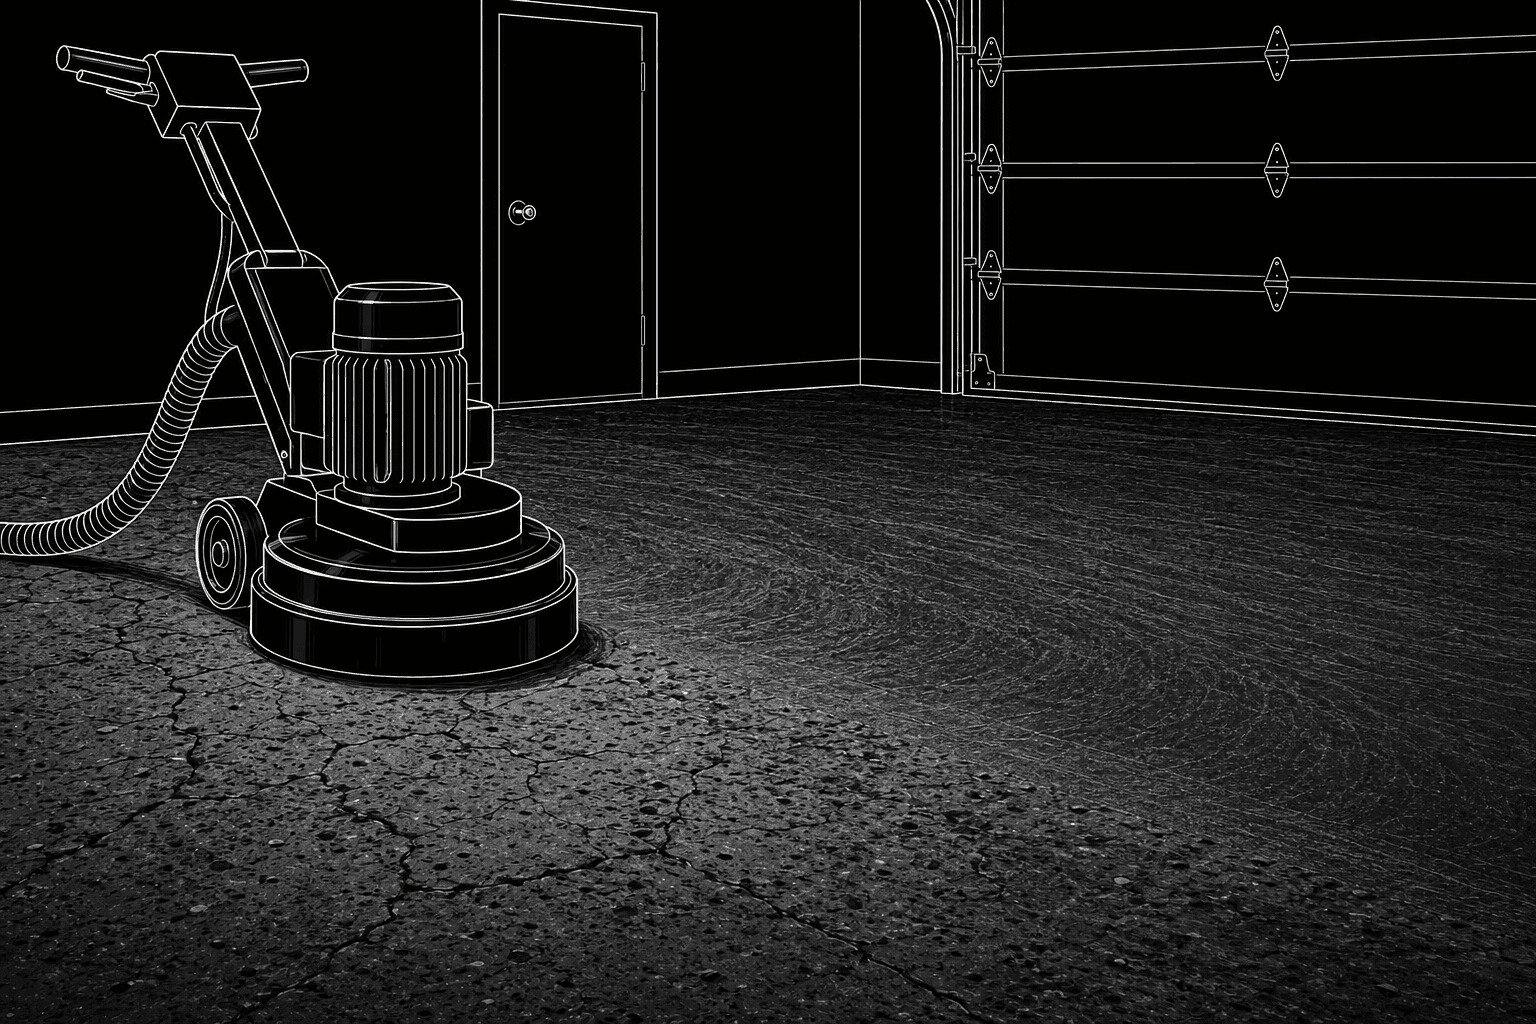
First, we prepare your concrete floor by cleaning it thoroughly, repairing any cracks or uneven areas, and grinding the surface. This creates the proper profile for strong adhesion and removes dust, contaminants, and imperfections before the coating system is applied.
Apply Epoxy Primer
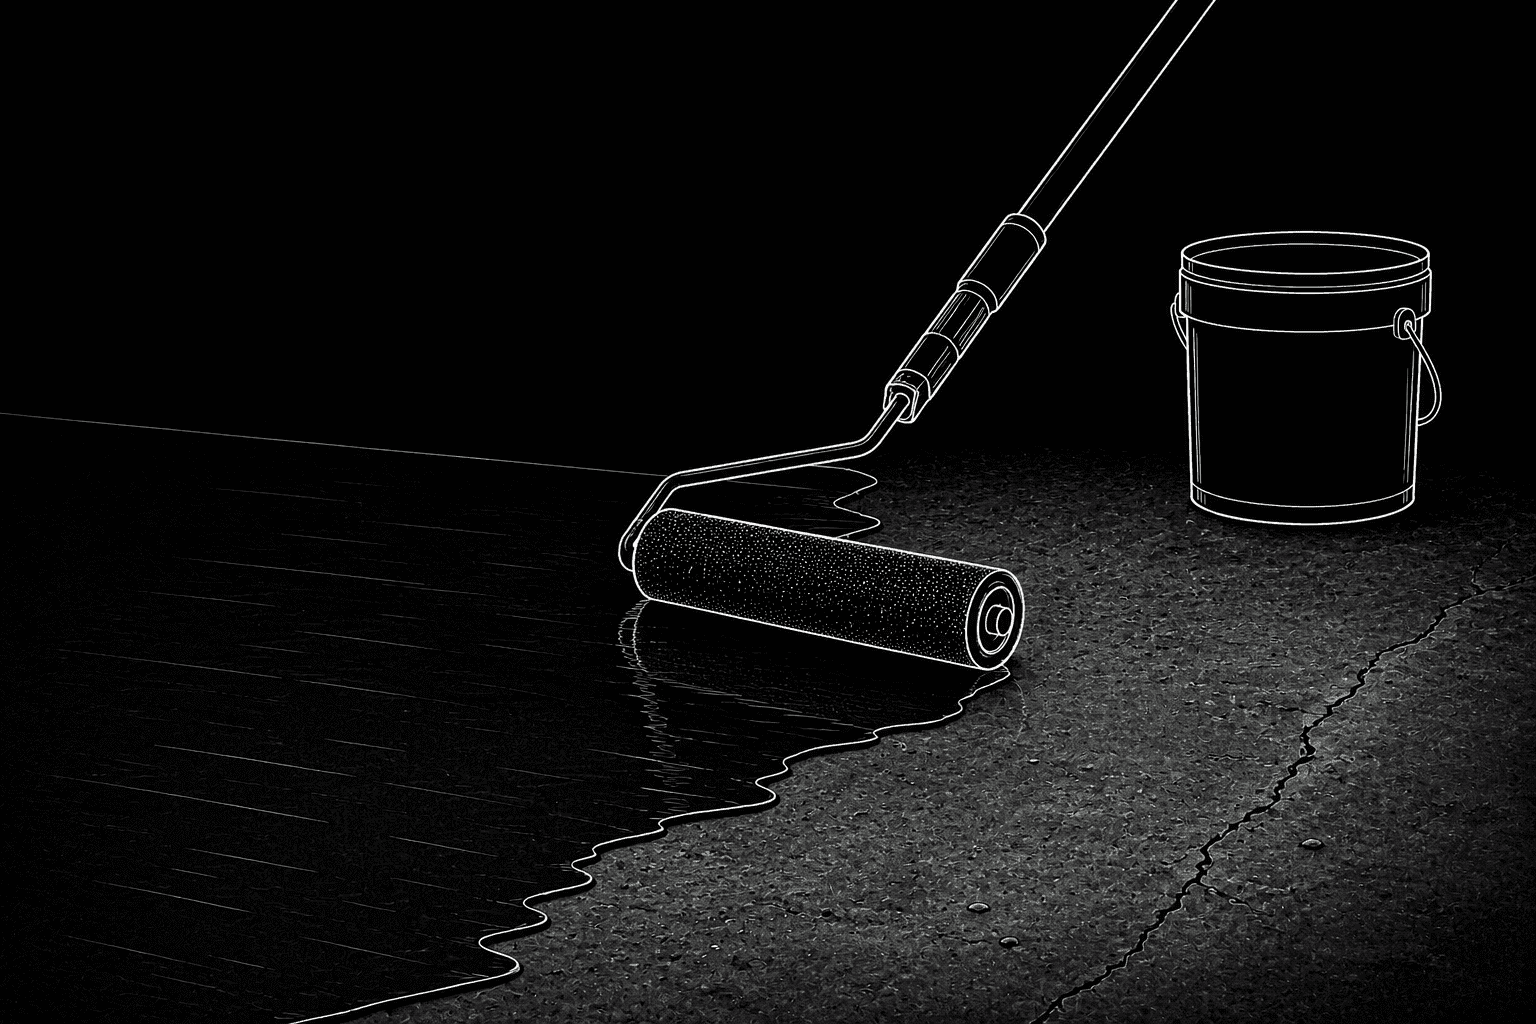
Next, we apply a high-quality epoxy primer to the prepared concrete. This helps seal the surface, improves adhesion, and creates a strong, uniform foundation for the quartz flooring system.
First Broadcast of Quartz
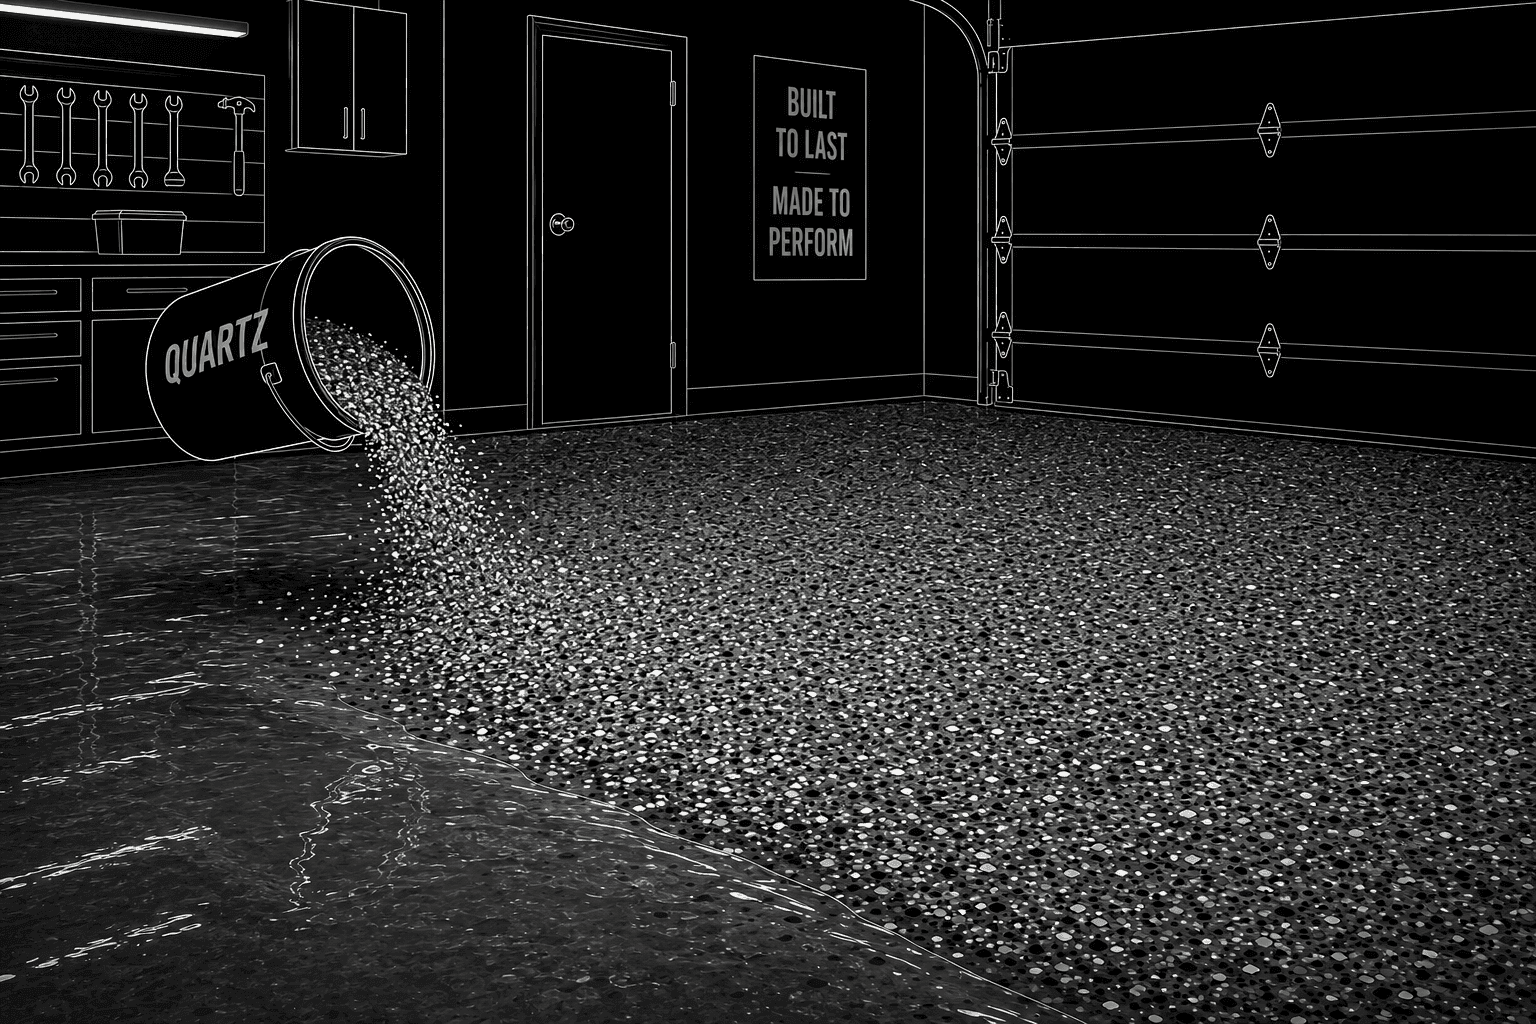
While the first epoxy layer is still wet, we broadcast the first layer of decorative quartz aggregate across the entire surface. The quartz bonds directly into the epoxy, adding texture, strength, and durability. Once fully covered, we allow the layer to cure.
Scrape and Vacuum
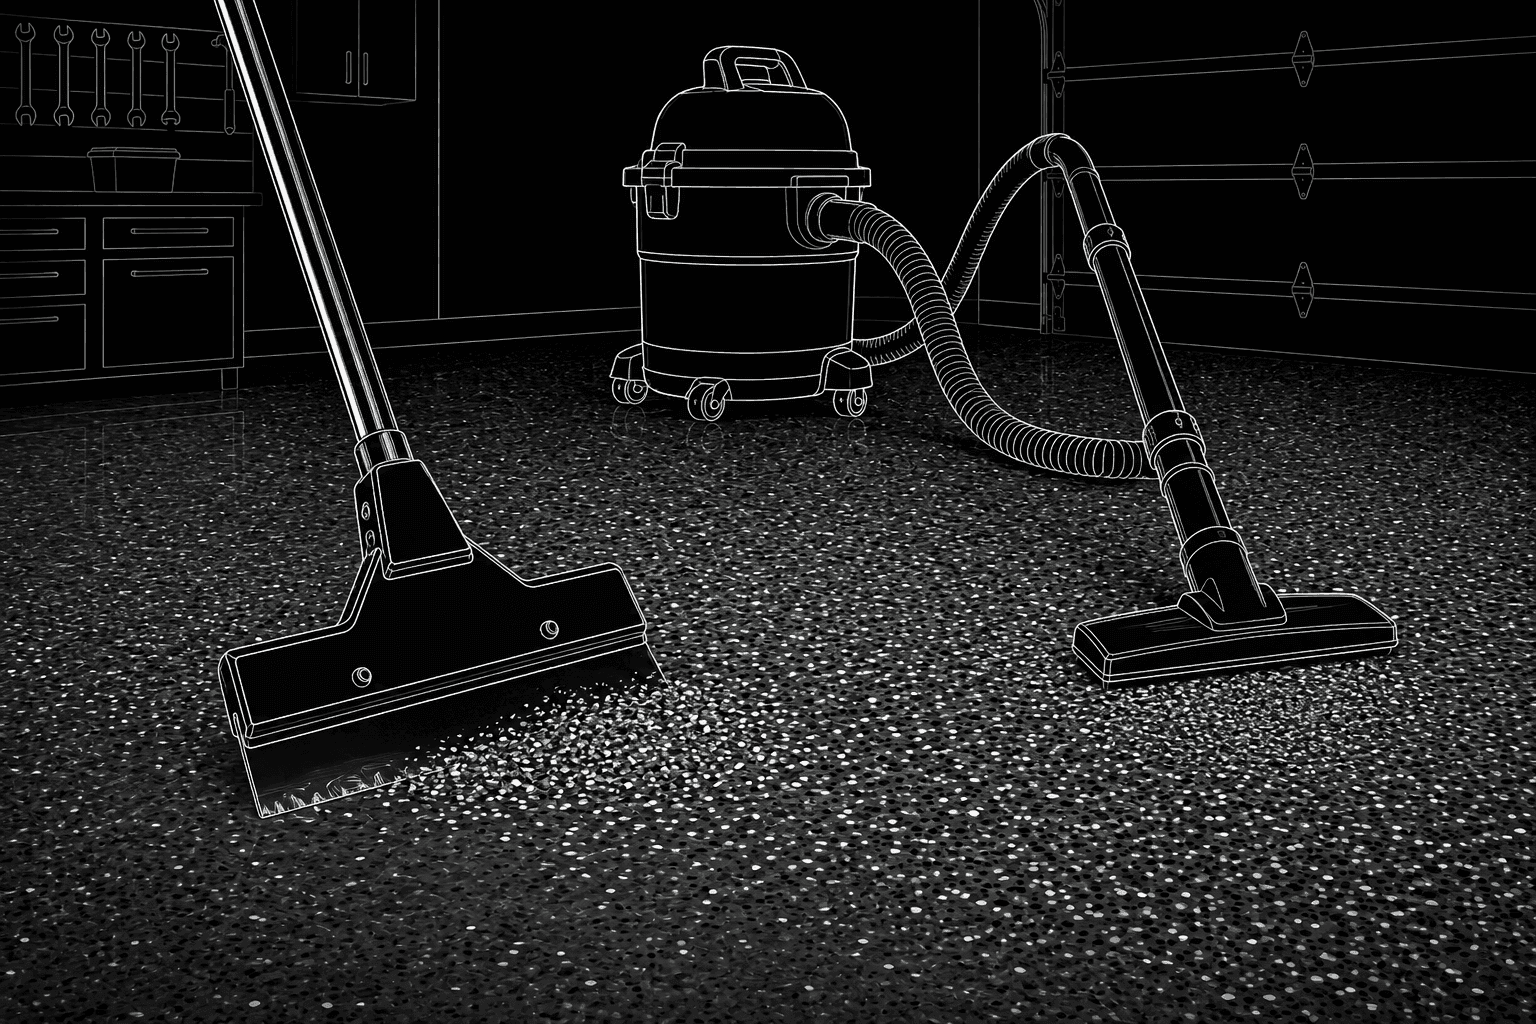
After the first quartz layer cures, we scrape the surface to remove any loose or uneven aggregate. We then vacuum the floor thoroughly so it is clean and ready for the next epoxy layer.
Apply Second Epoxy Layer
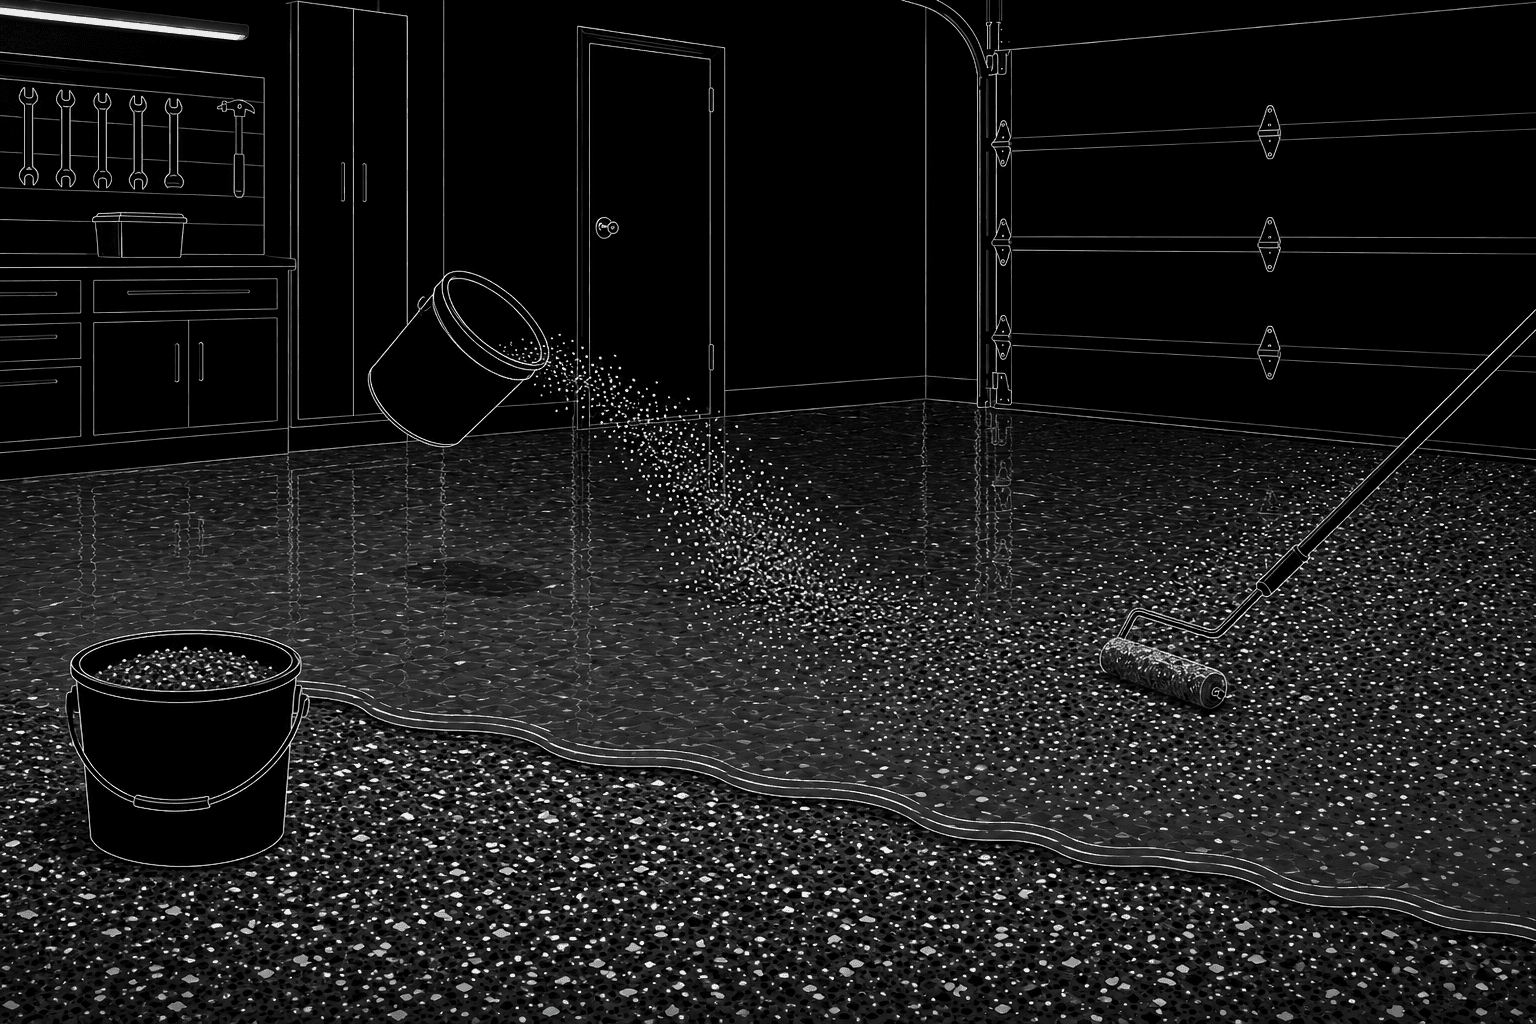
Next, we apply a second layer of epoxy over the prepared quartz surface and broadcast another layer of quartz while the coating is still wet. This second broadcast builds additional thickness, texture, and strength for a highly durable flooring system.
Scrape and Vacuum Again
Once the second quartz layer has cured, we scrape away any remaining loose aggregate and vacuum the entire surface again. This leaves the floor even, clean, and properly prepared for the protective topcoat.
Apply Topcoat
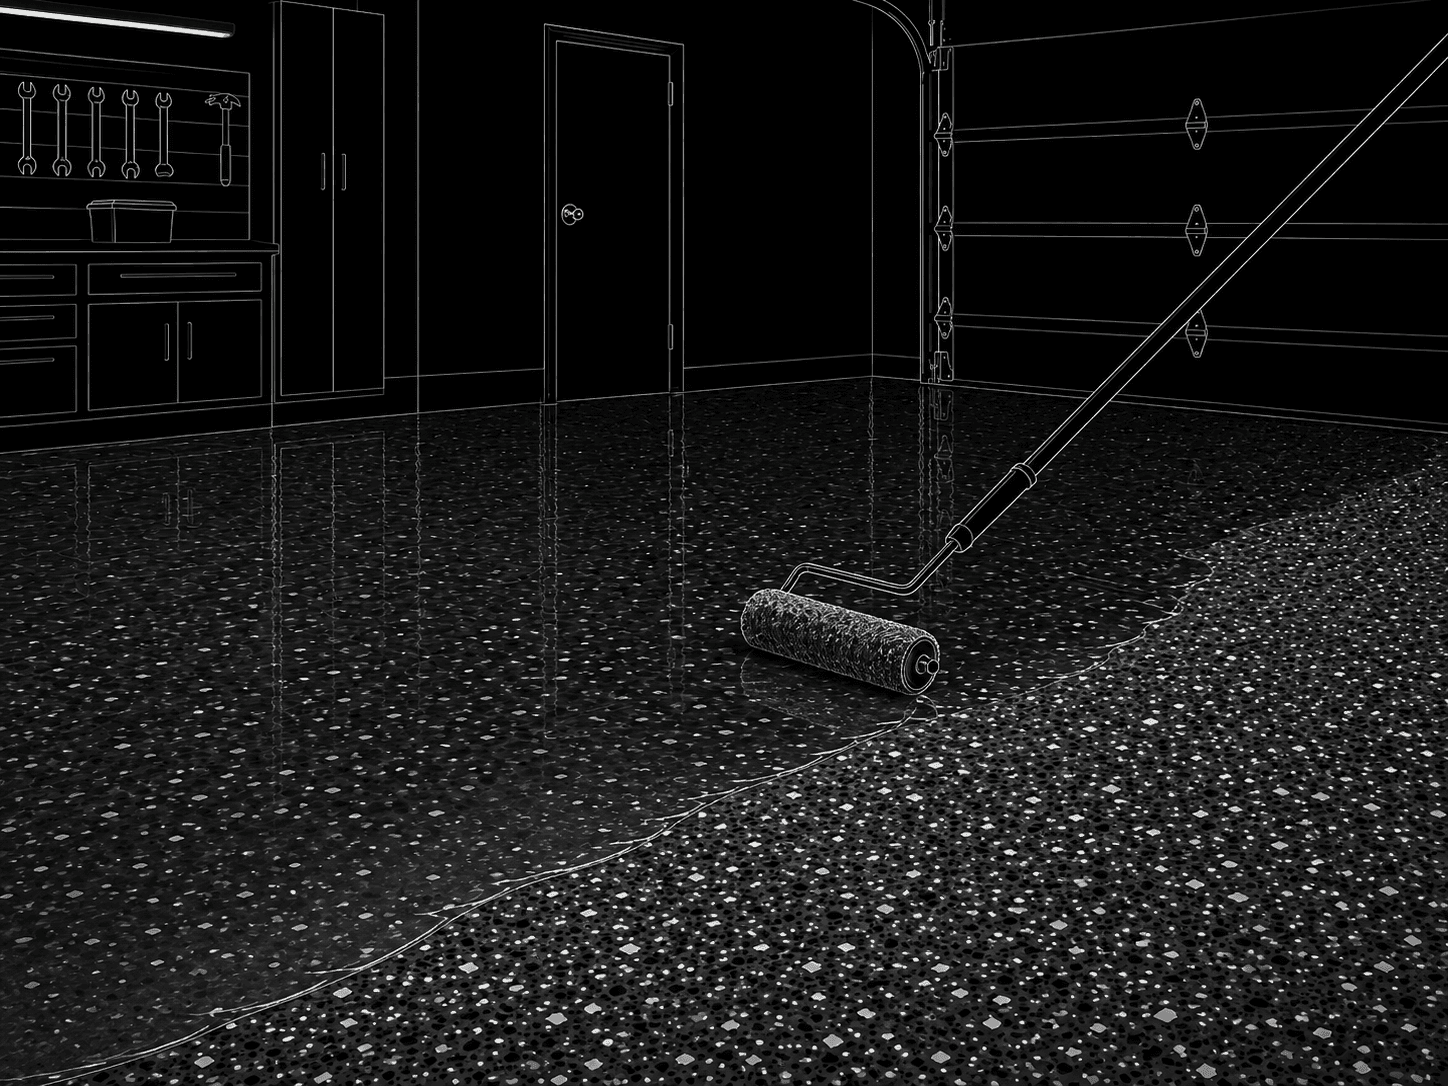
Finally, we apply a durable clear topcoat over the quartz system. This seals the aggregate, protects the floor from wear, chemicals, stains, and moisture, and creates a finished surface designed for demanding environments.
Final Inspection
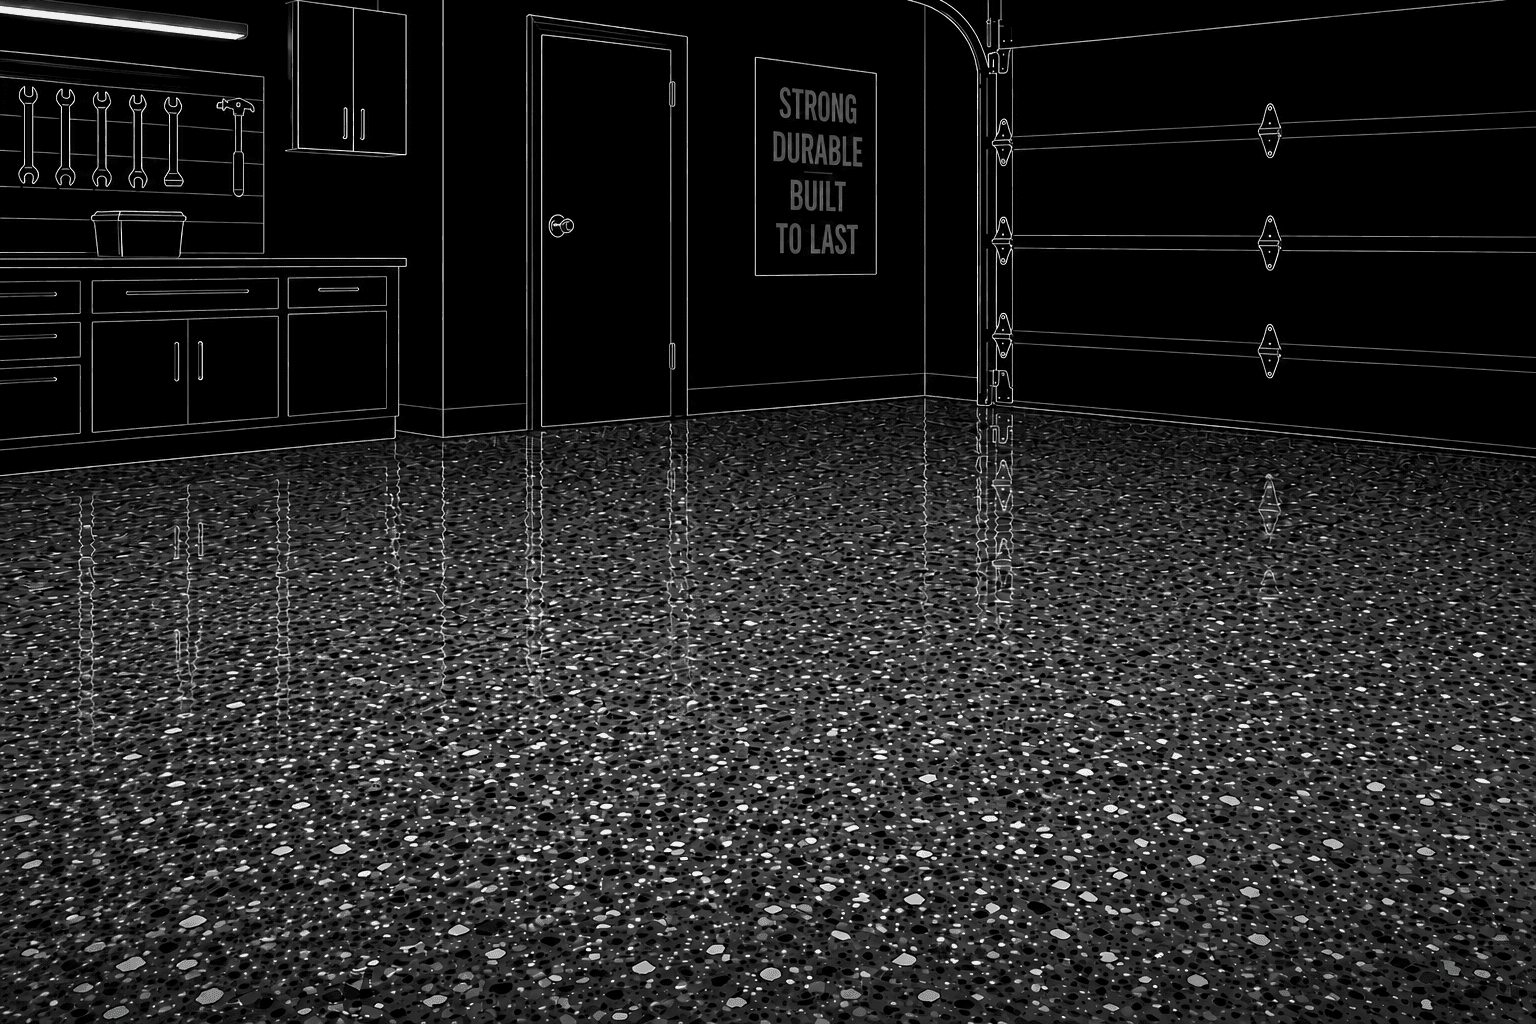
Once the coating has fully cured, we inspect the entire floor, clean the edges, and check the finish for consistency. Your new quartz floor is then ready to provide a strong, textured, slip-resistant, and long-lasting surface for high-traffic and heavy-use areas.