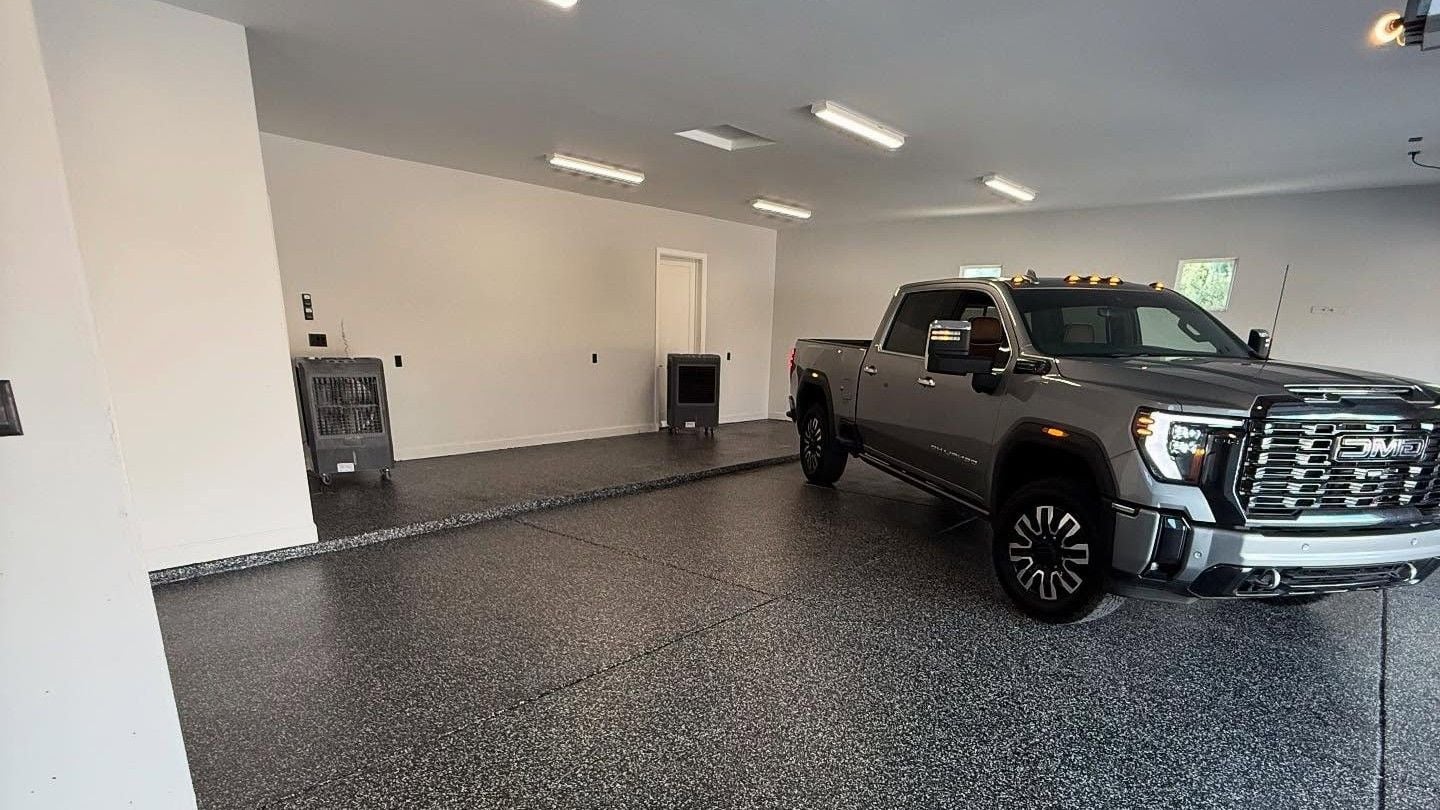
Best Flake Floor System



A shiny new garage floor
Transform Your Floors with Durable, Stylish Flake Epoxy Coatings!
Looking for a flooring solution that combines durability, style, and easy maintenance? Our Flake Floor Epoxy System is the perfect choice for your garage, basement, commercial space, or any high-traffic area.
Advantages of Flake Epoxy Flooring
- ✓Durable and Hard-Wearing
- ✓Long-Lasting for 20+ years
- ✓Chemical resistance to machine oils
- ✓Easy to Clean and Maintain
- ✓Scratch, abrasion and stain resistant
- ✓Hot tire pick up resistant
- ✓Highly customizable and available in different colors and finishes
- ✓Hygienic - does not harbor dirt, bacteria and allergens
- ✓Light reflective
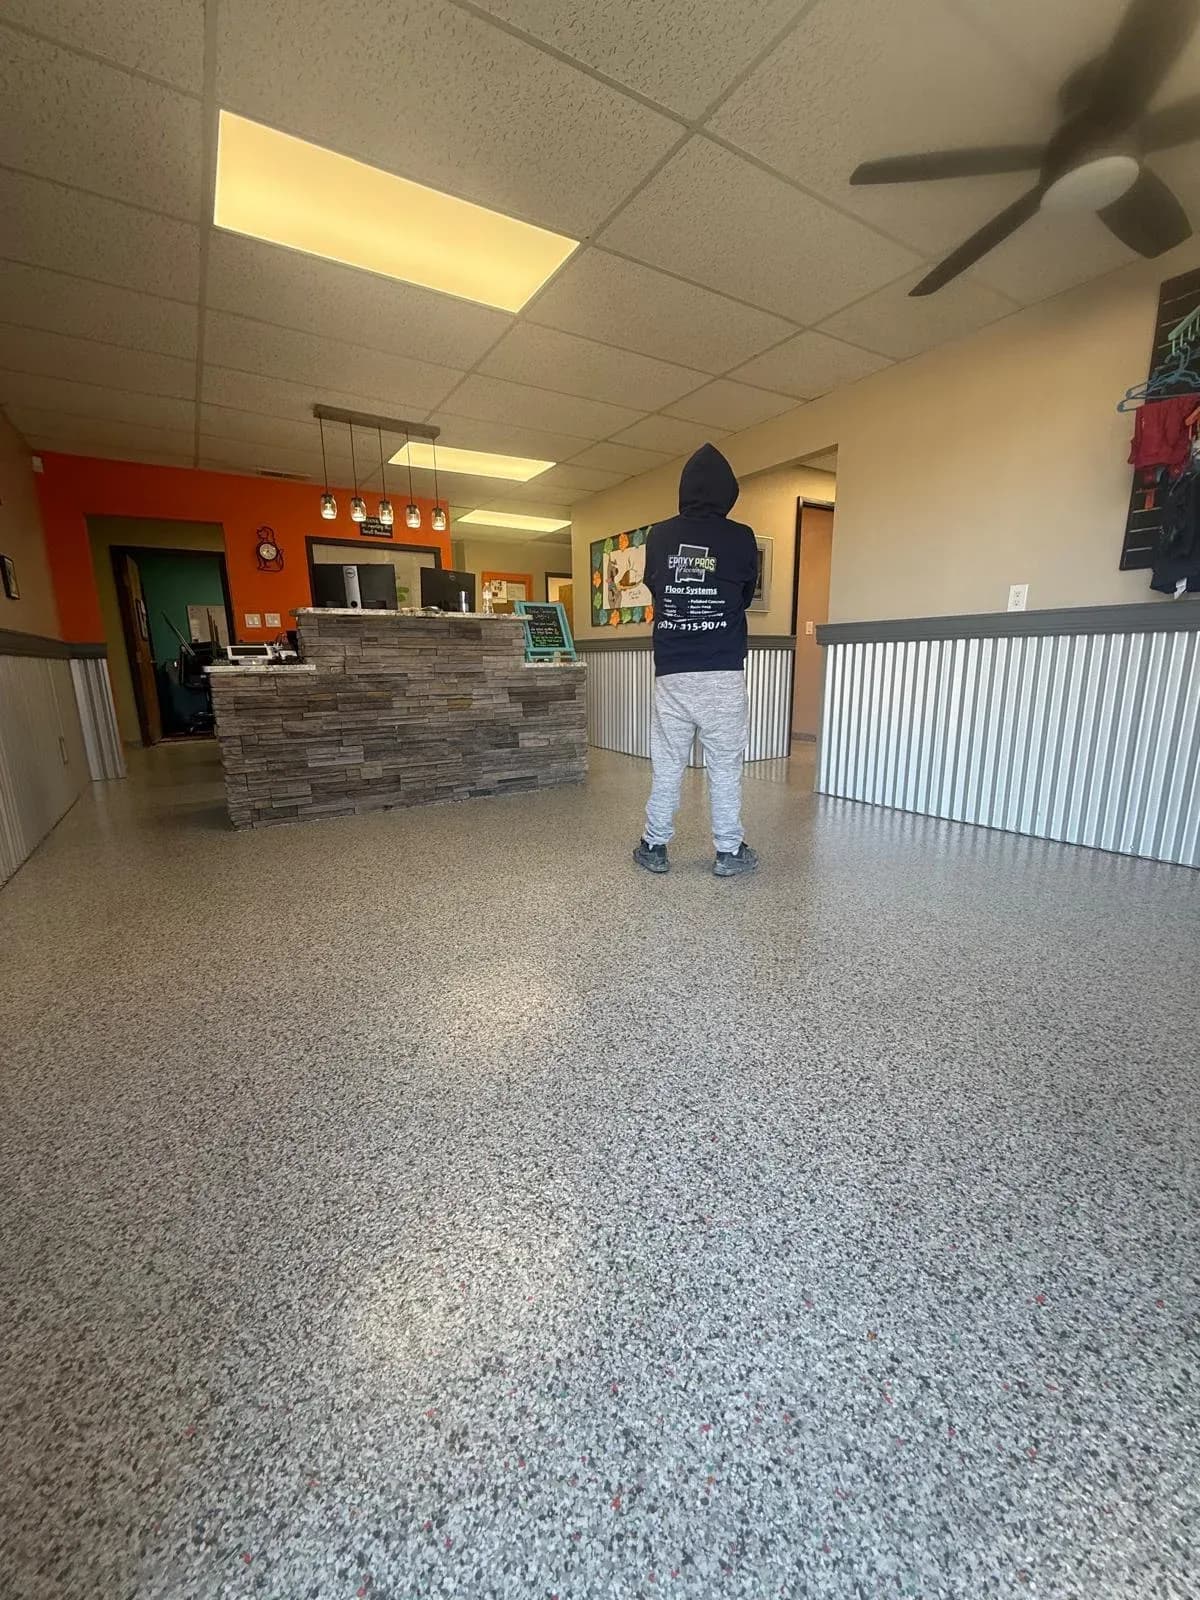
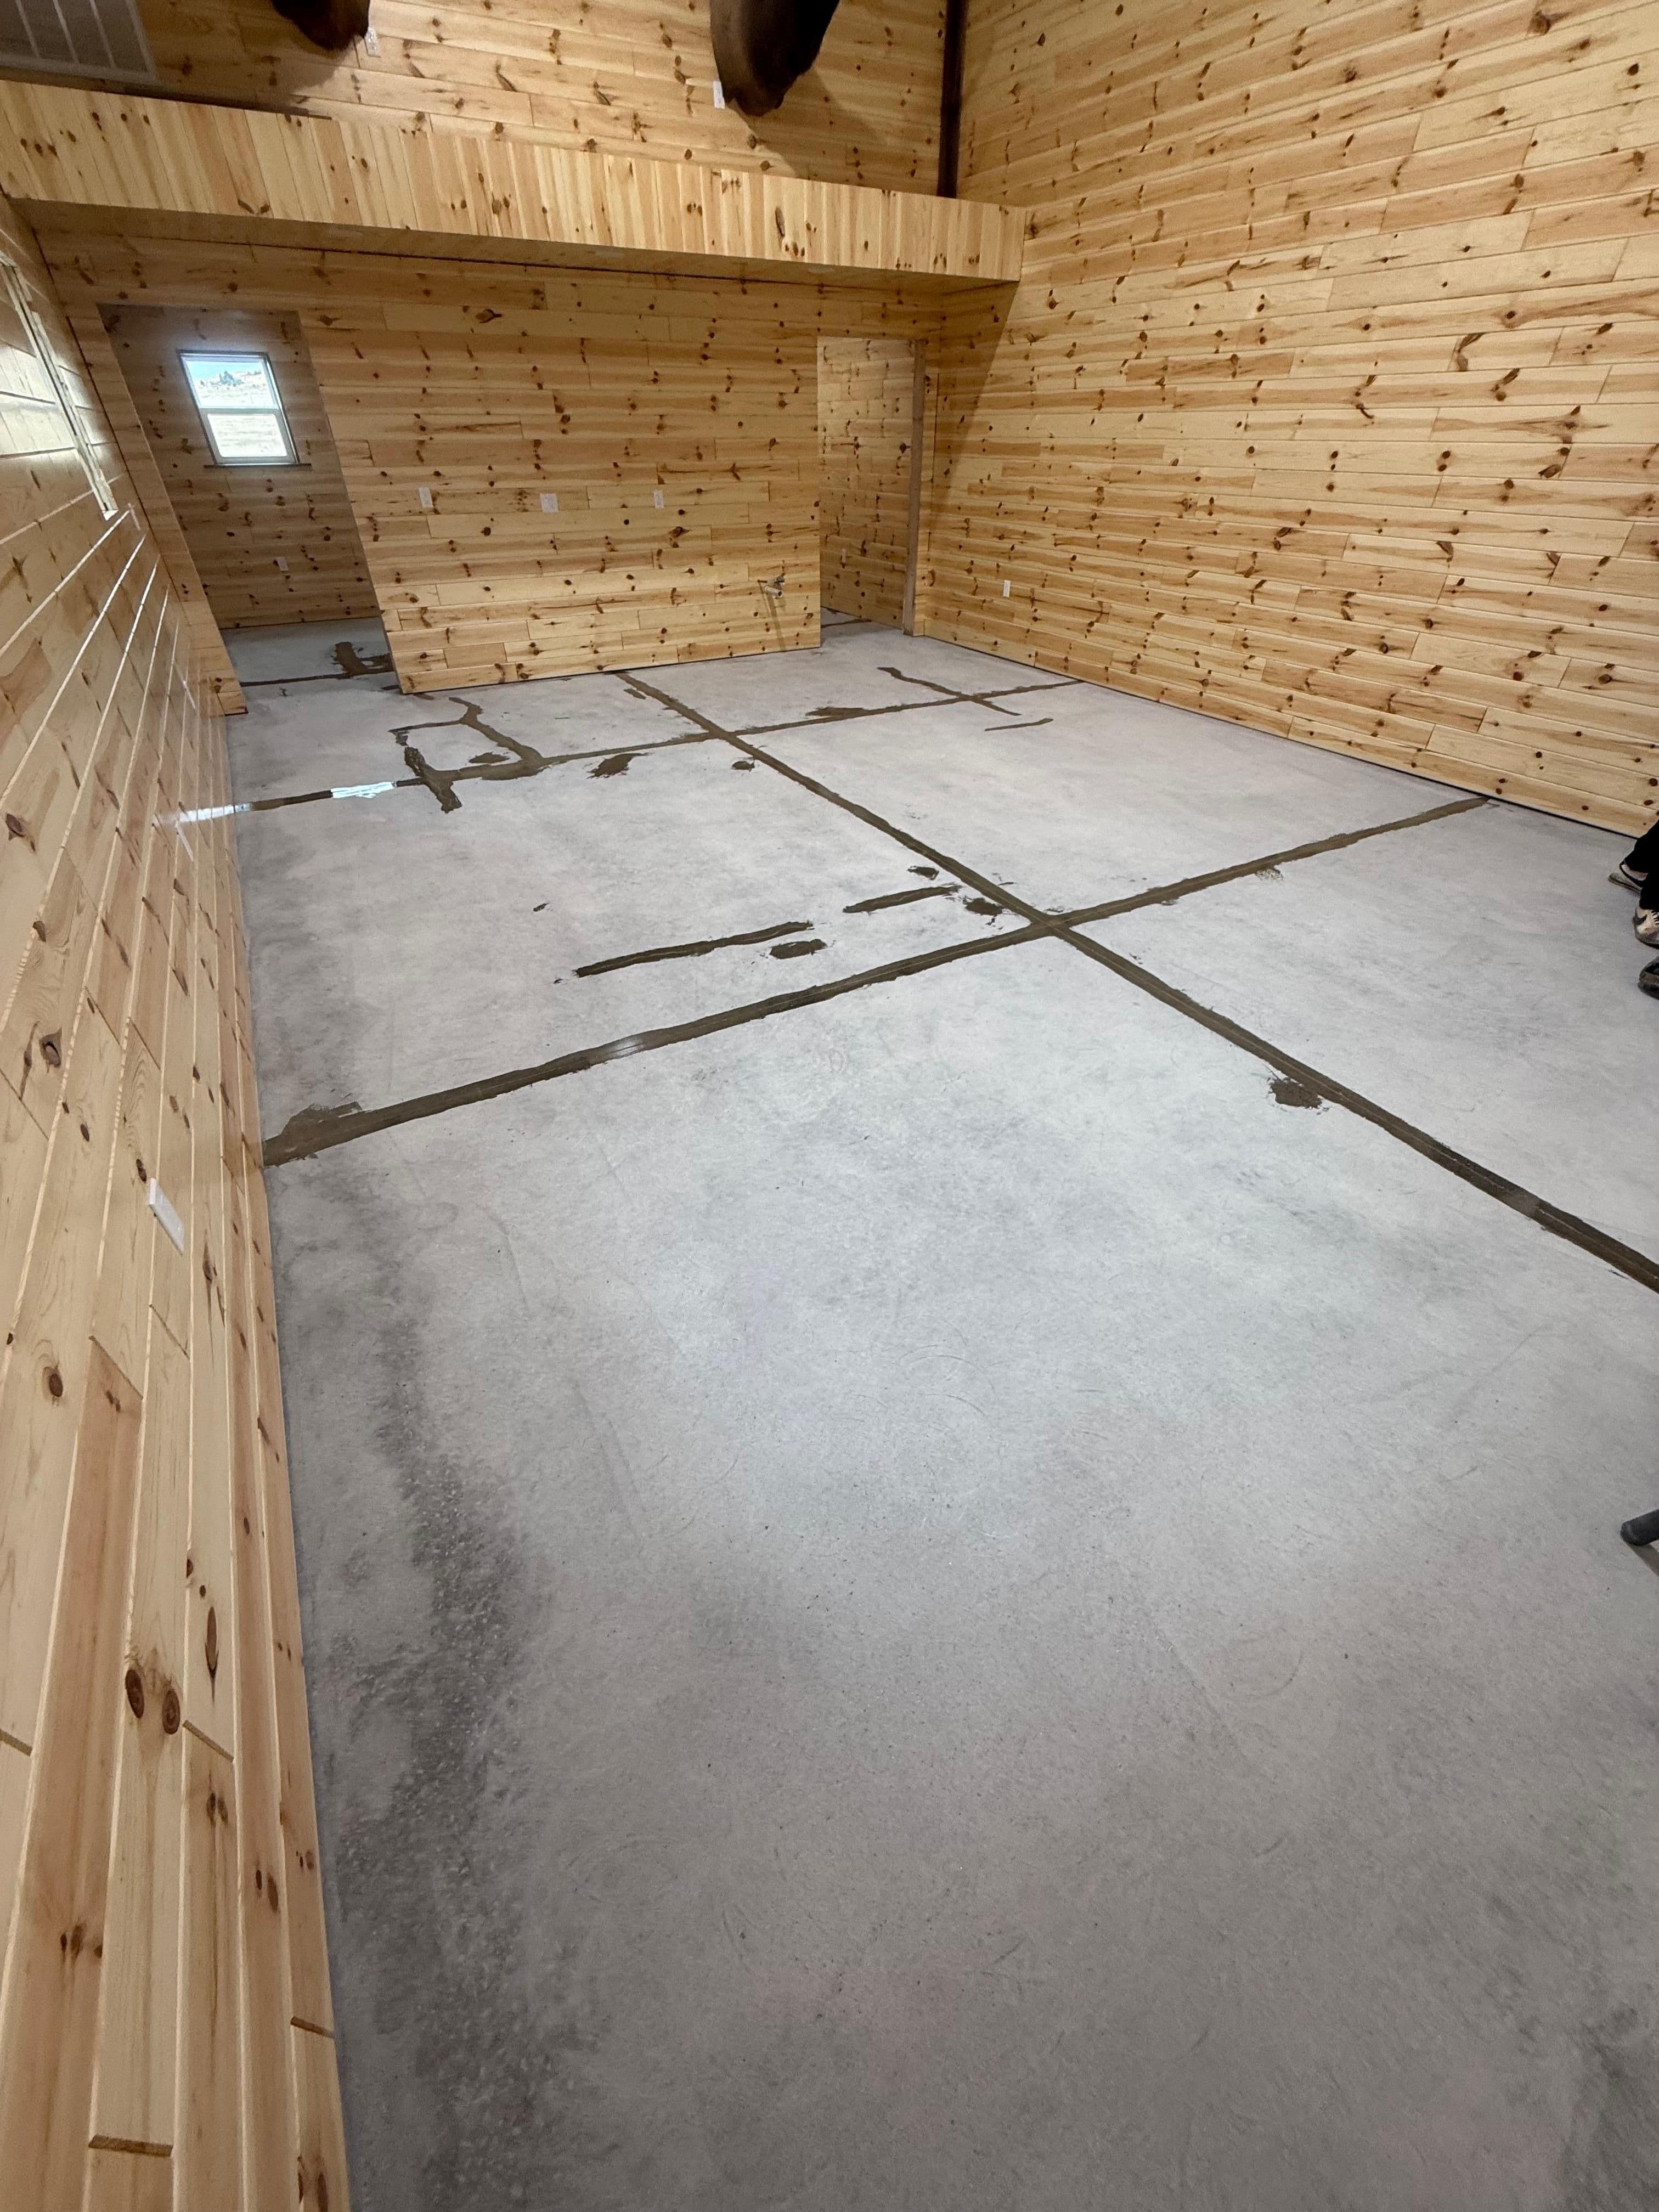
Before & After
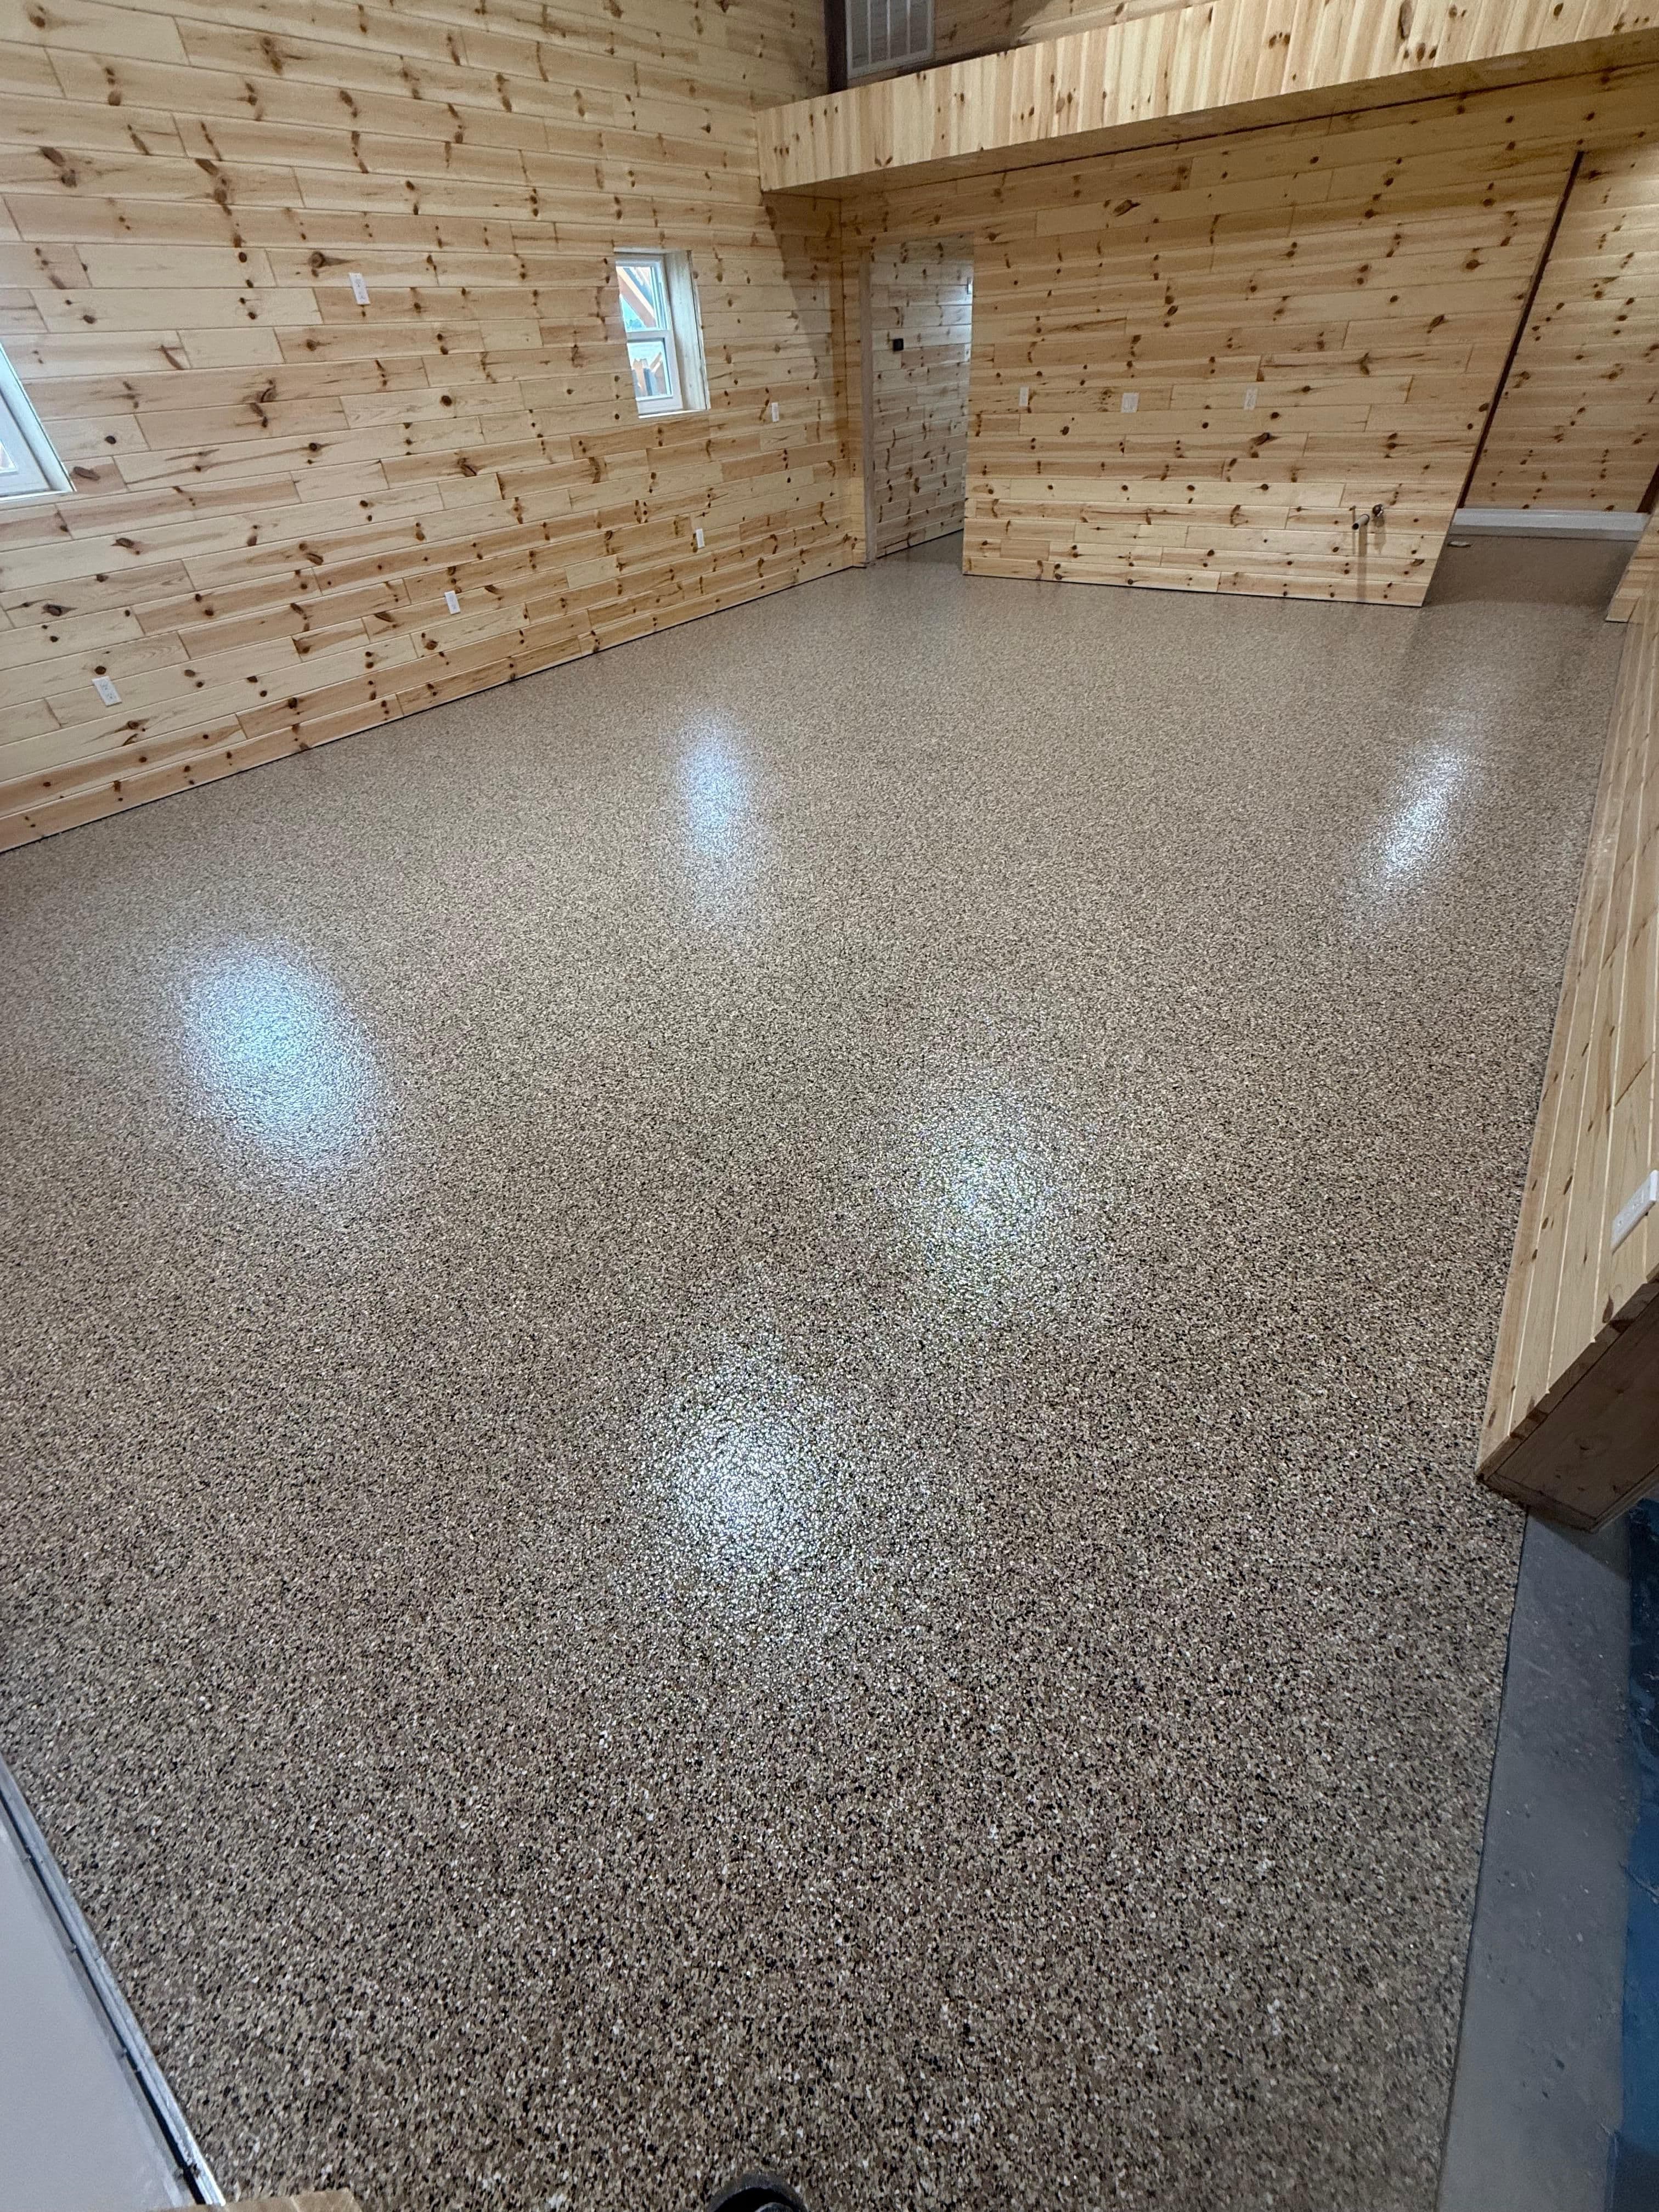
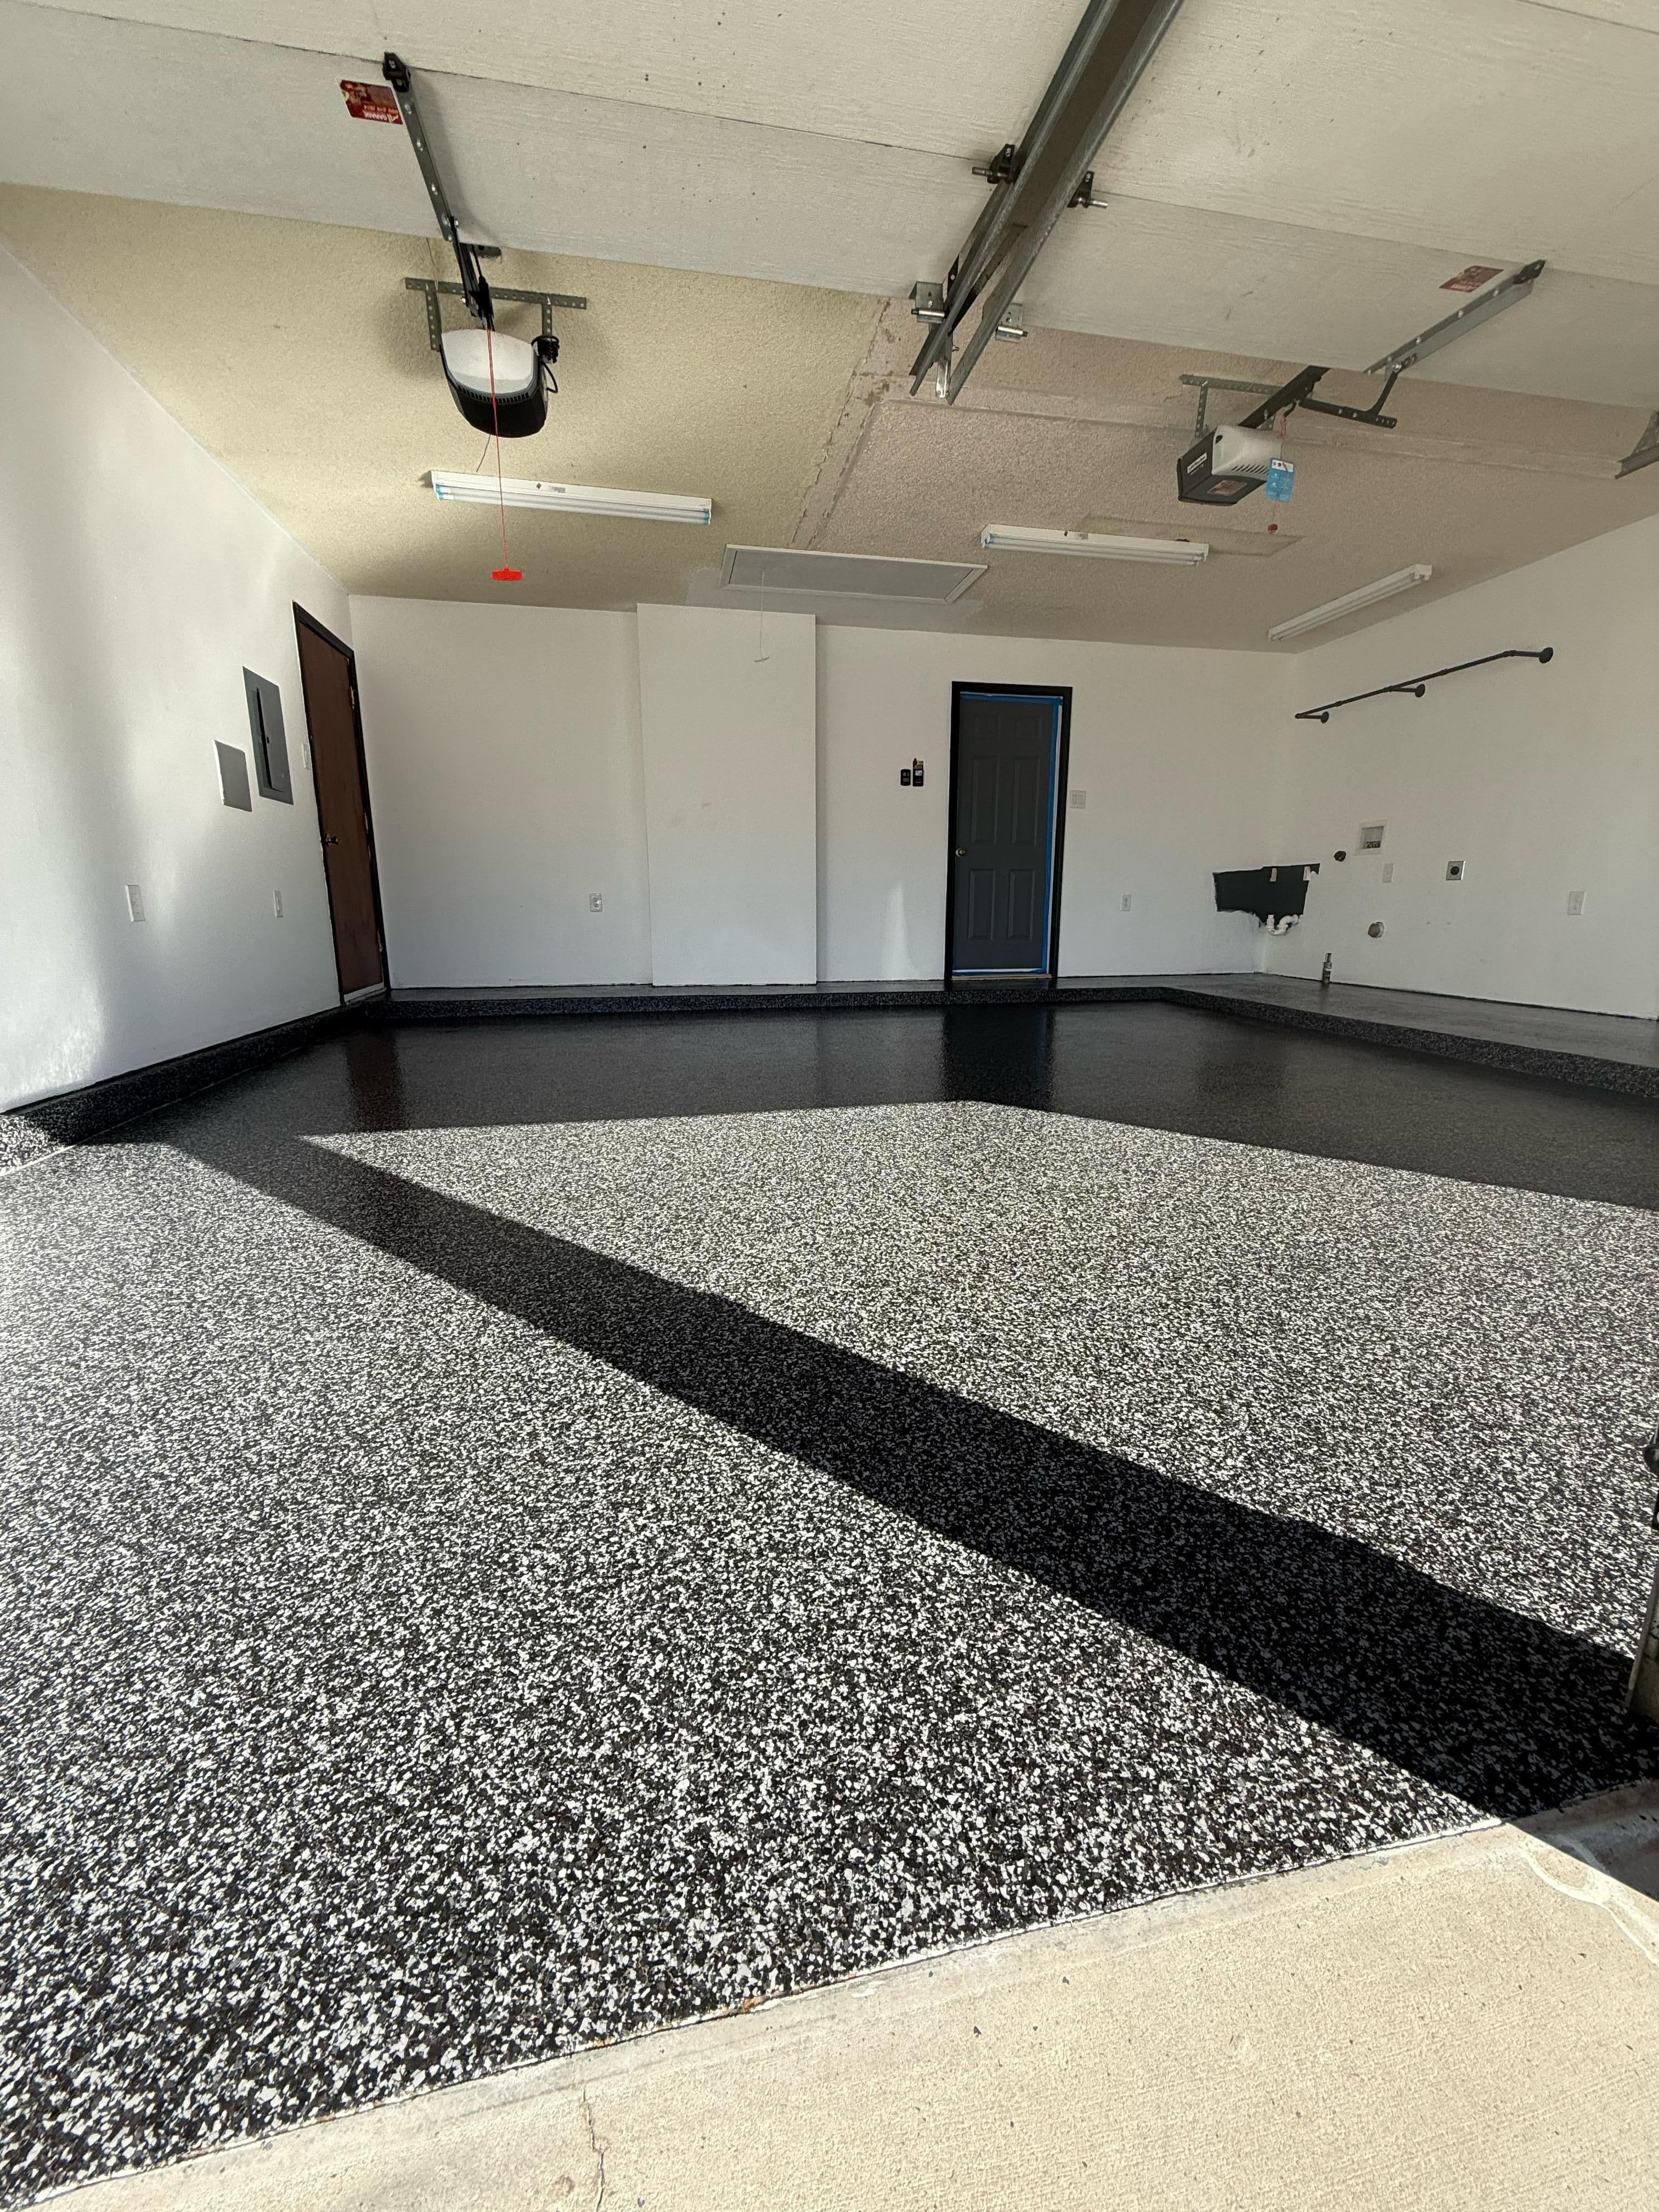
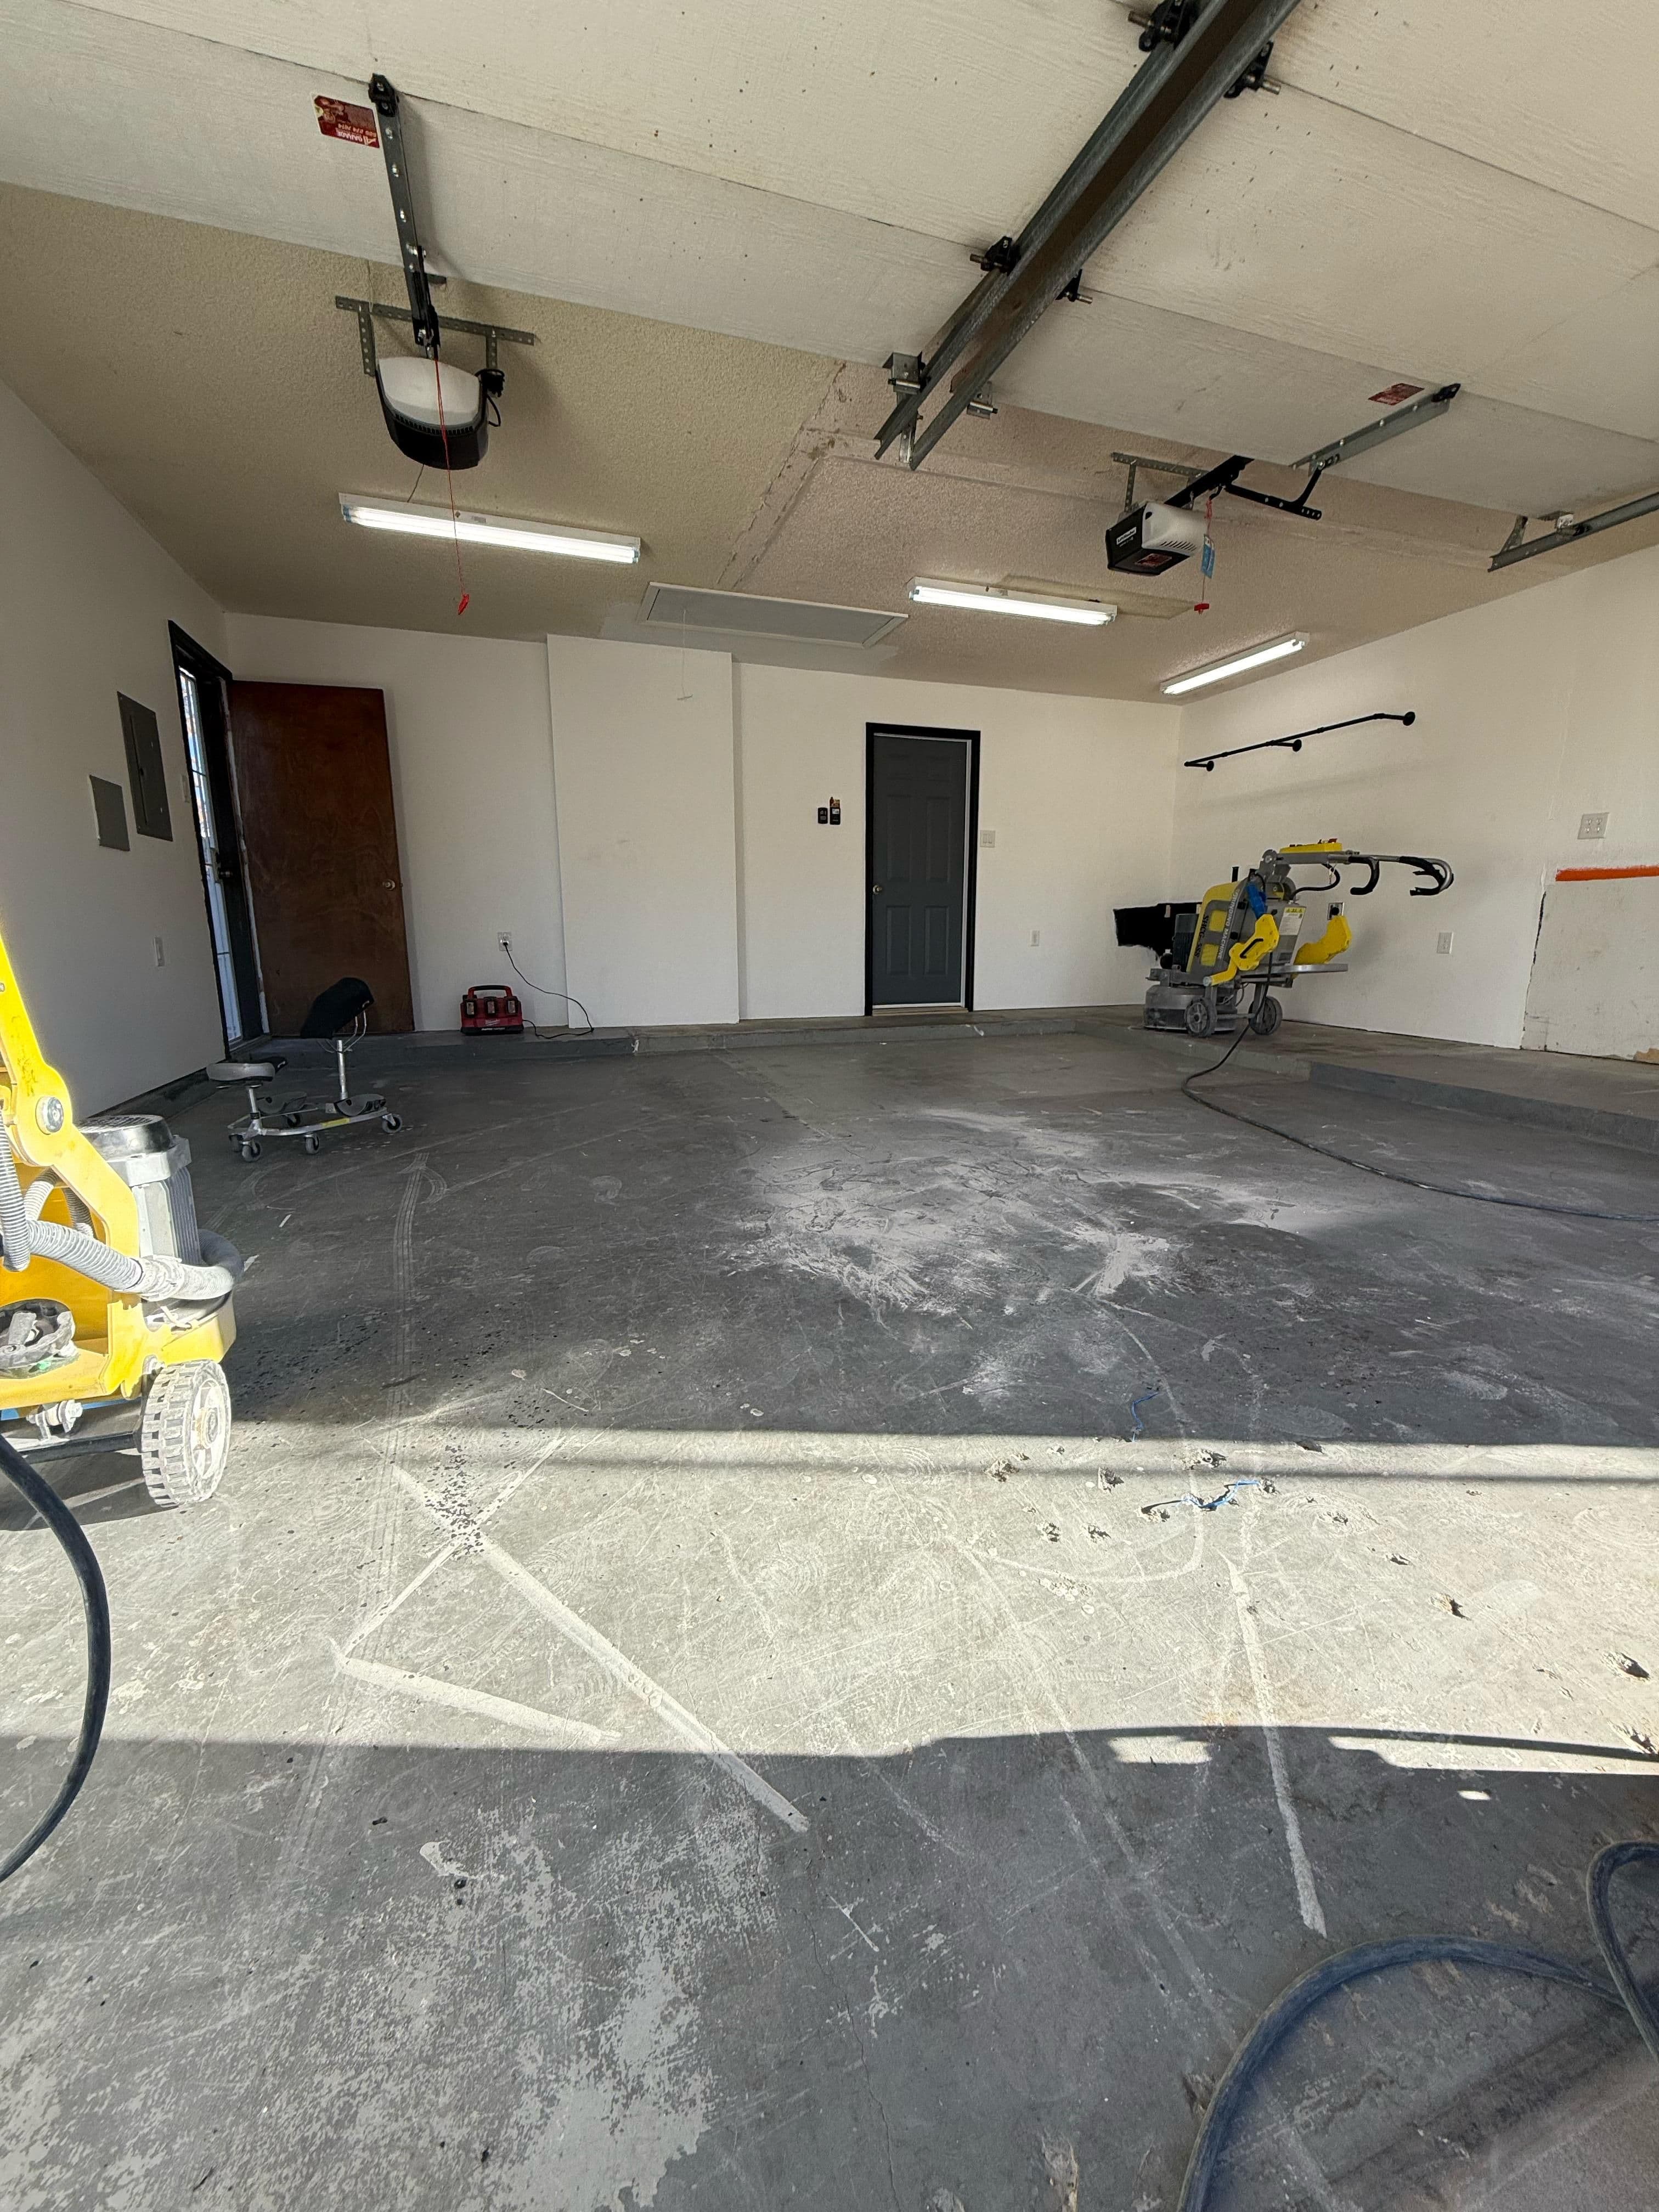
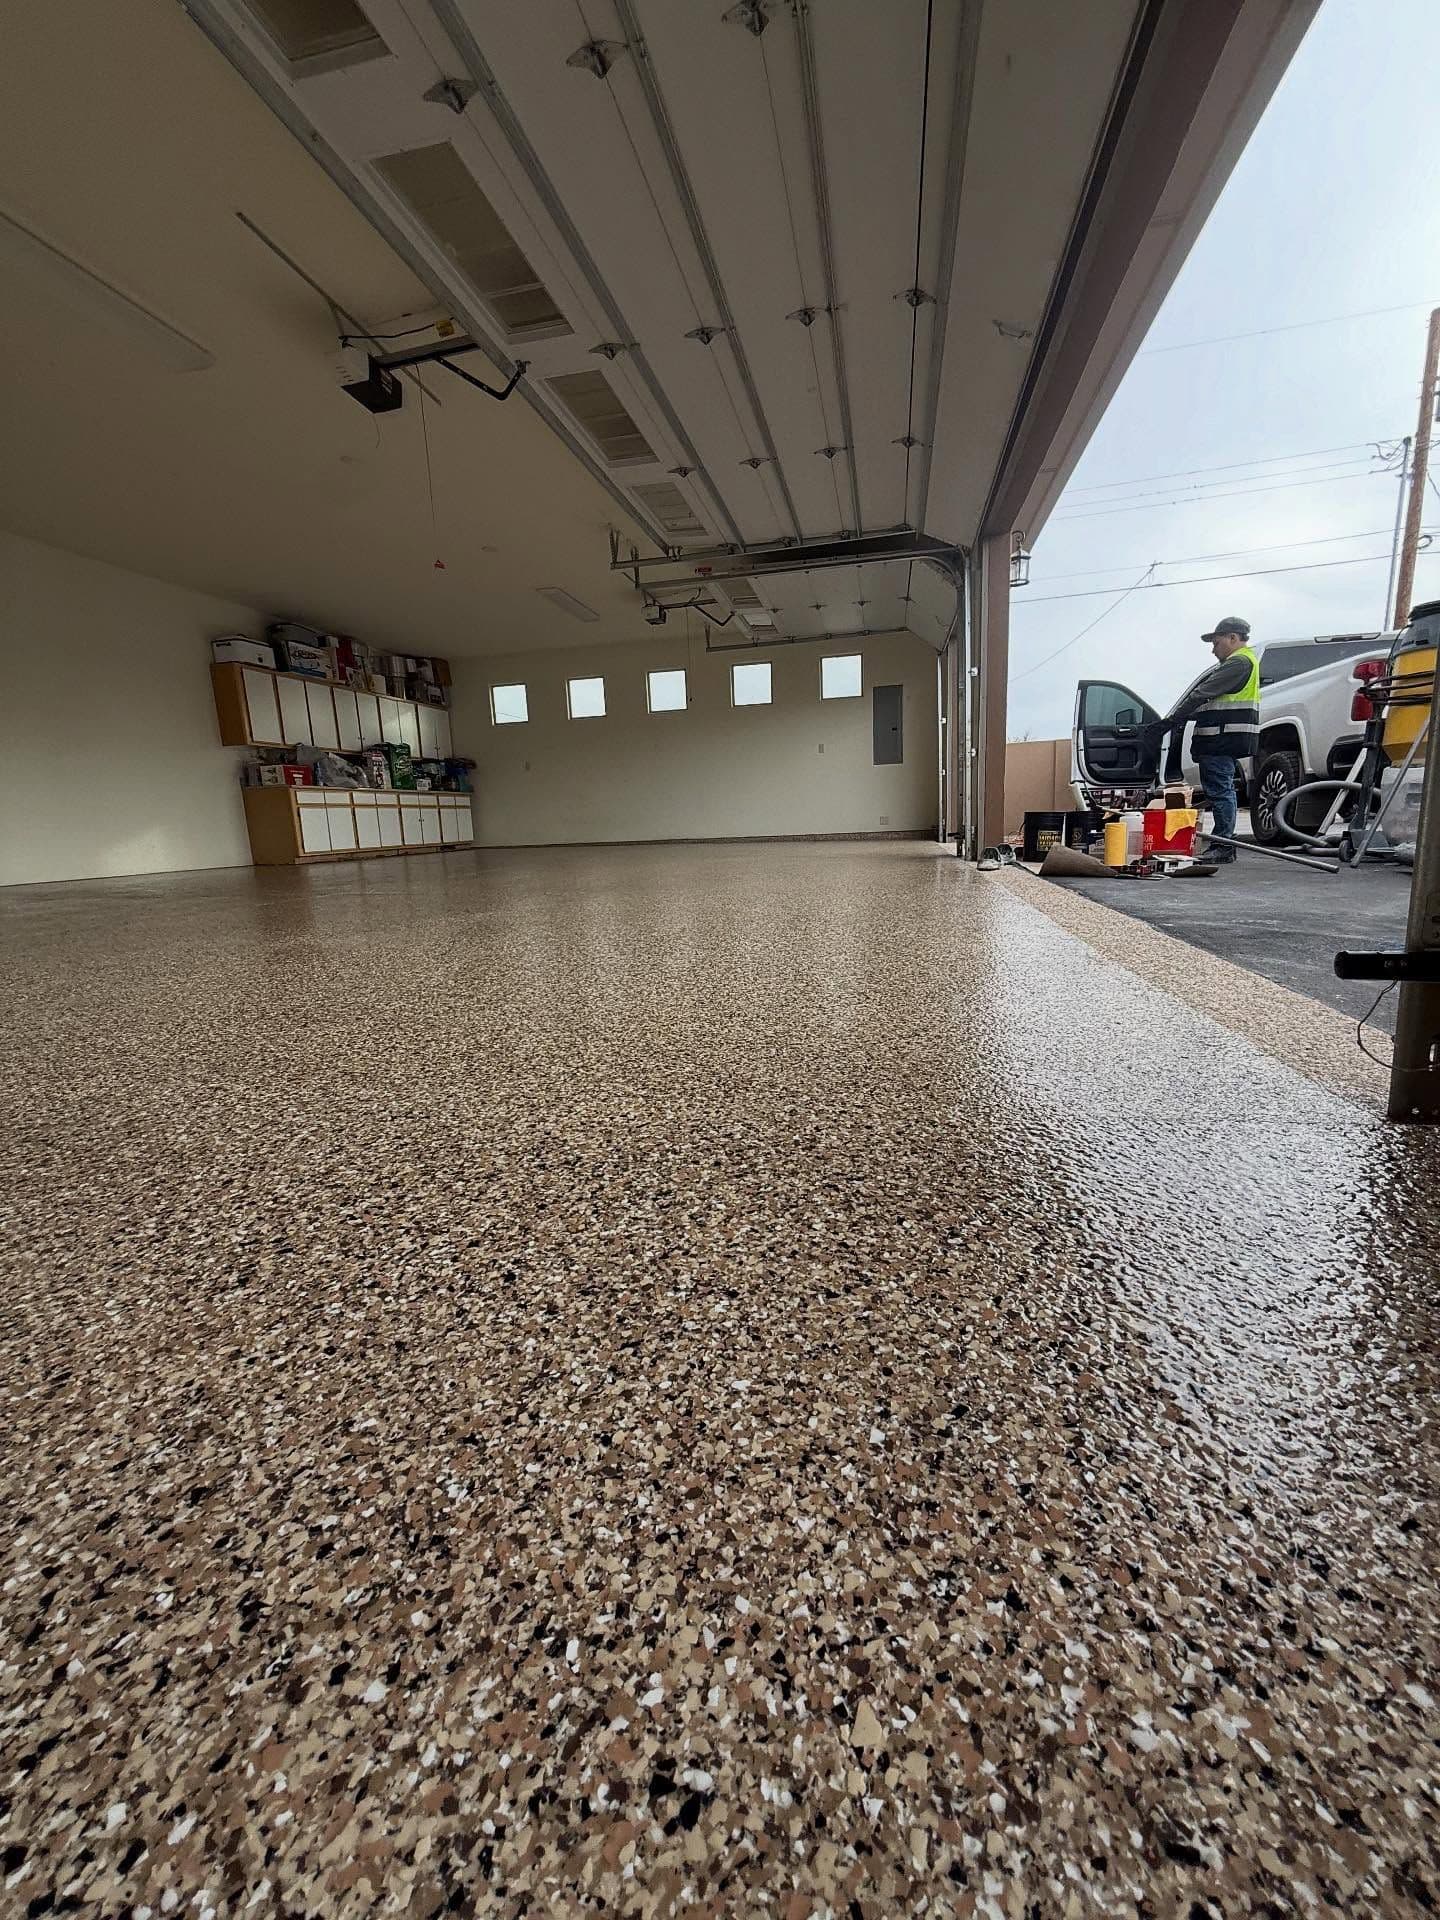
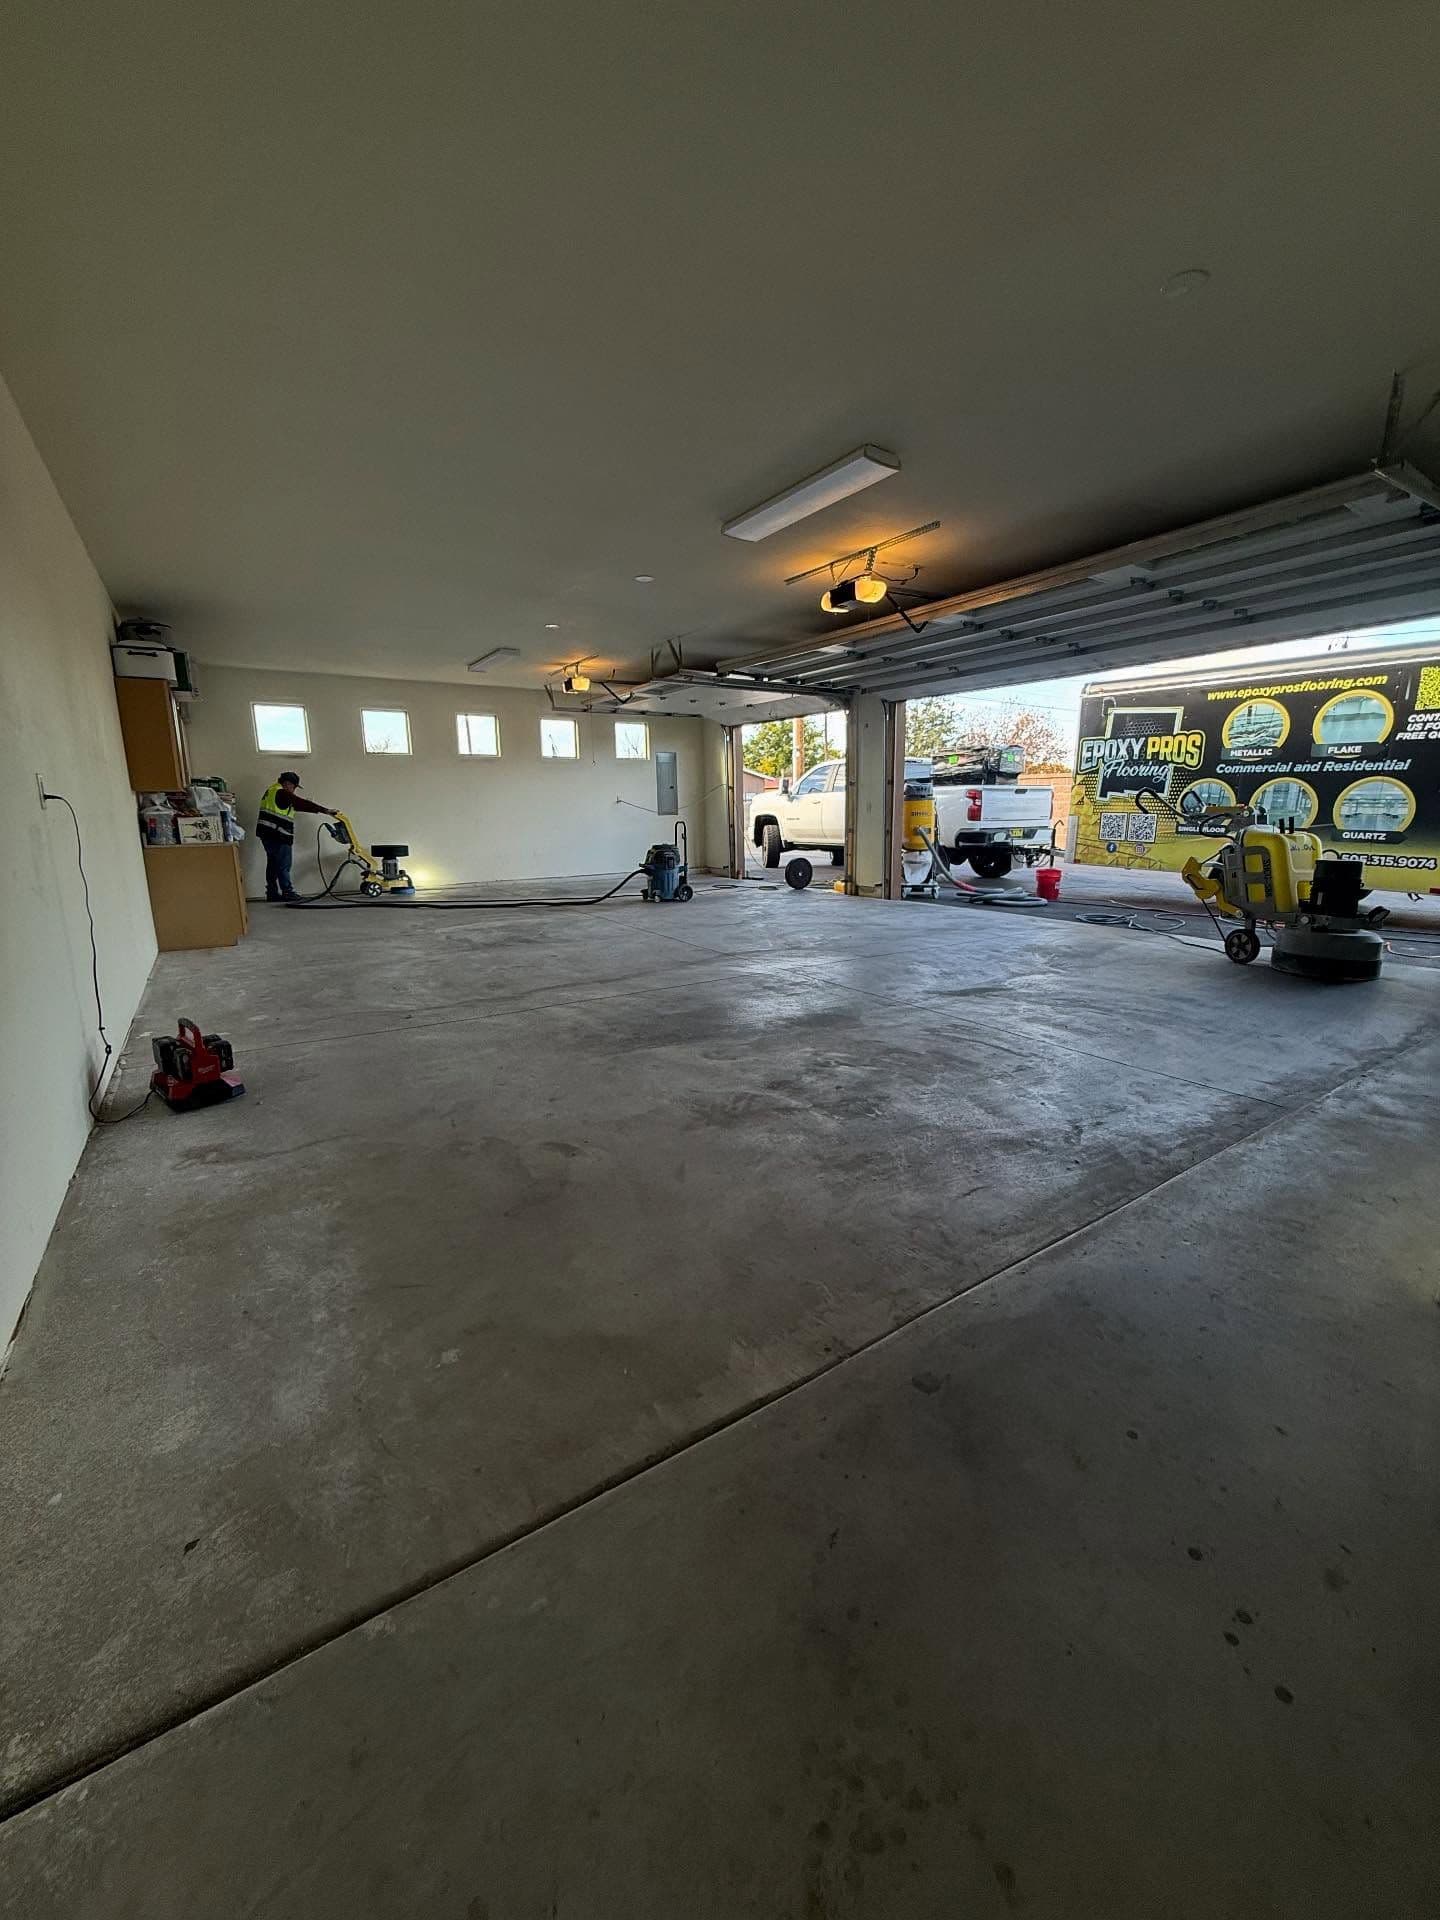
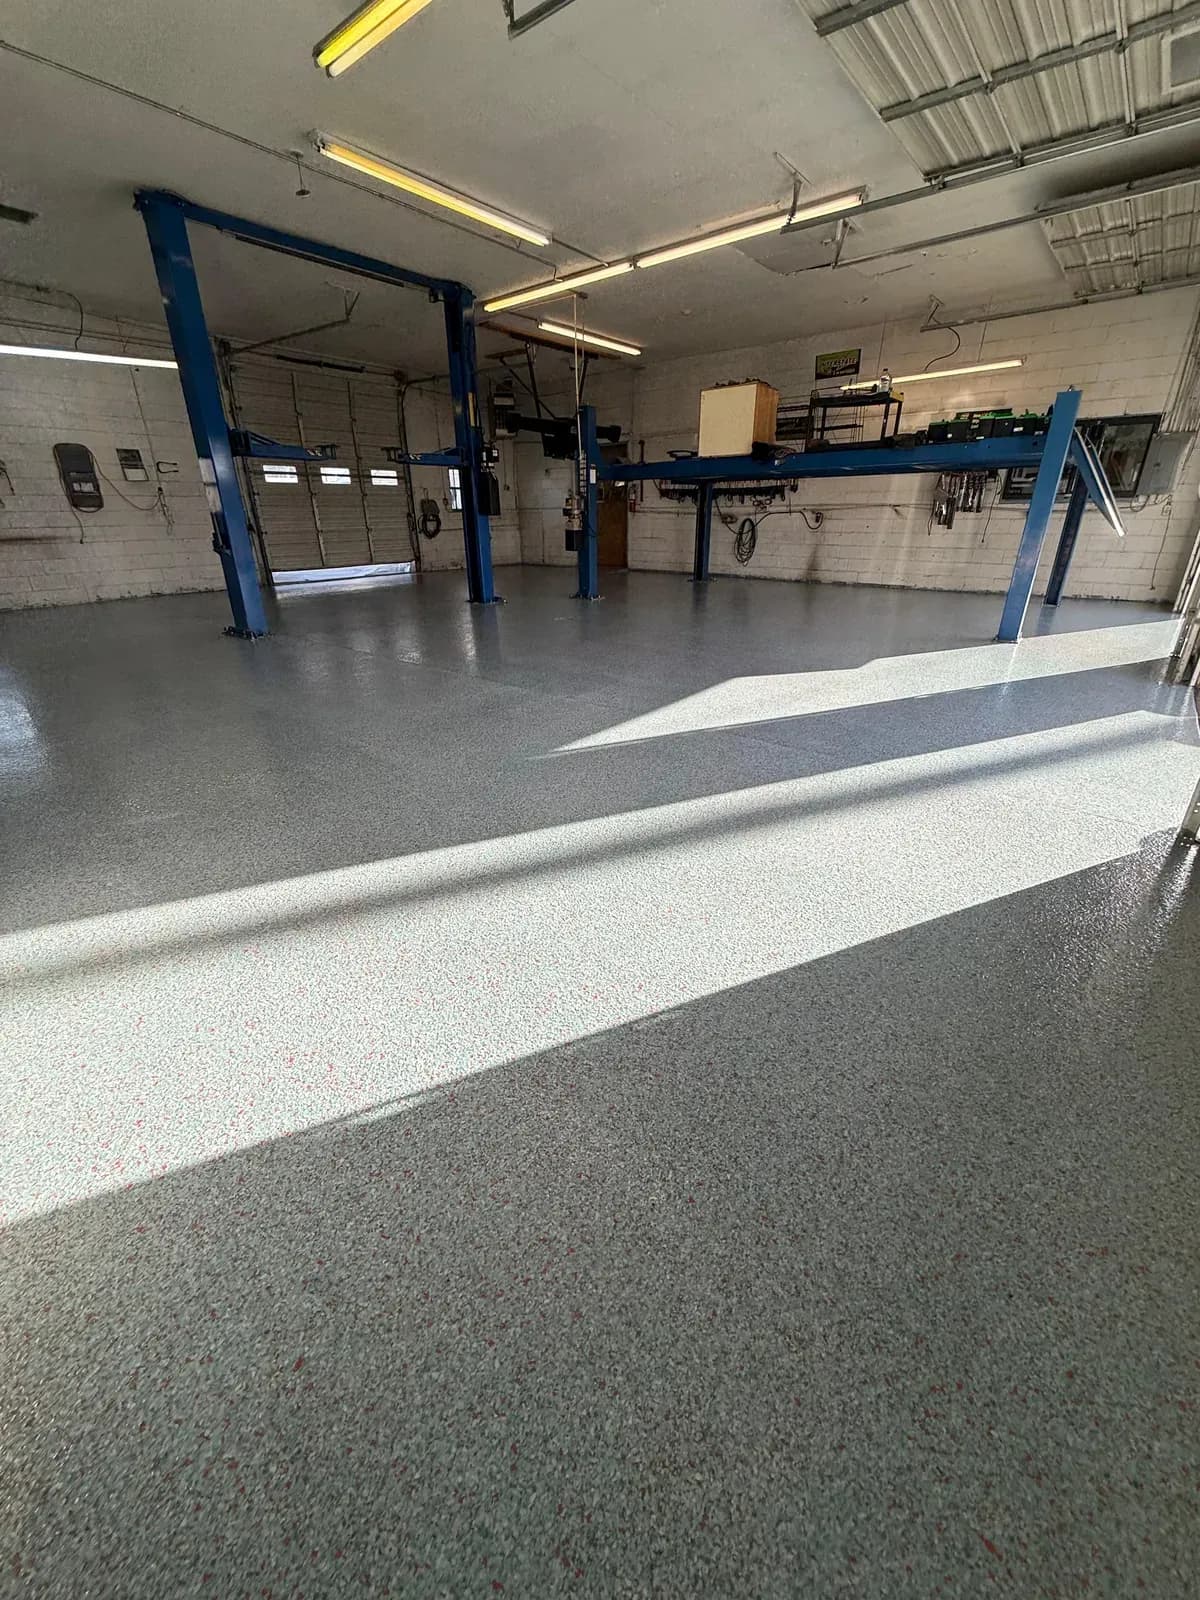 AFTER
AFTER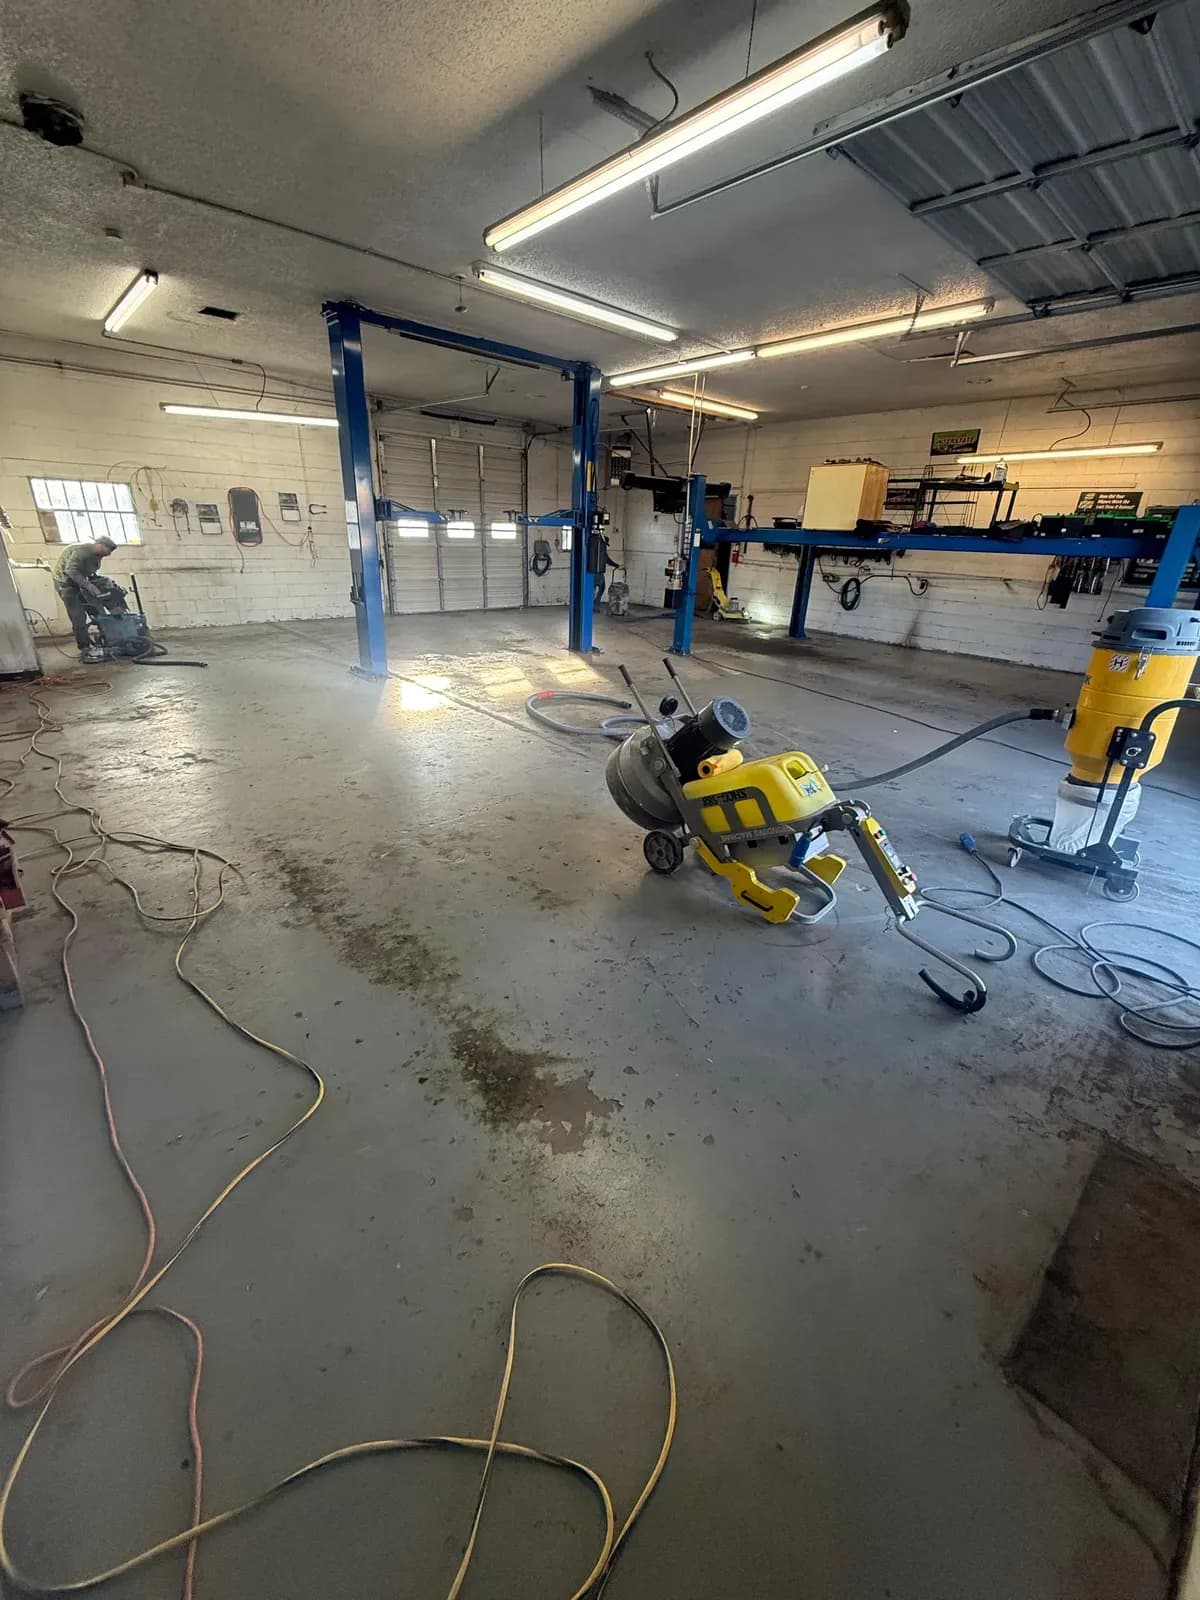 BEFORE
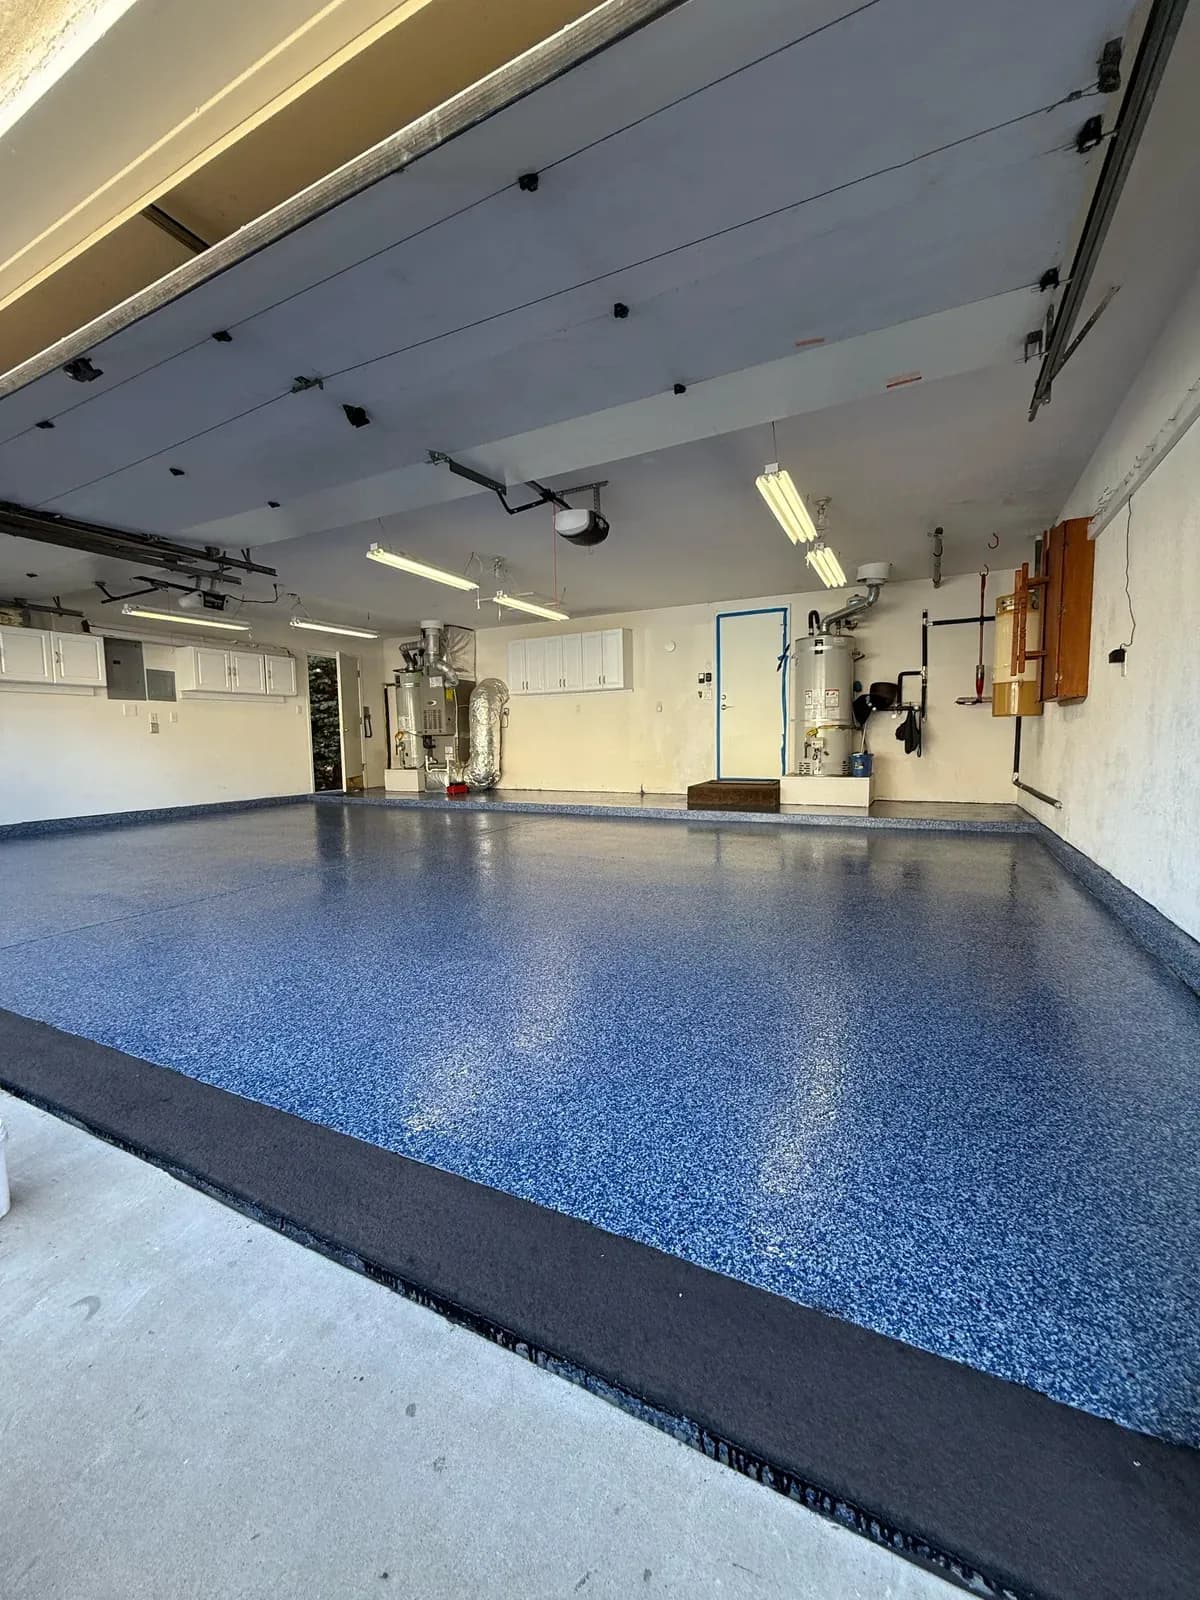 AFTER
AFTER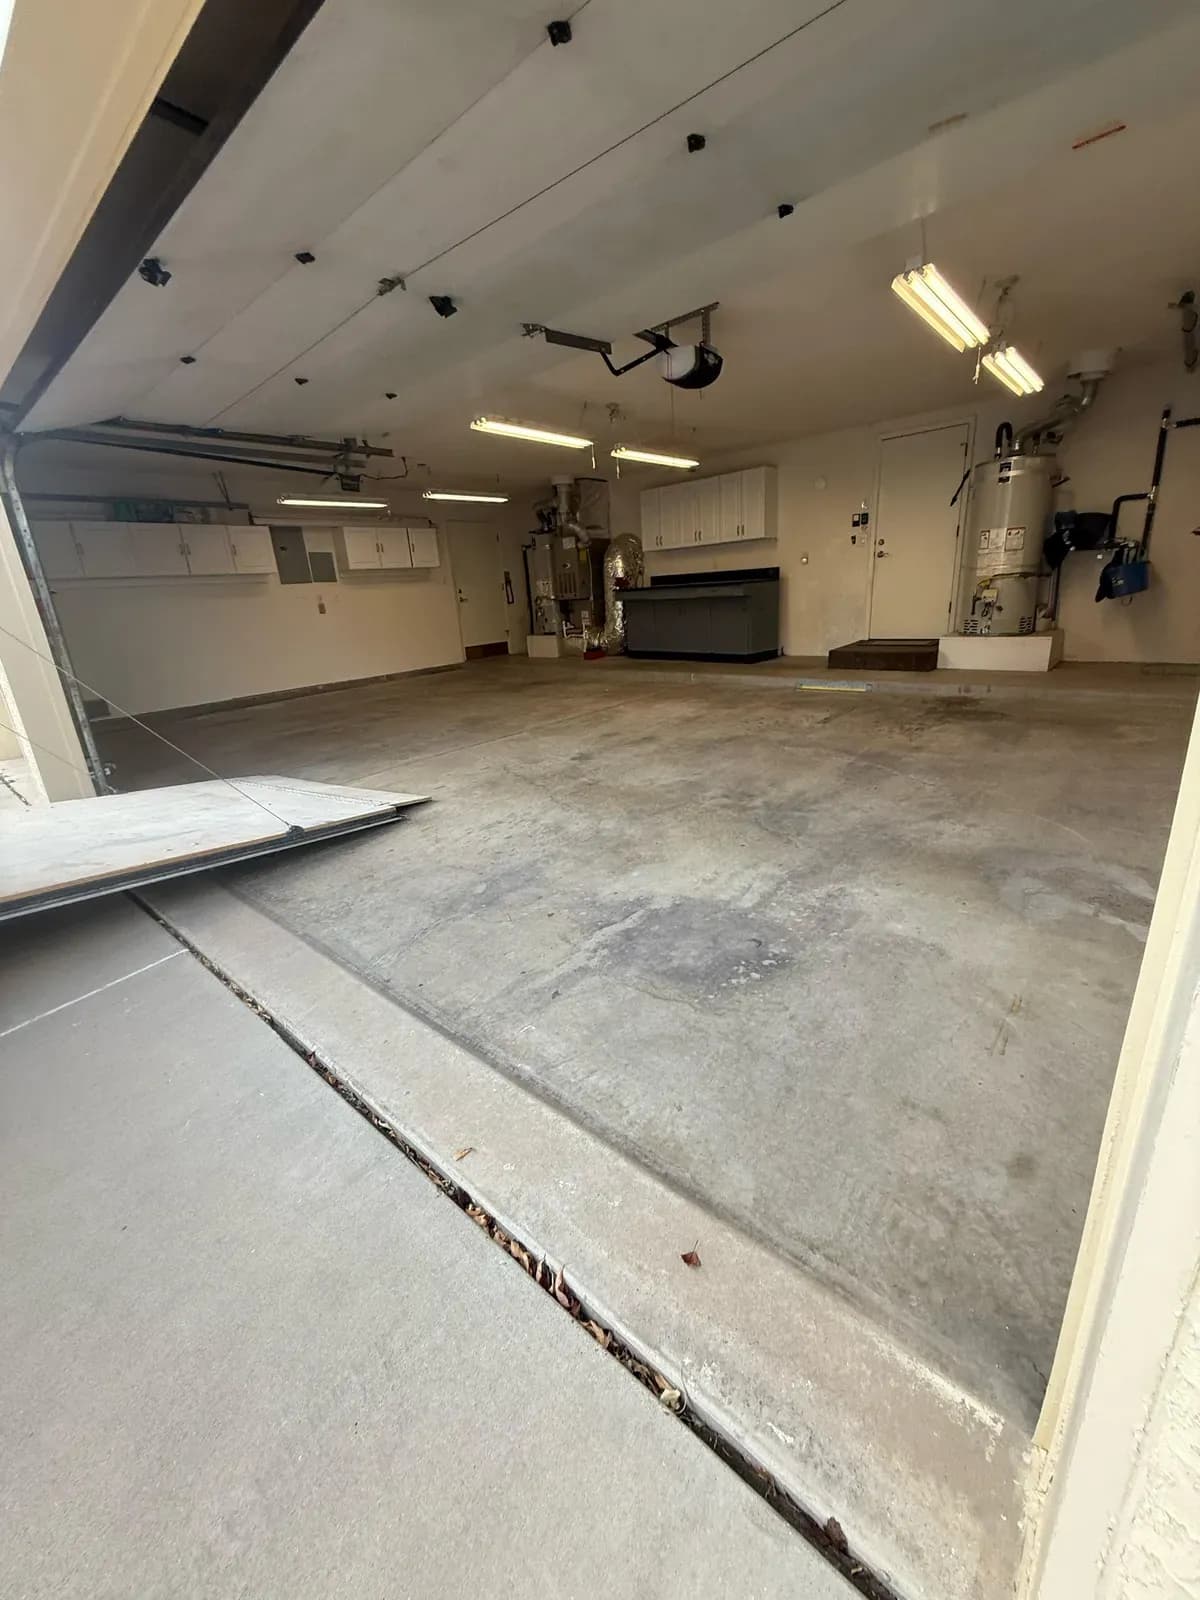 BEFORE
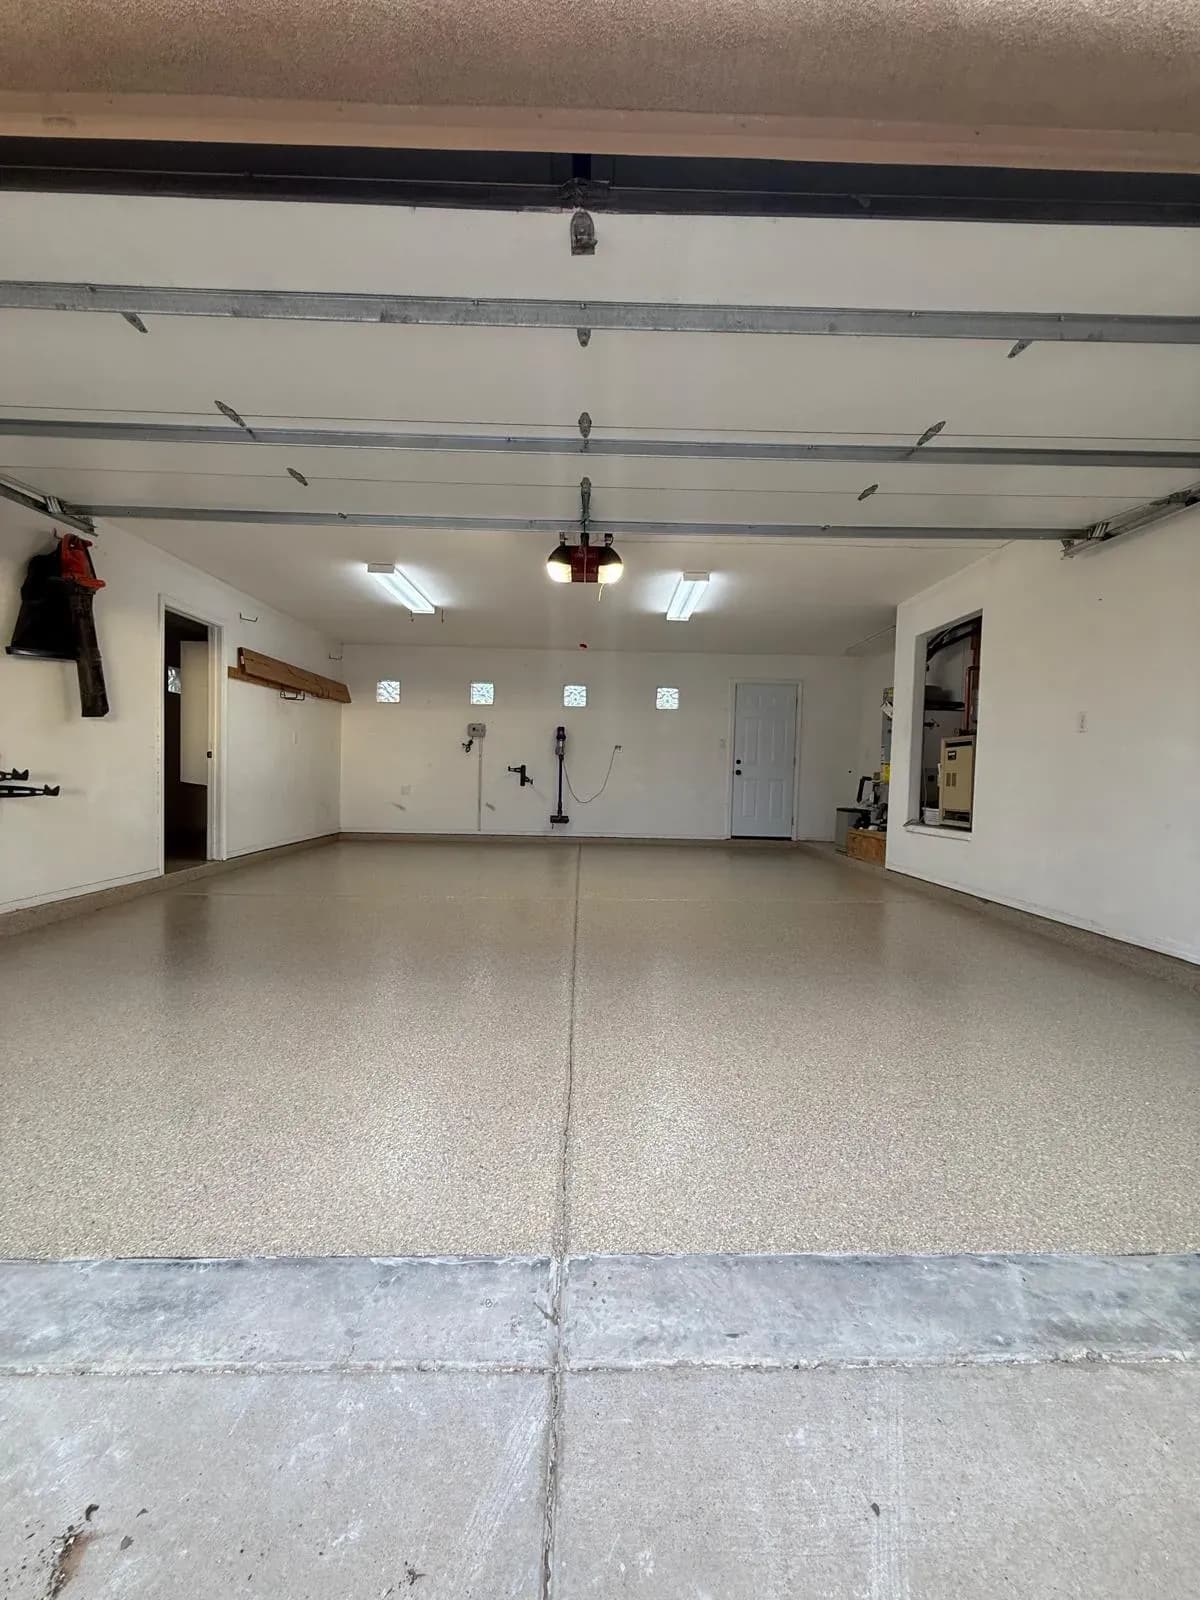 AFTER
AFTER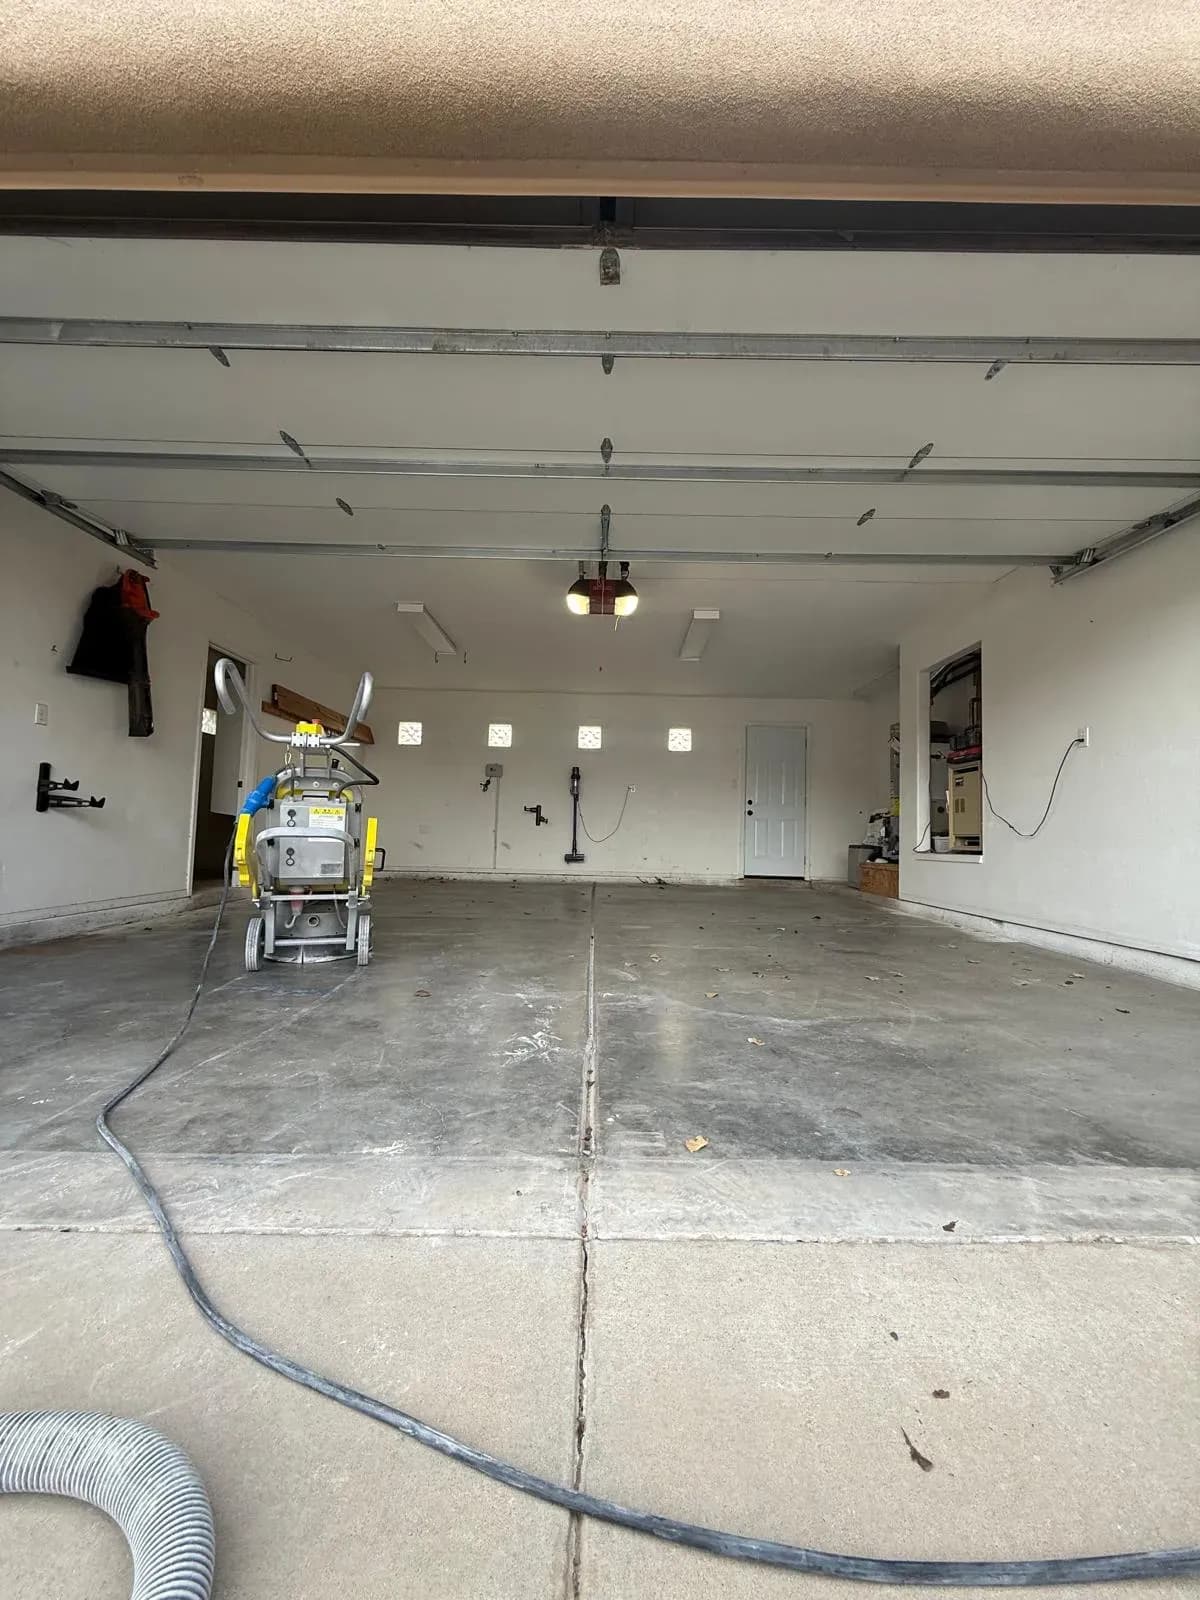 BEFORE
Installation Steps
Our Step-by-Step Installation Process
Surface Preparation
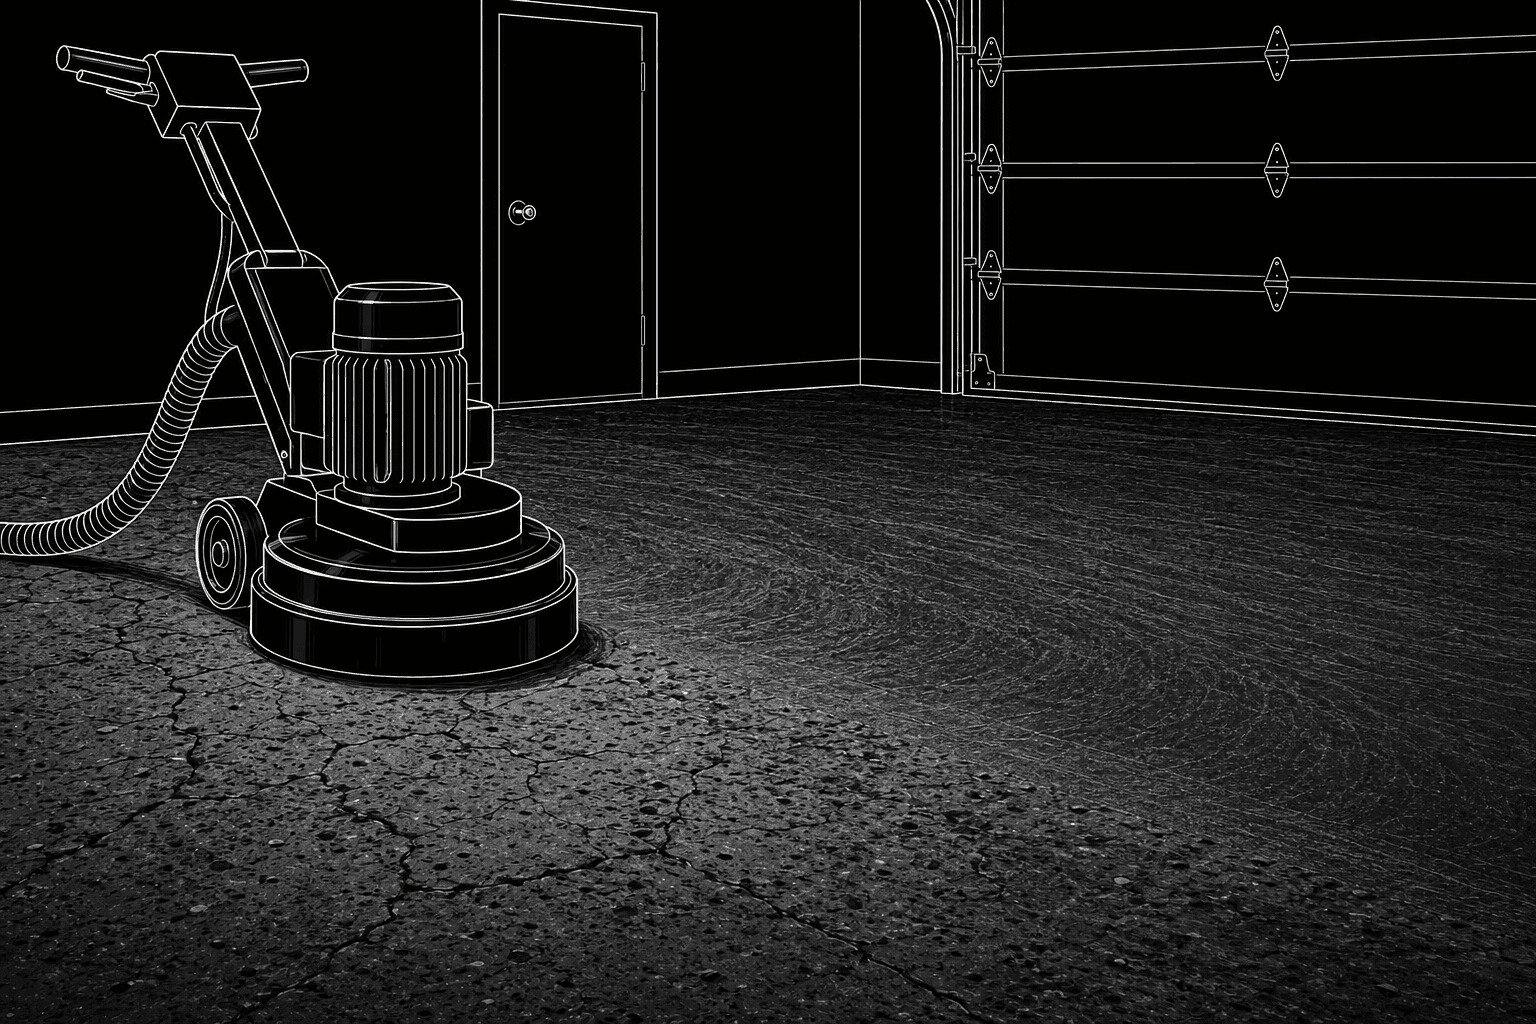
First, we make sure your concrete floor is ready for the epoxy. We clean it thoroughly, repair any cracks, and grind it for a smooth, even surface. This ensures the epoxy sticks properly and lasts a long time.
Apply the Base Coat
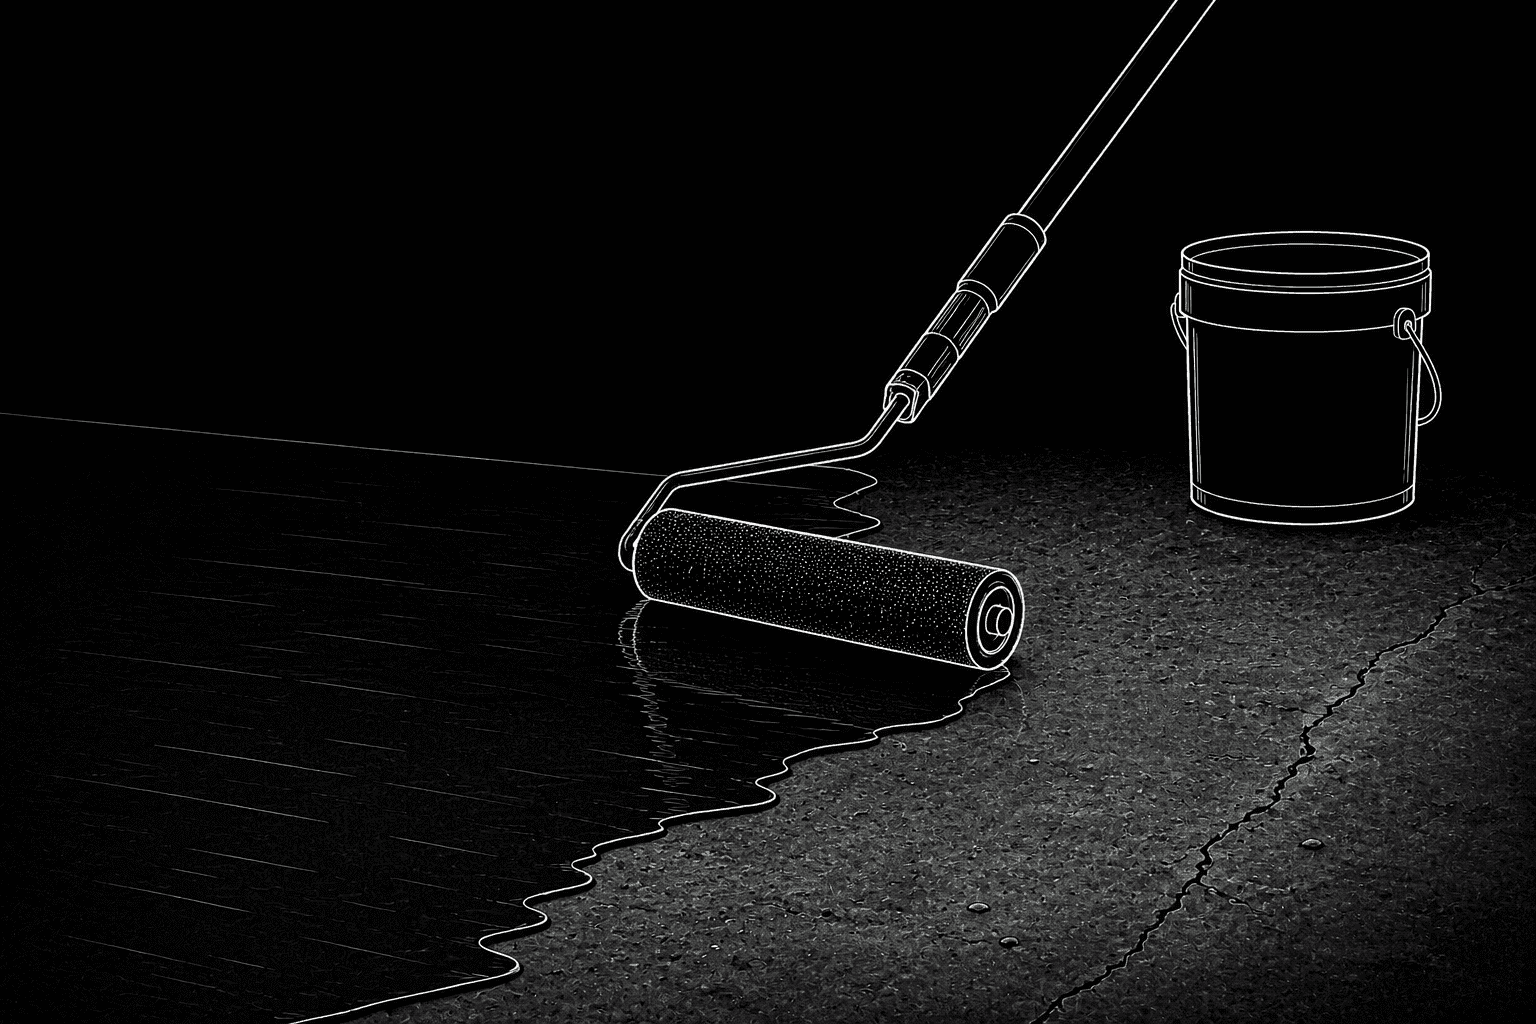
Next, we apply a high-quality epoxy base coat. This serves as the foundation for the entire system, providing strength and adhesion for the flakes and topcoat.
Broadcast the Vinyl Flakes

While the base coat is still wet, we scatter decorative vinyl flakes across the surface. These flakes come in a variety of colors and add a beautiful, textured look to your floor. They also improve slip resistance for safety.
Remove Excess Flakes
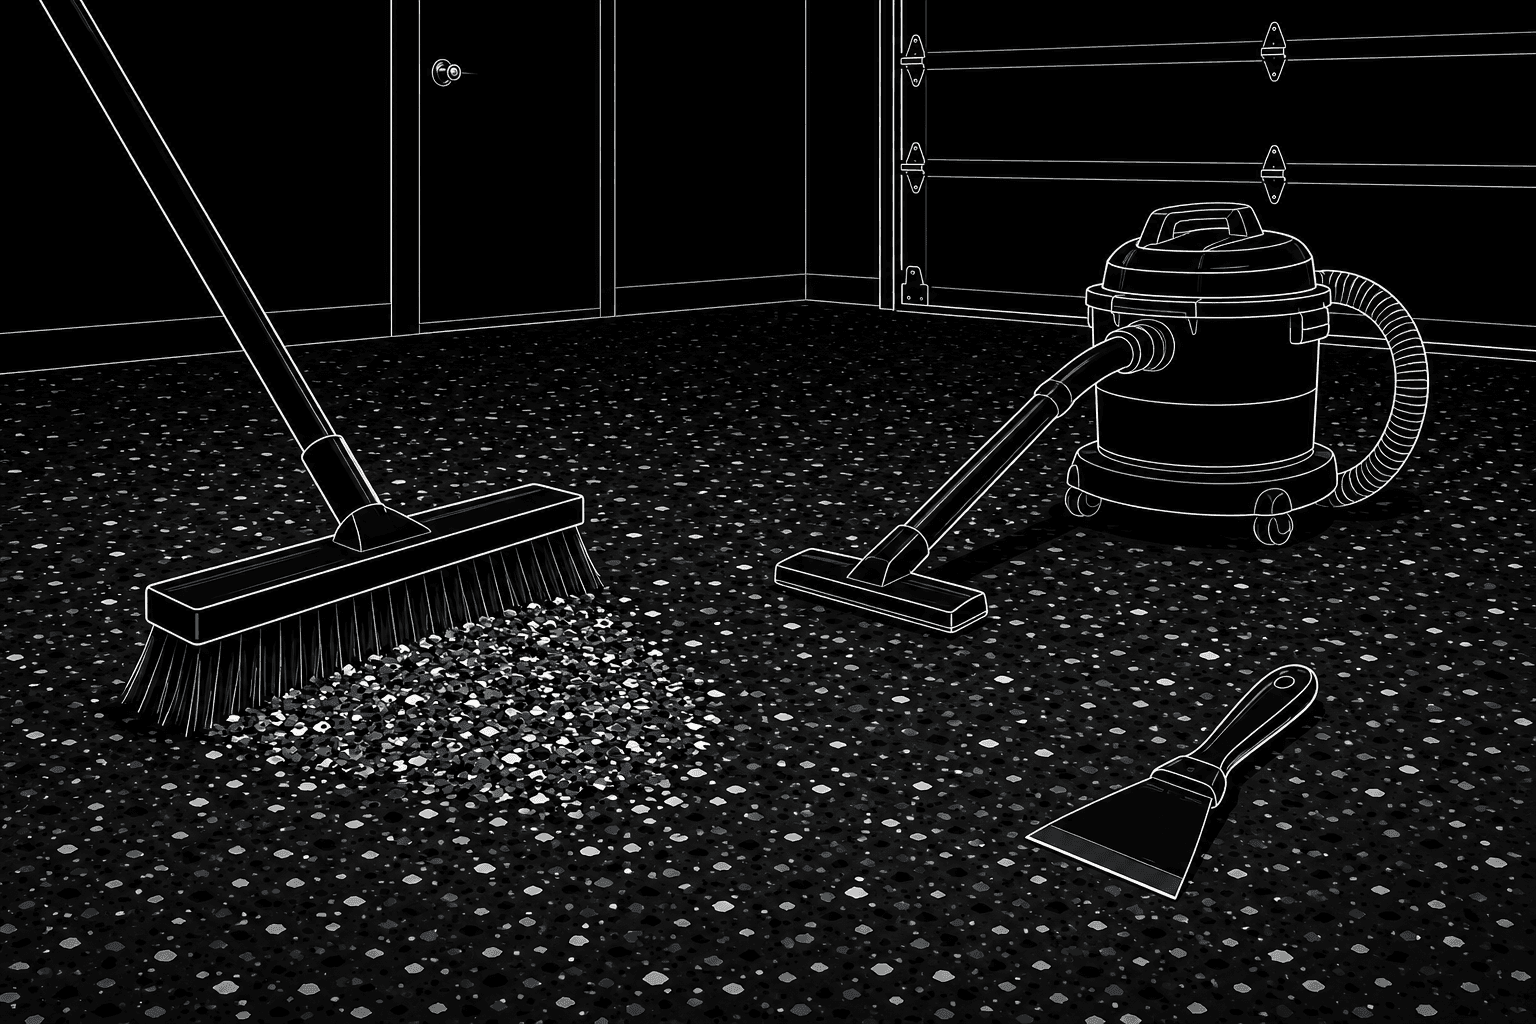
After the epoxy cures, we sweep and vacuum any loose flakes. Then, we lightly scrape the surface to make sure it's smooth and ready for the final topcoat.
Apply the Protective Topcoat
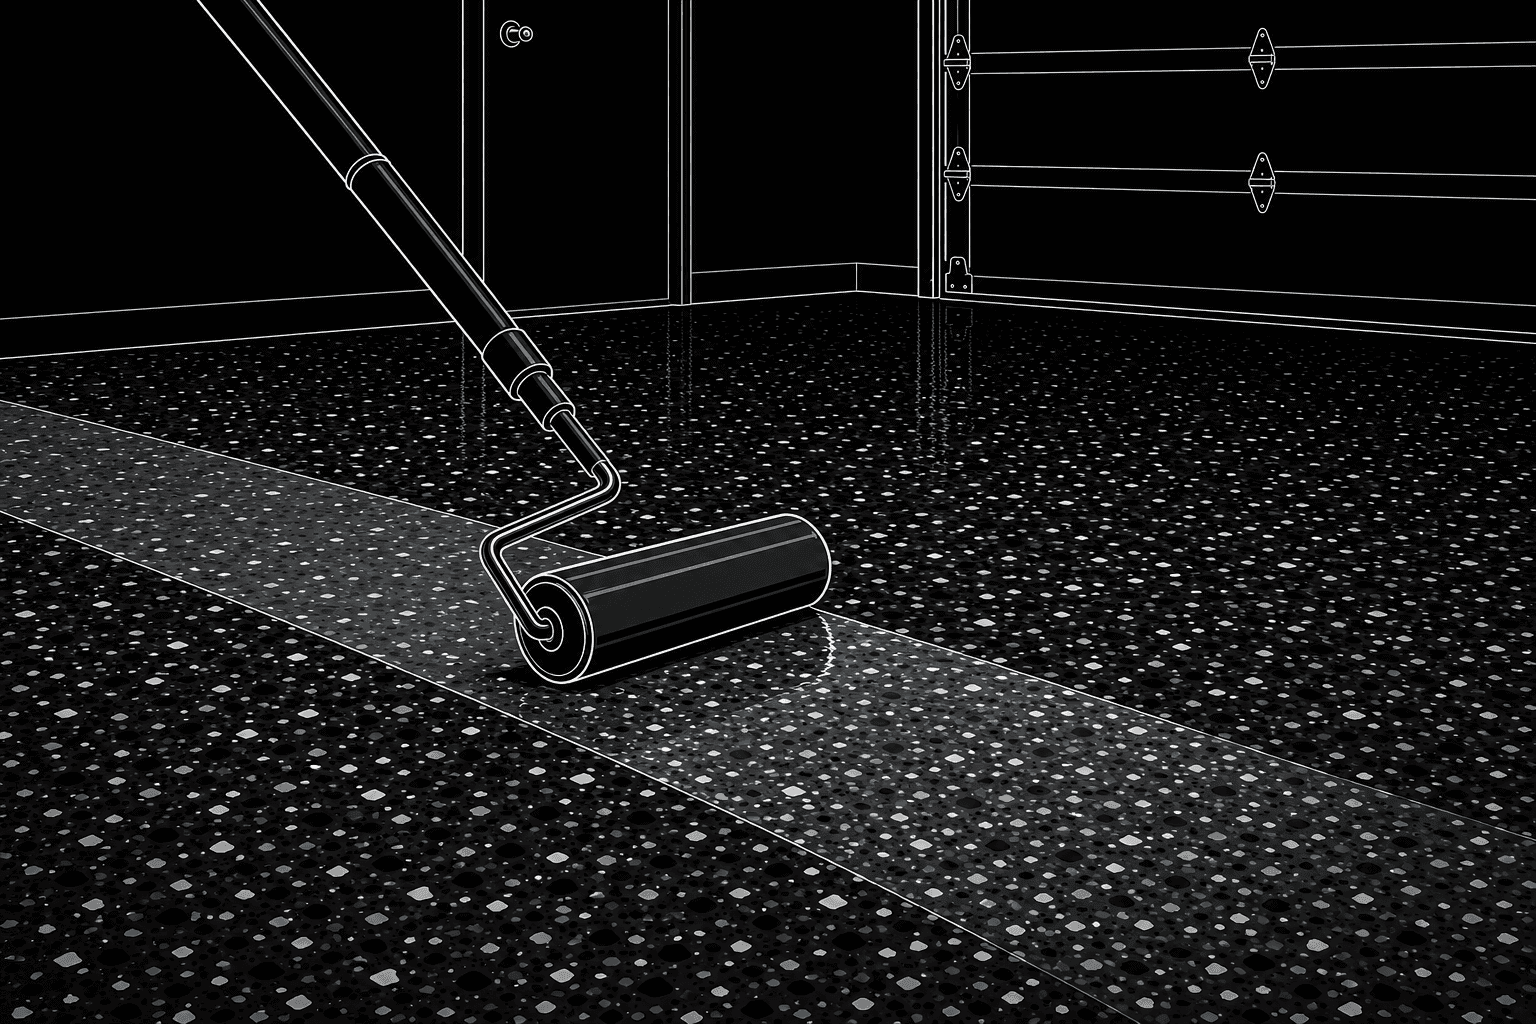
Finally, we seal everything with a durable topcoat. This protects the floor from wear and tear, chemicals, and stains, while giving it a beautiful finish.
Enjoy Your New Floor!
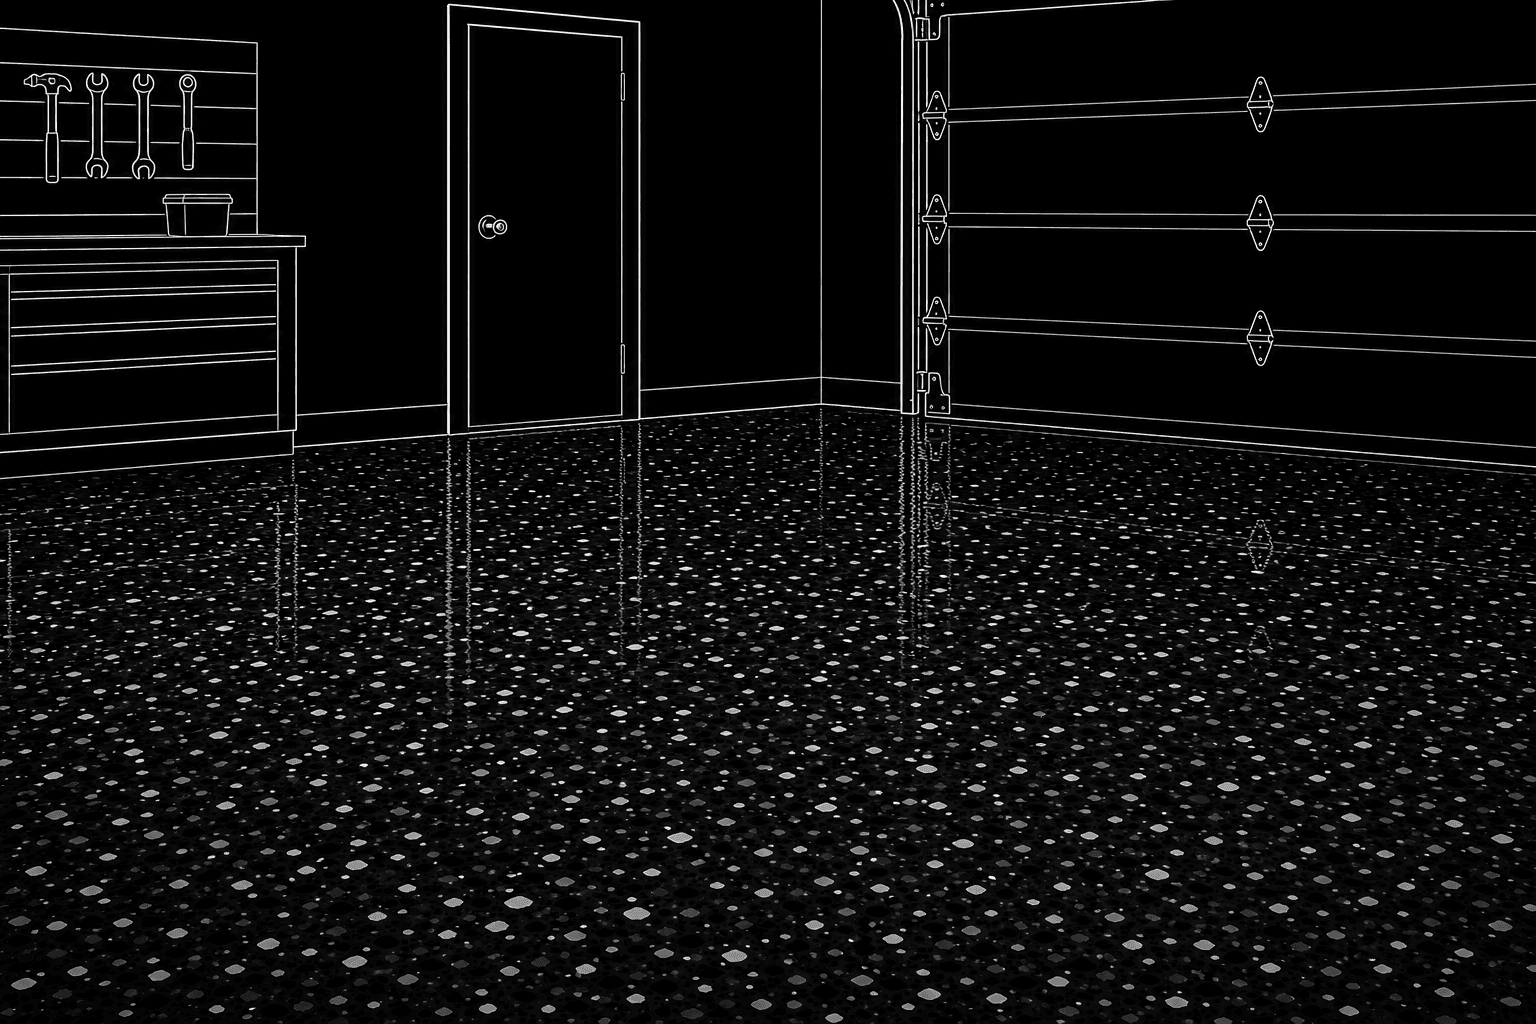
Once the topcoat cures, your new floor is ready to use. It's strong, beautiful, easy to clean, and built to last for years.