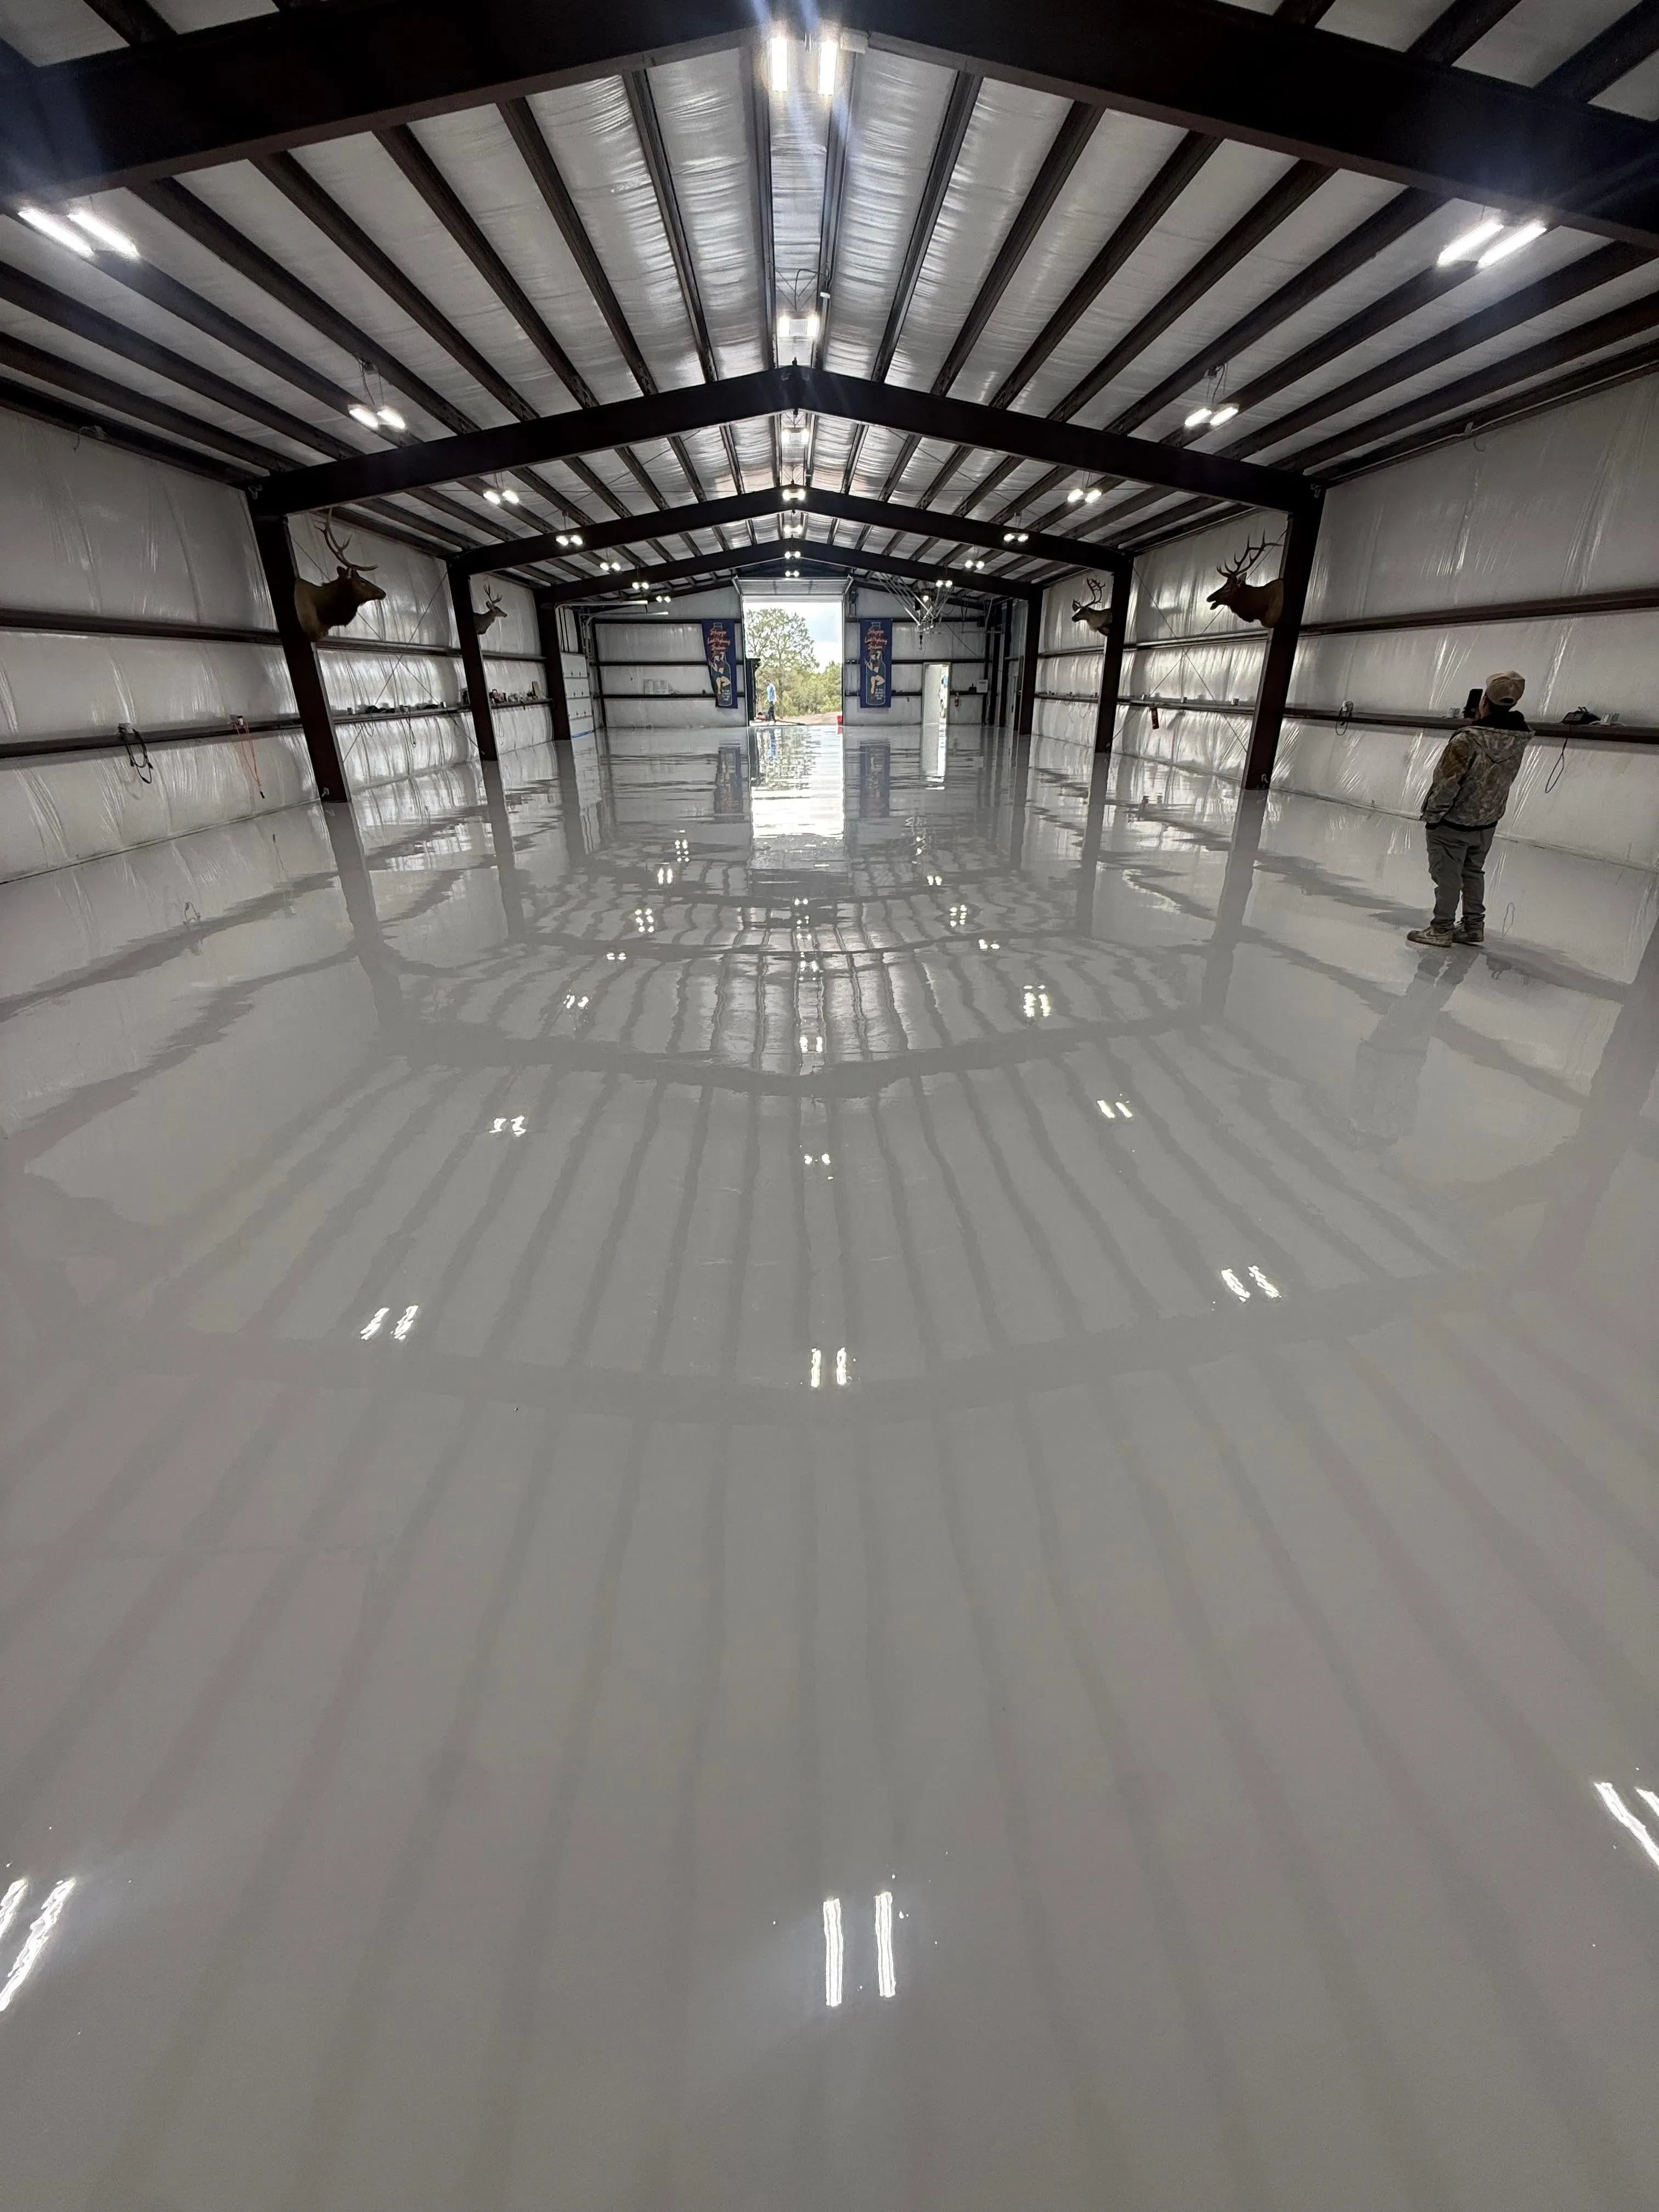
Single Color System



A single-color epoxy floor in not only sleek and modern, but it's also a practical choice. It's durable, easy to clean, and resistant to scratches, chemicals, and moisture, making it perfect for homes and businesses alike. Plus, with various colors to choose from, you can easily match your style or brand.
Advantages of Single Color Epoxy Floors
- ✓Highly durable and long-lasting
- ✓Resistant to scratches, impact, and chemicals
- ✓Easy to clean and maintain
- ✓Waterproof and moisture-resistant
- ✓Cost-effective with low maintenance needs
- ✓Provides a clean, modern and professional look
- ✓Quick and efficient installation
- ✓Customizable in a variety of solid colors
- ✓Eco-friendly with low VOC emissions
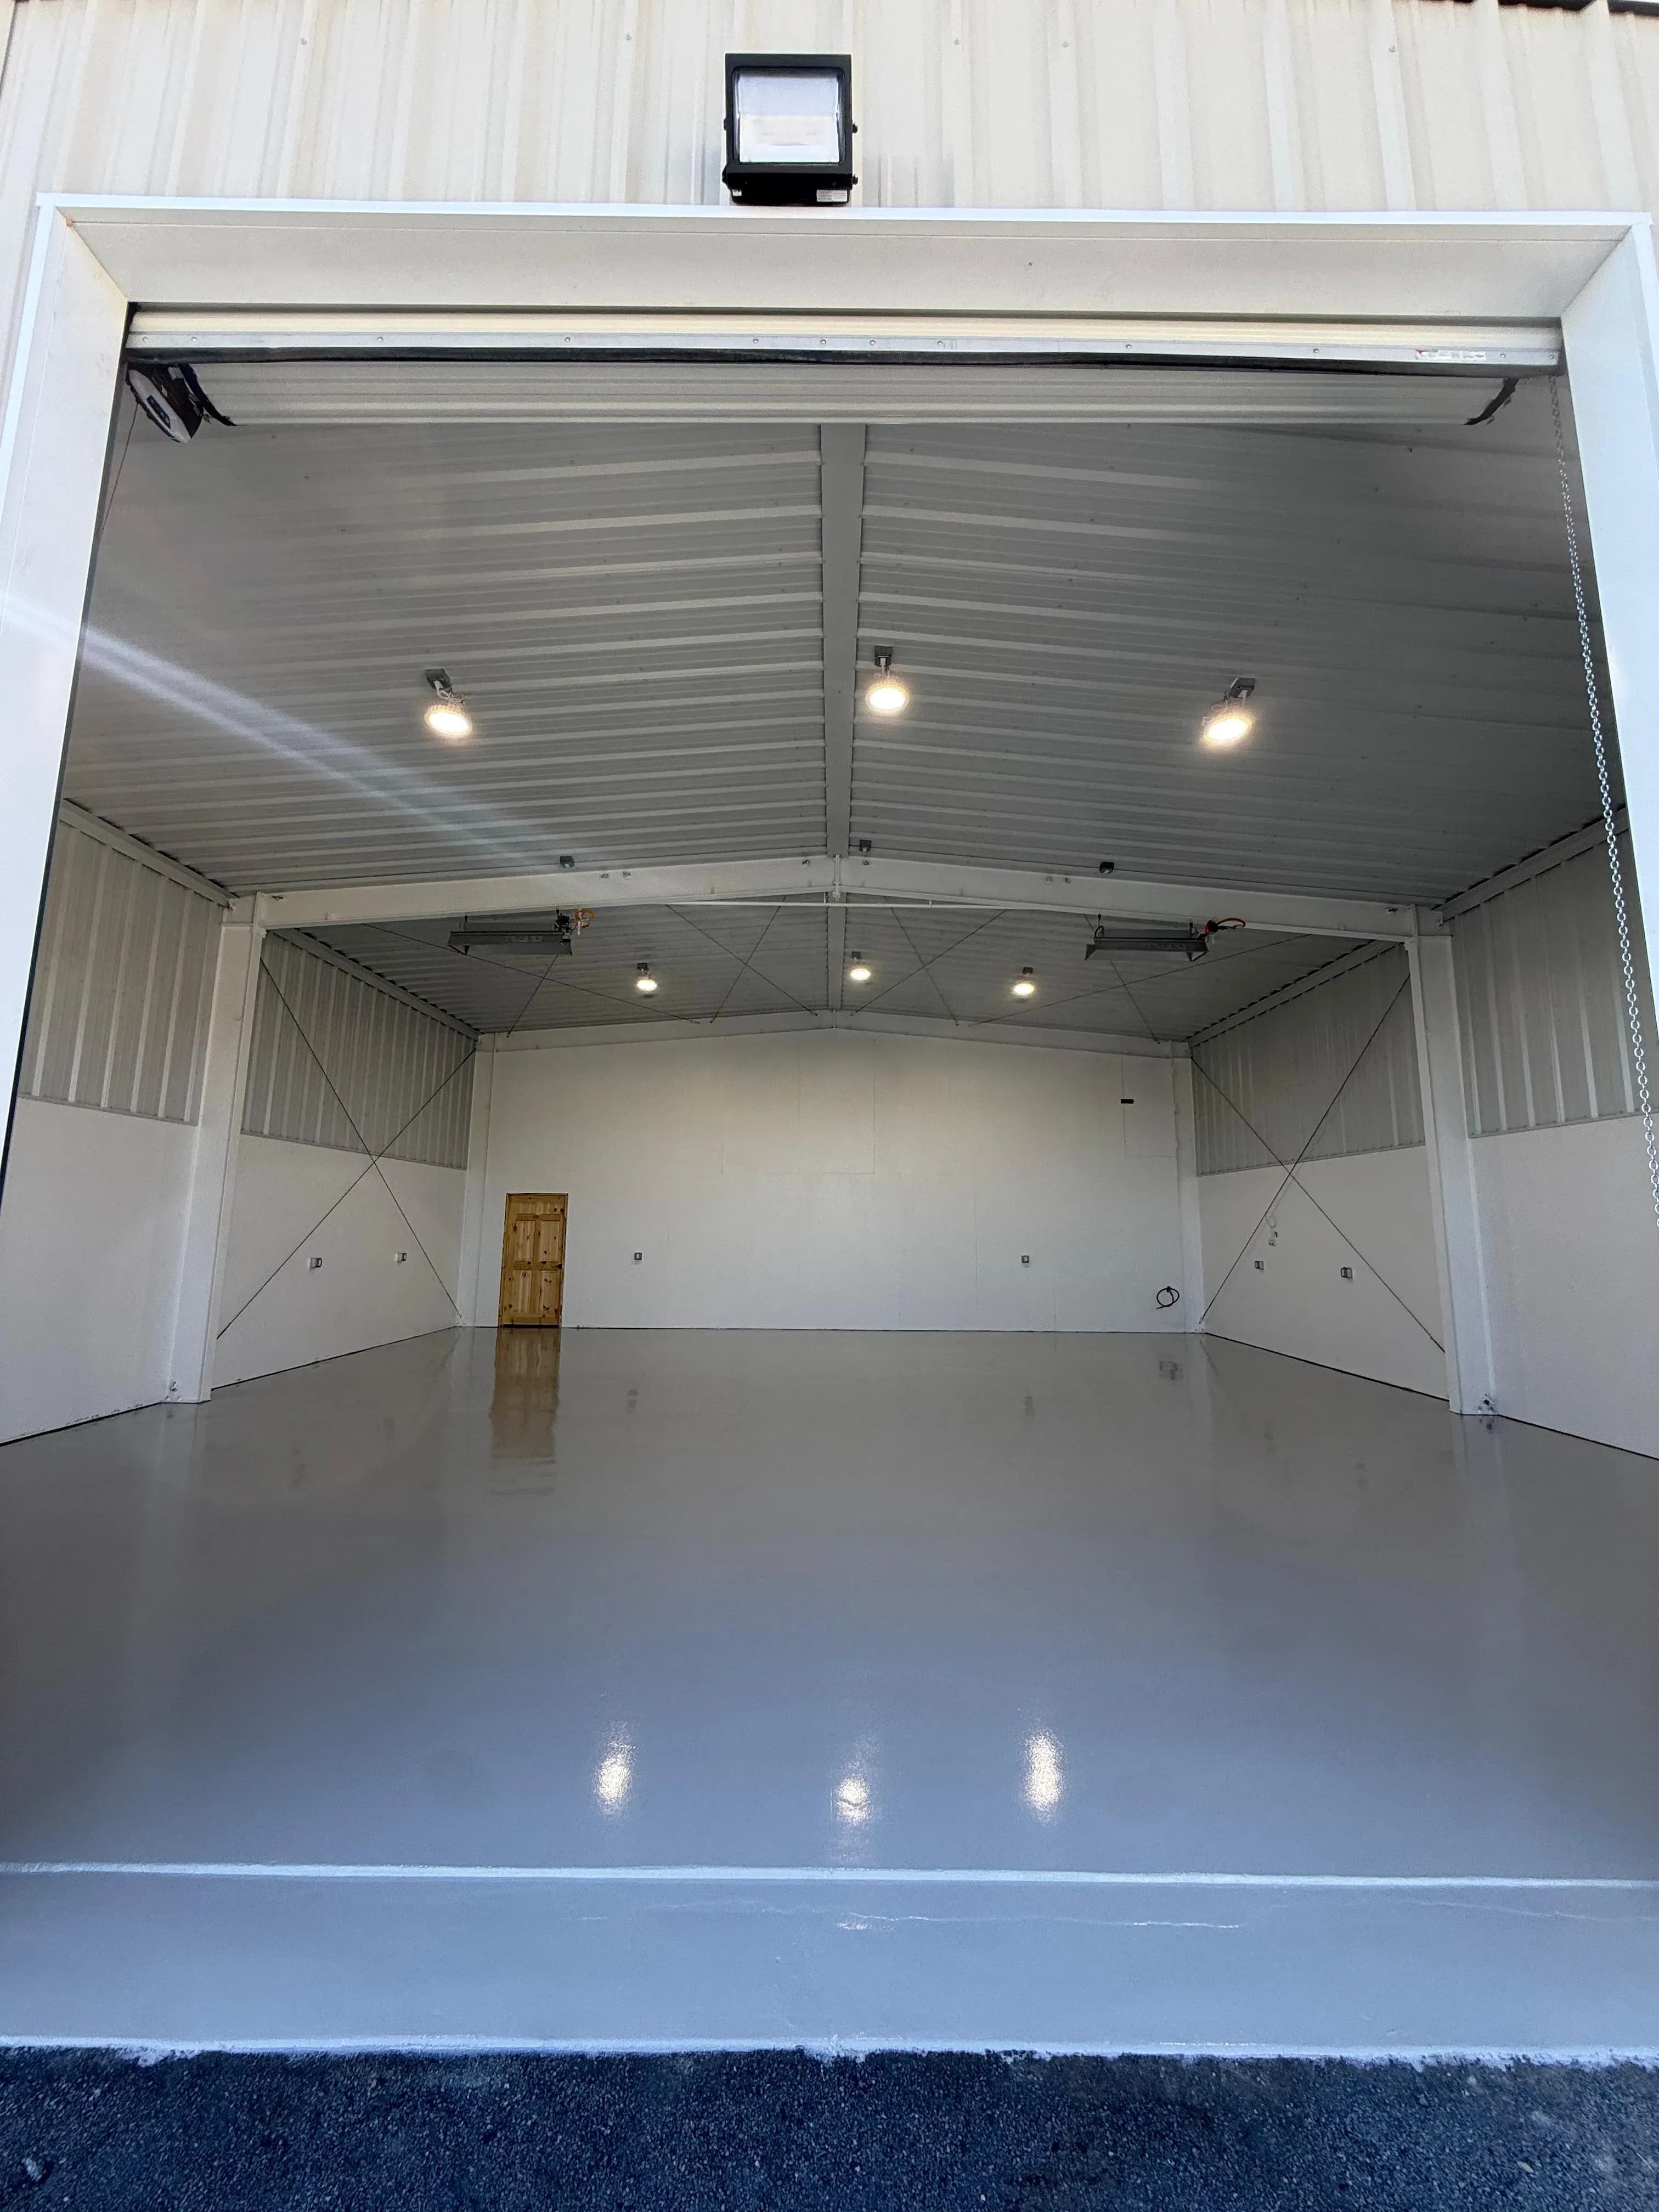
Before & After
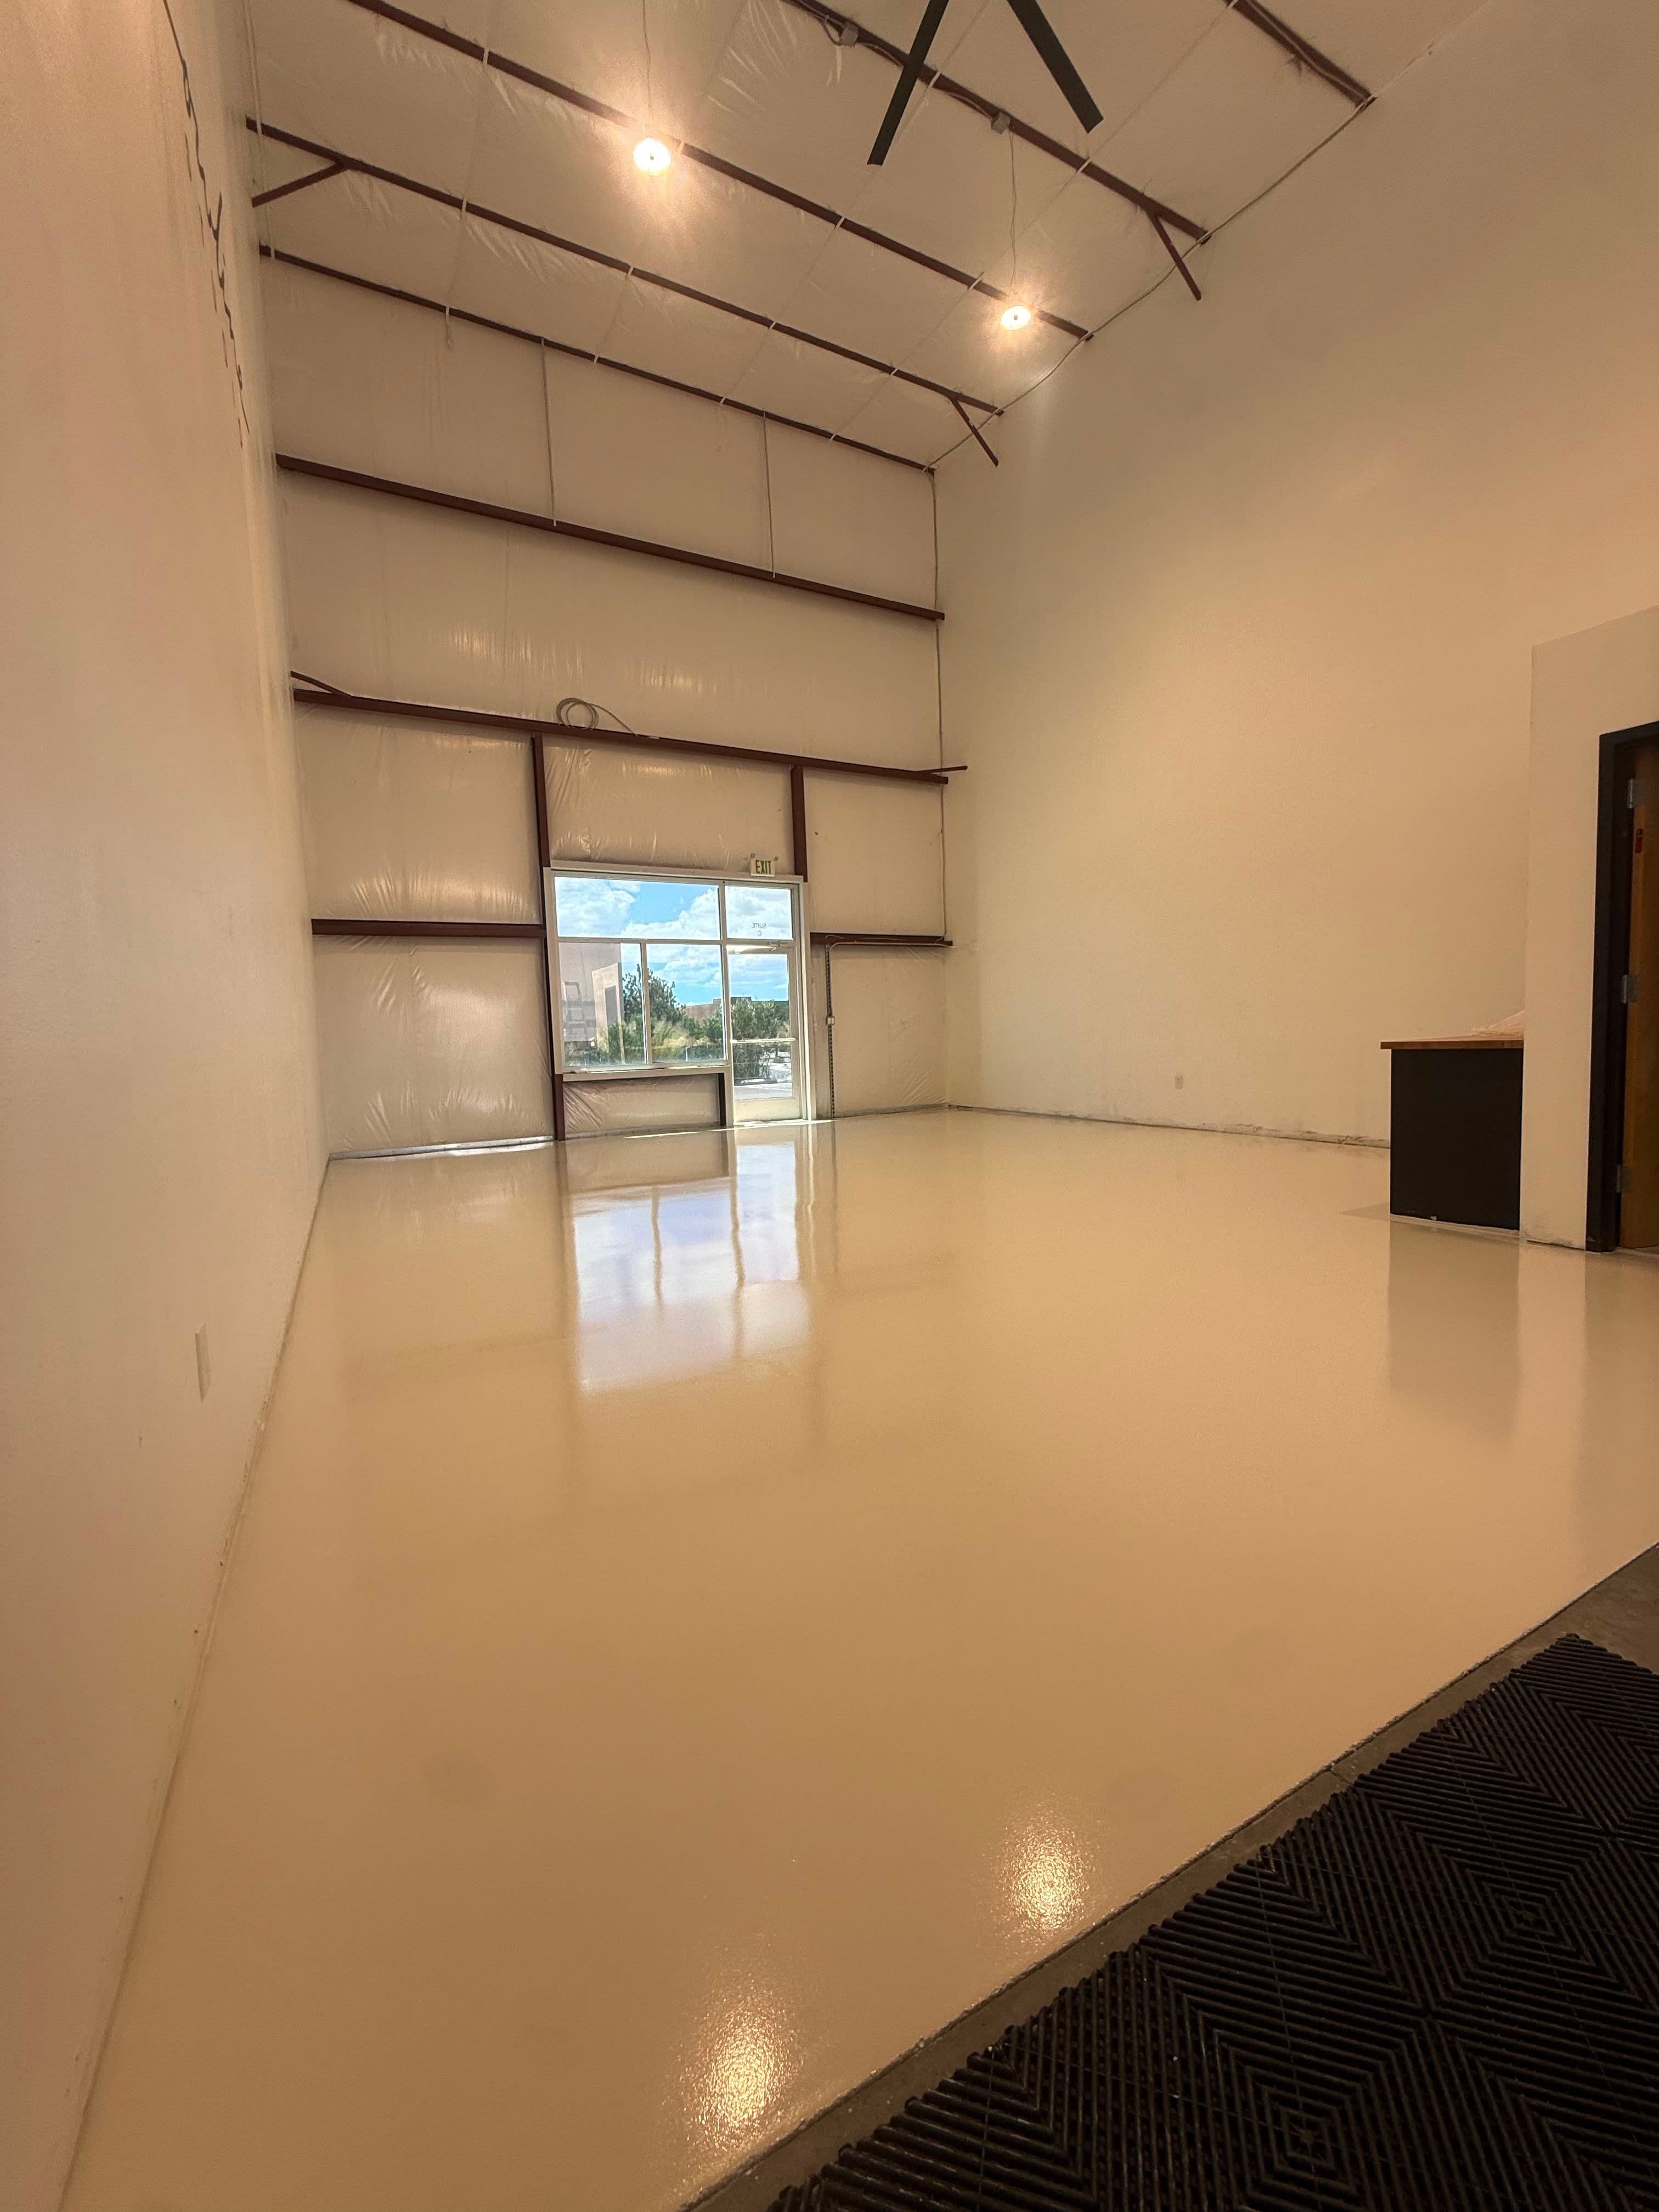
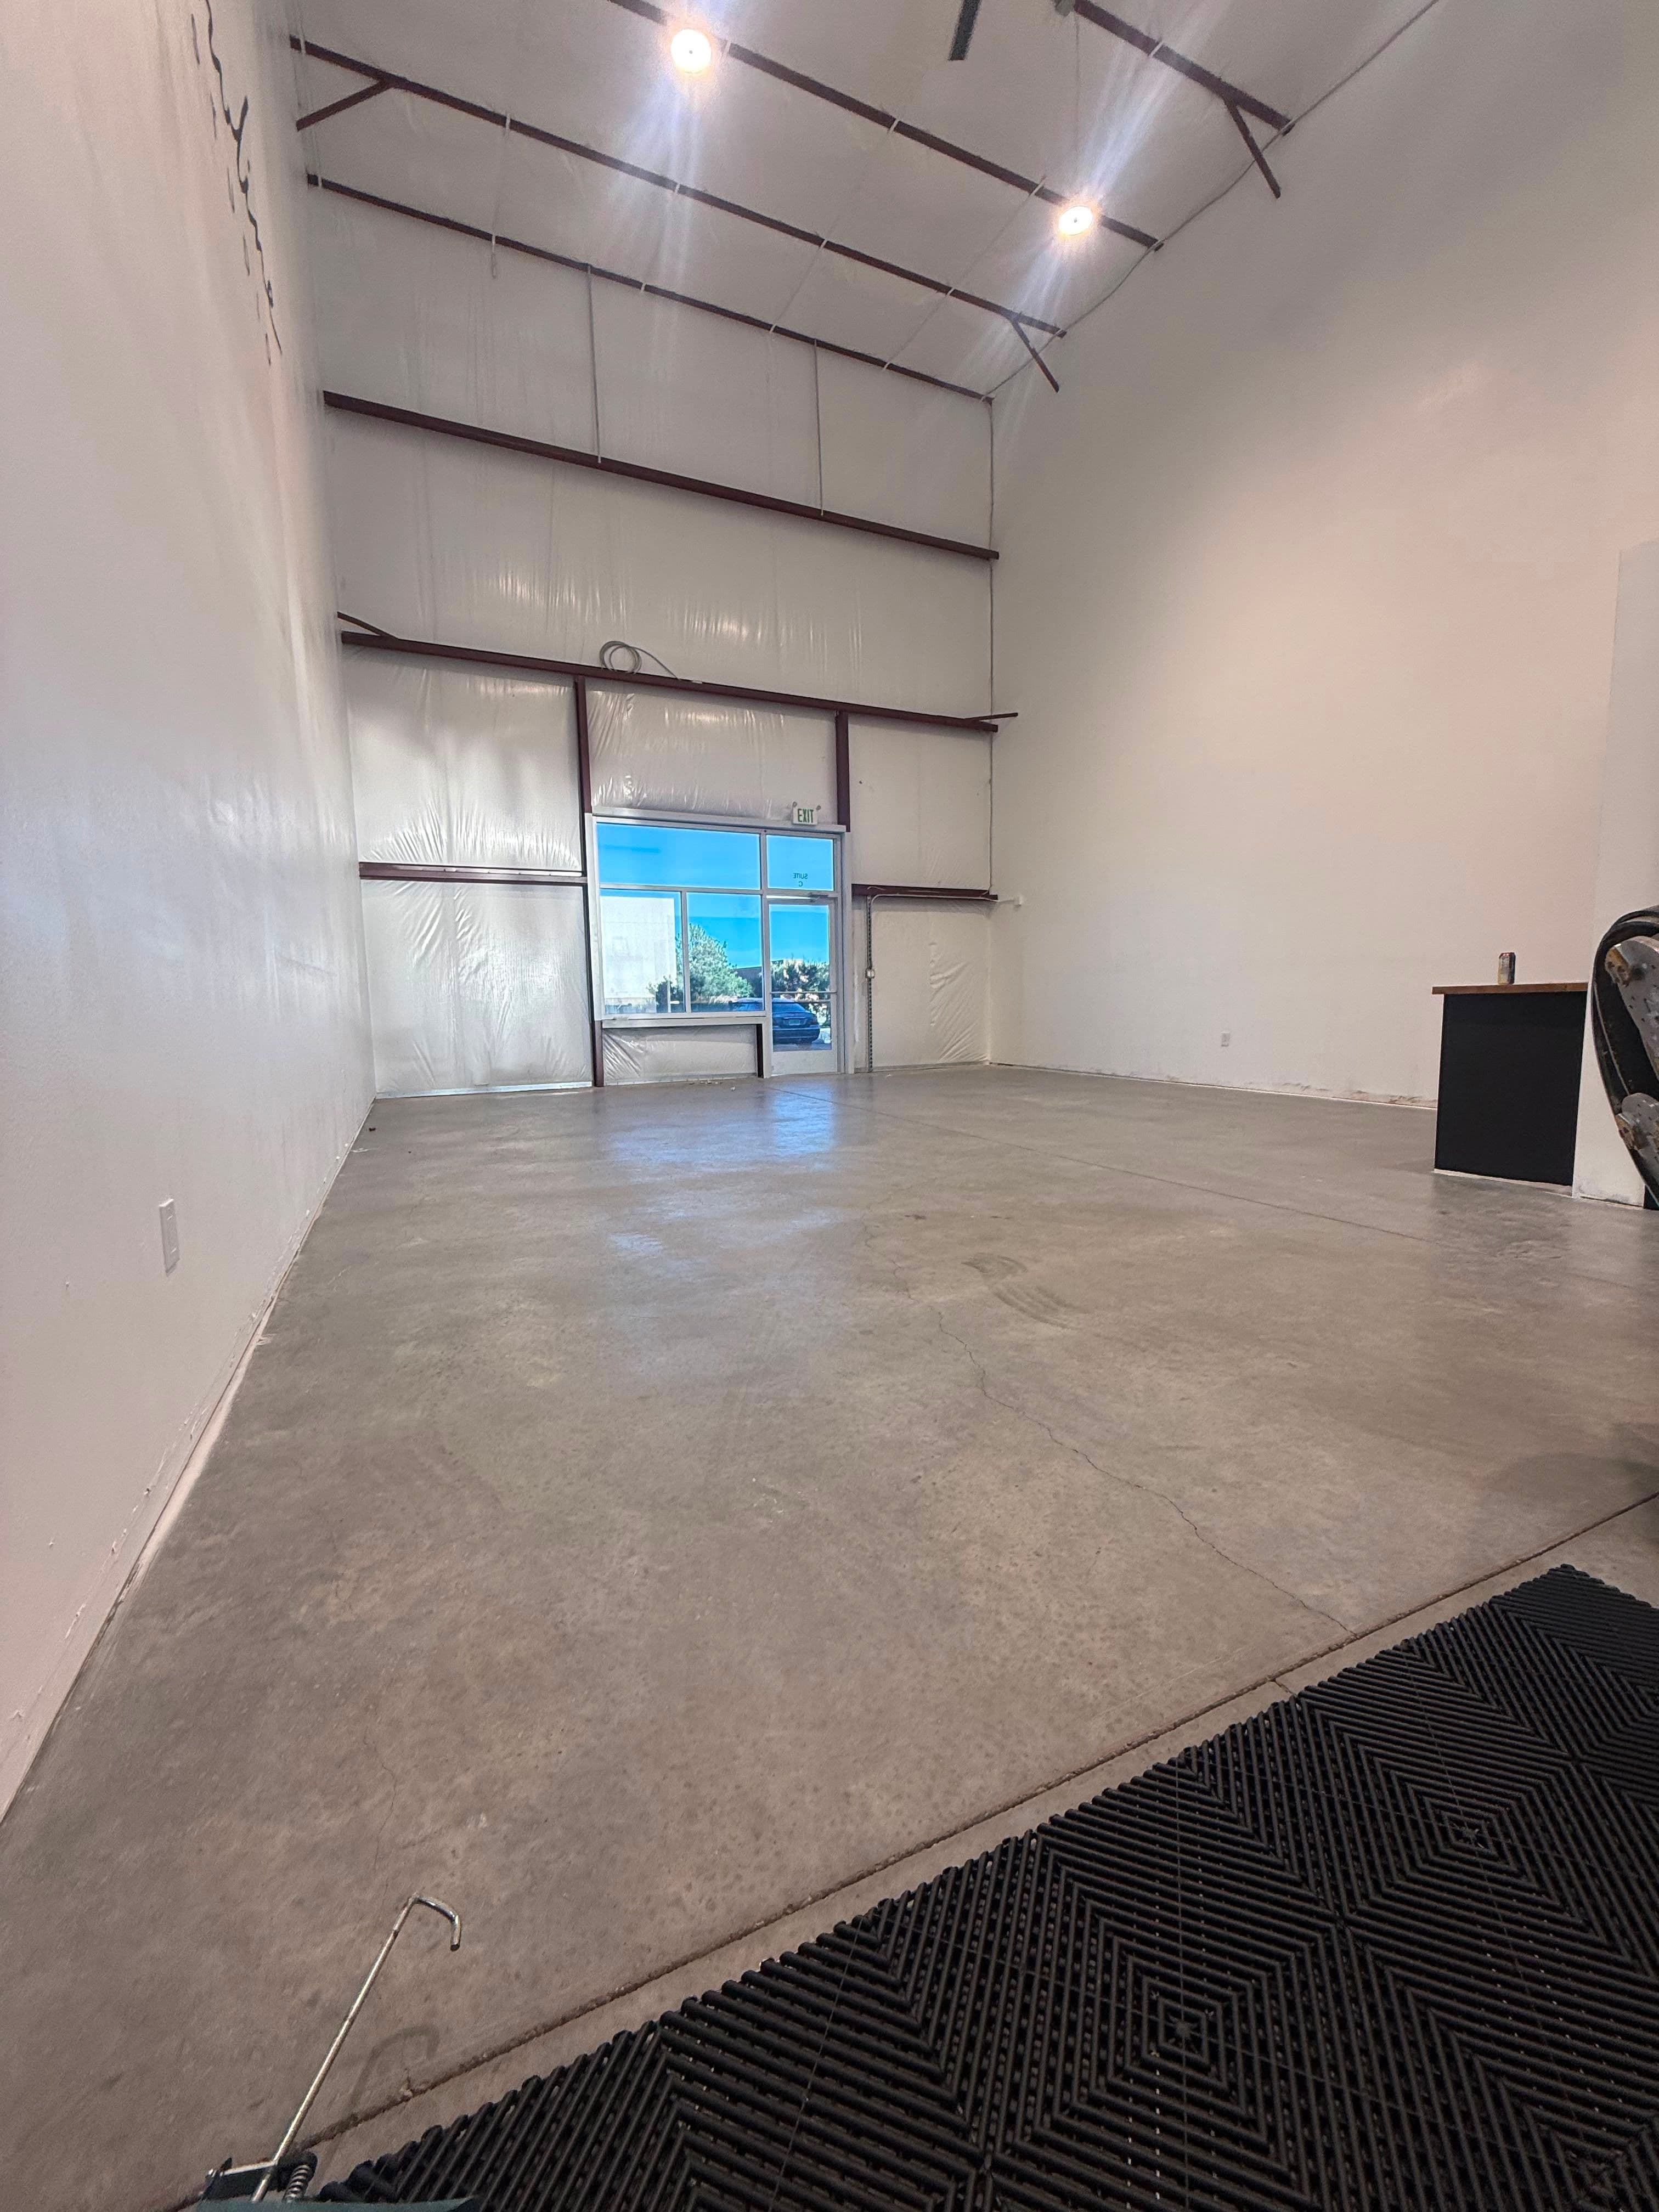
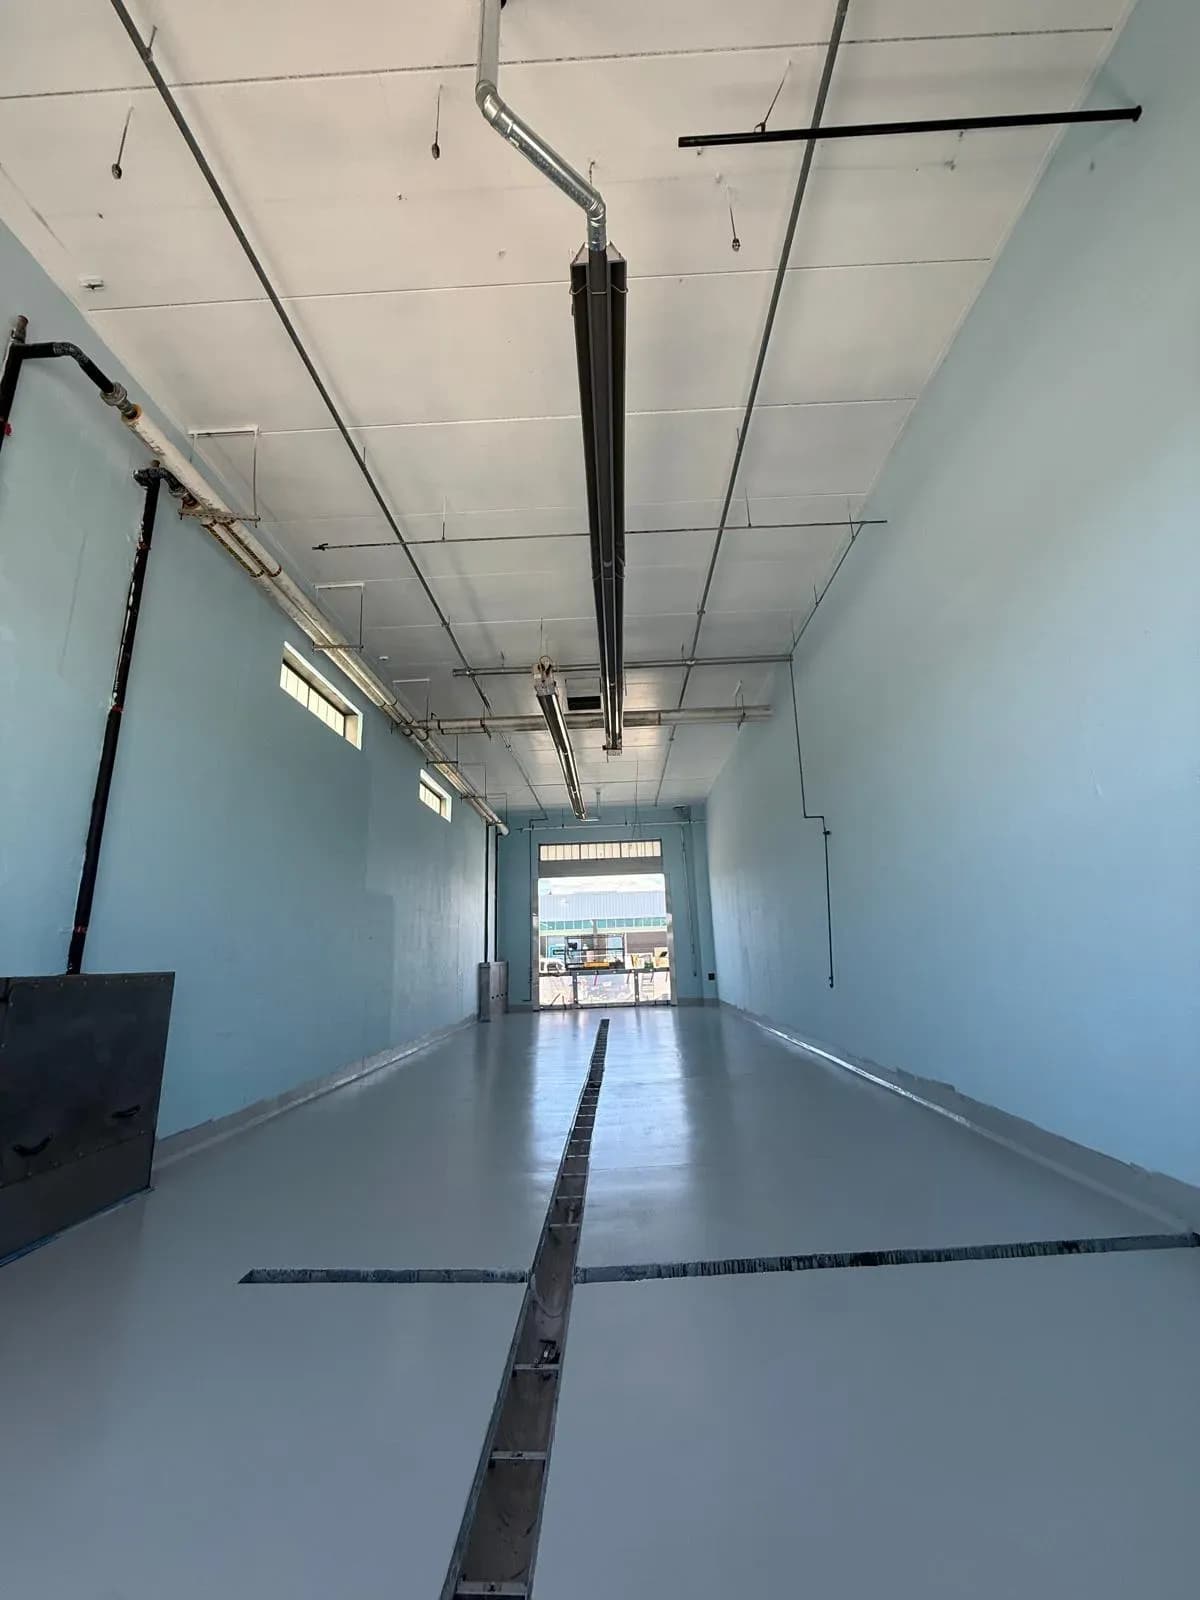 AFTER
AFTER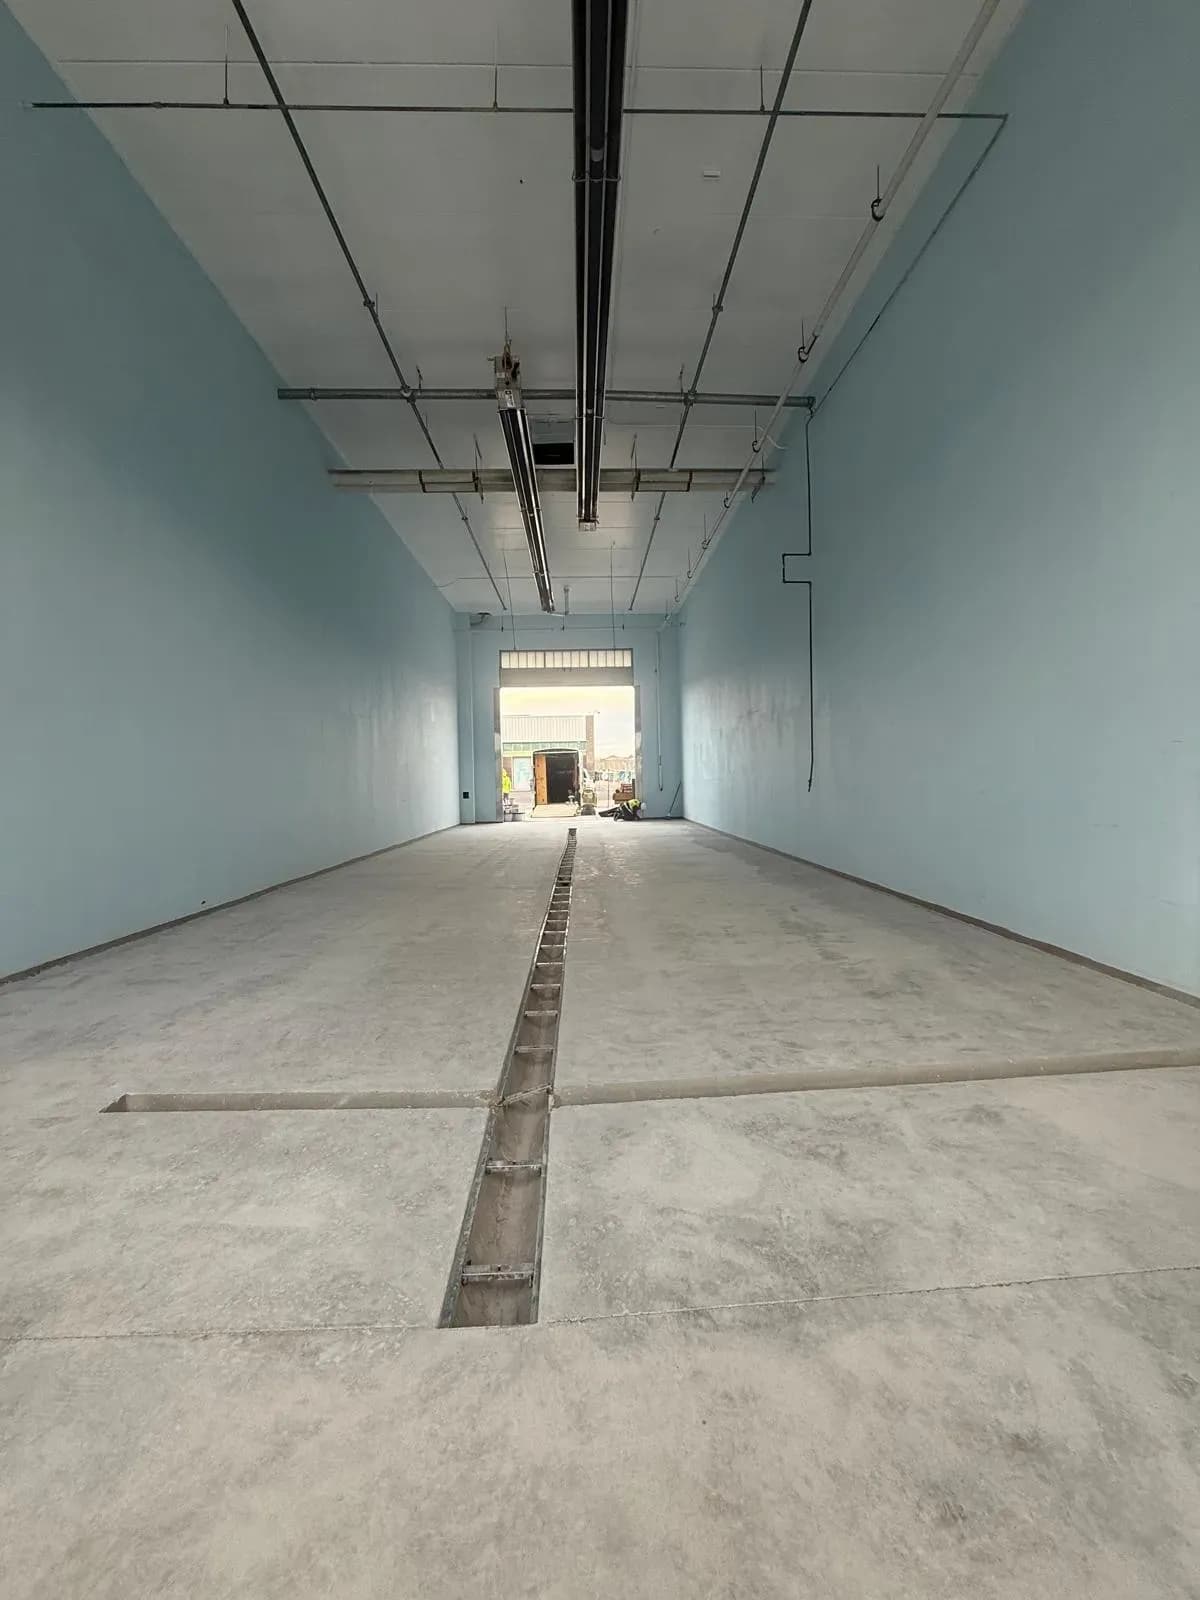 BEFOREAFTER
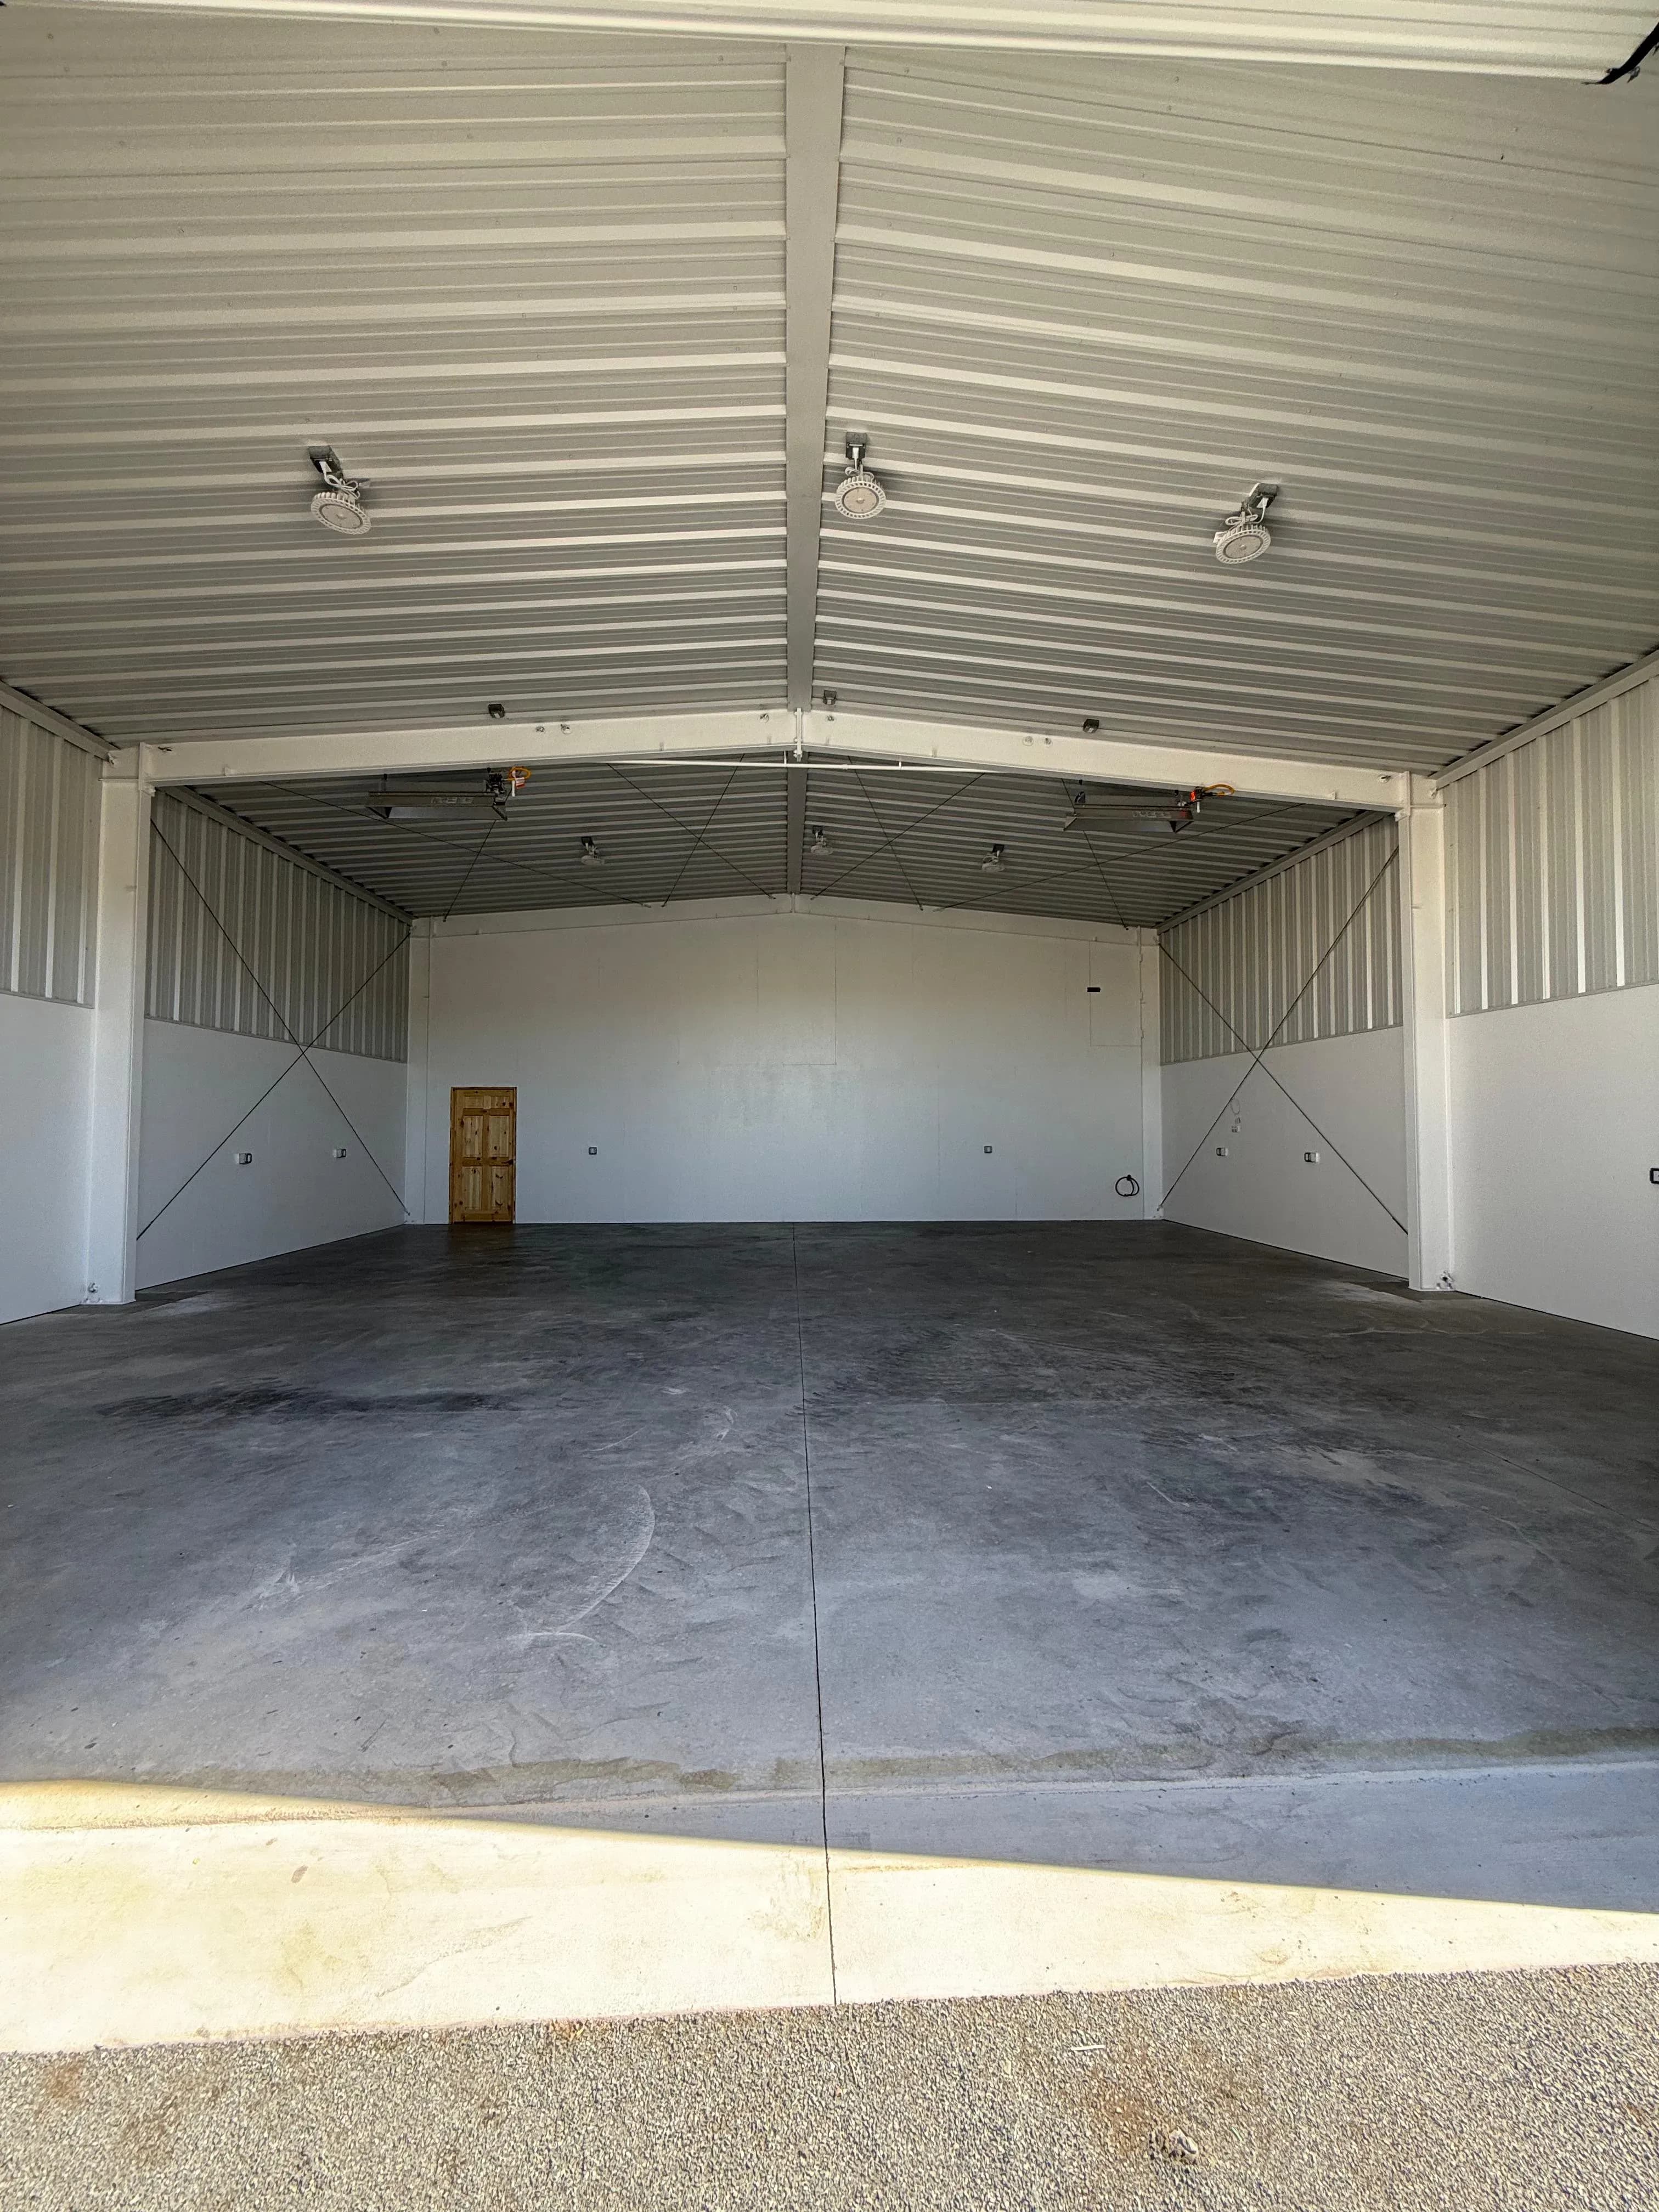 BEFORE
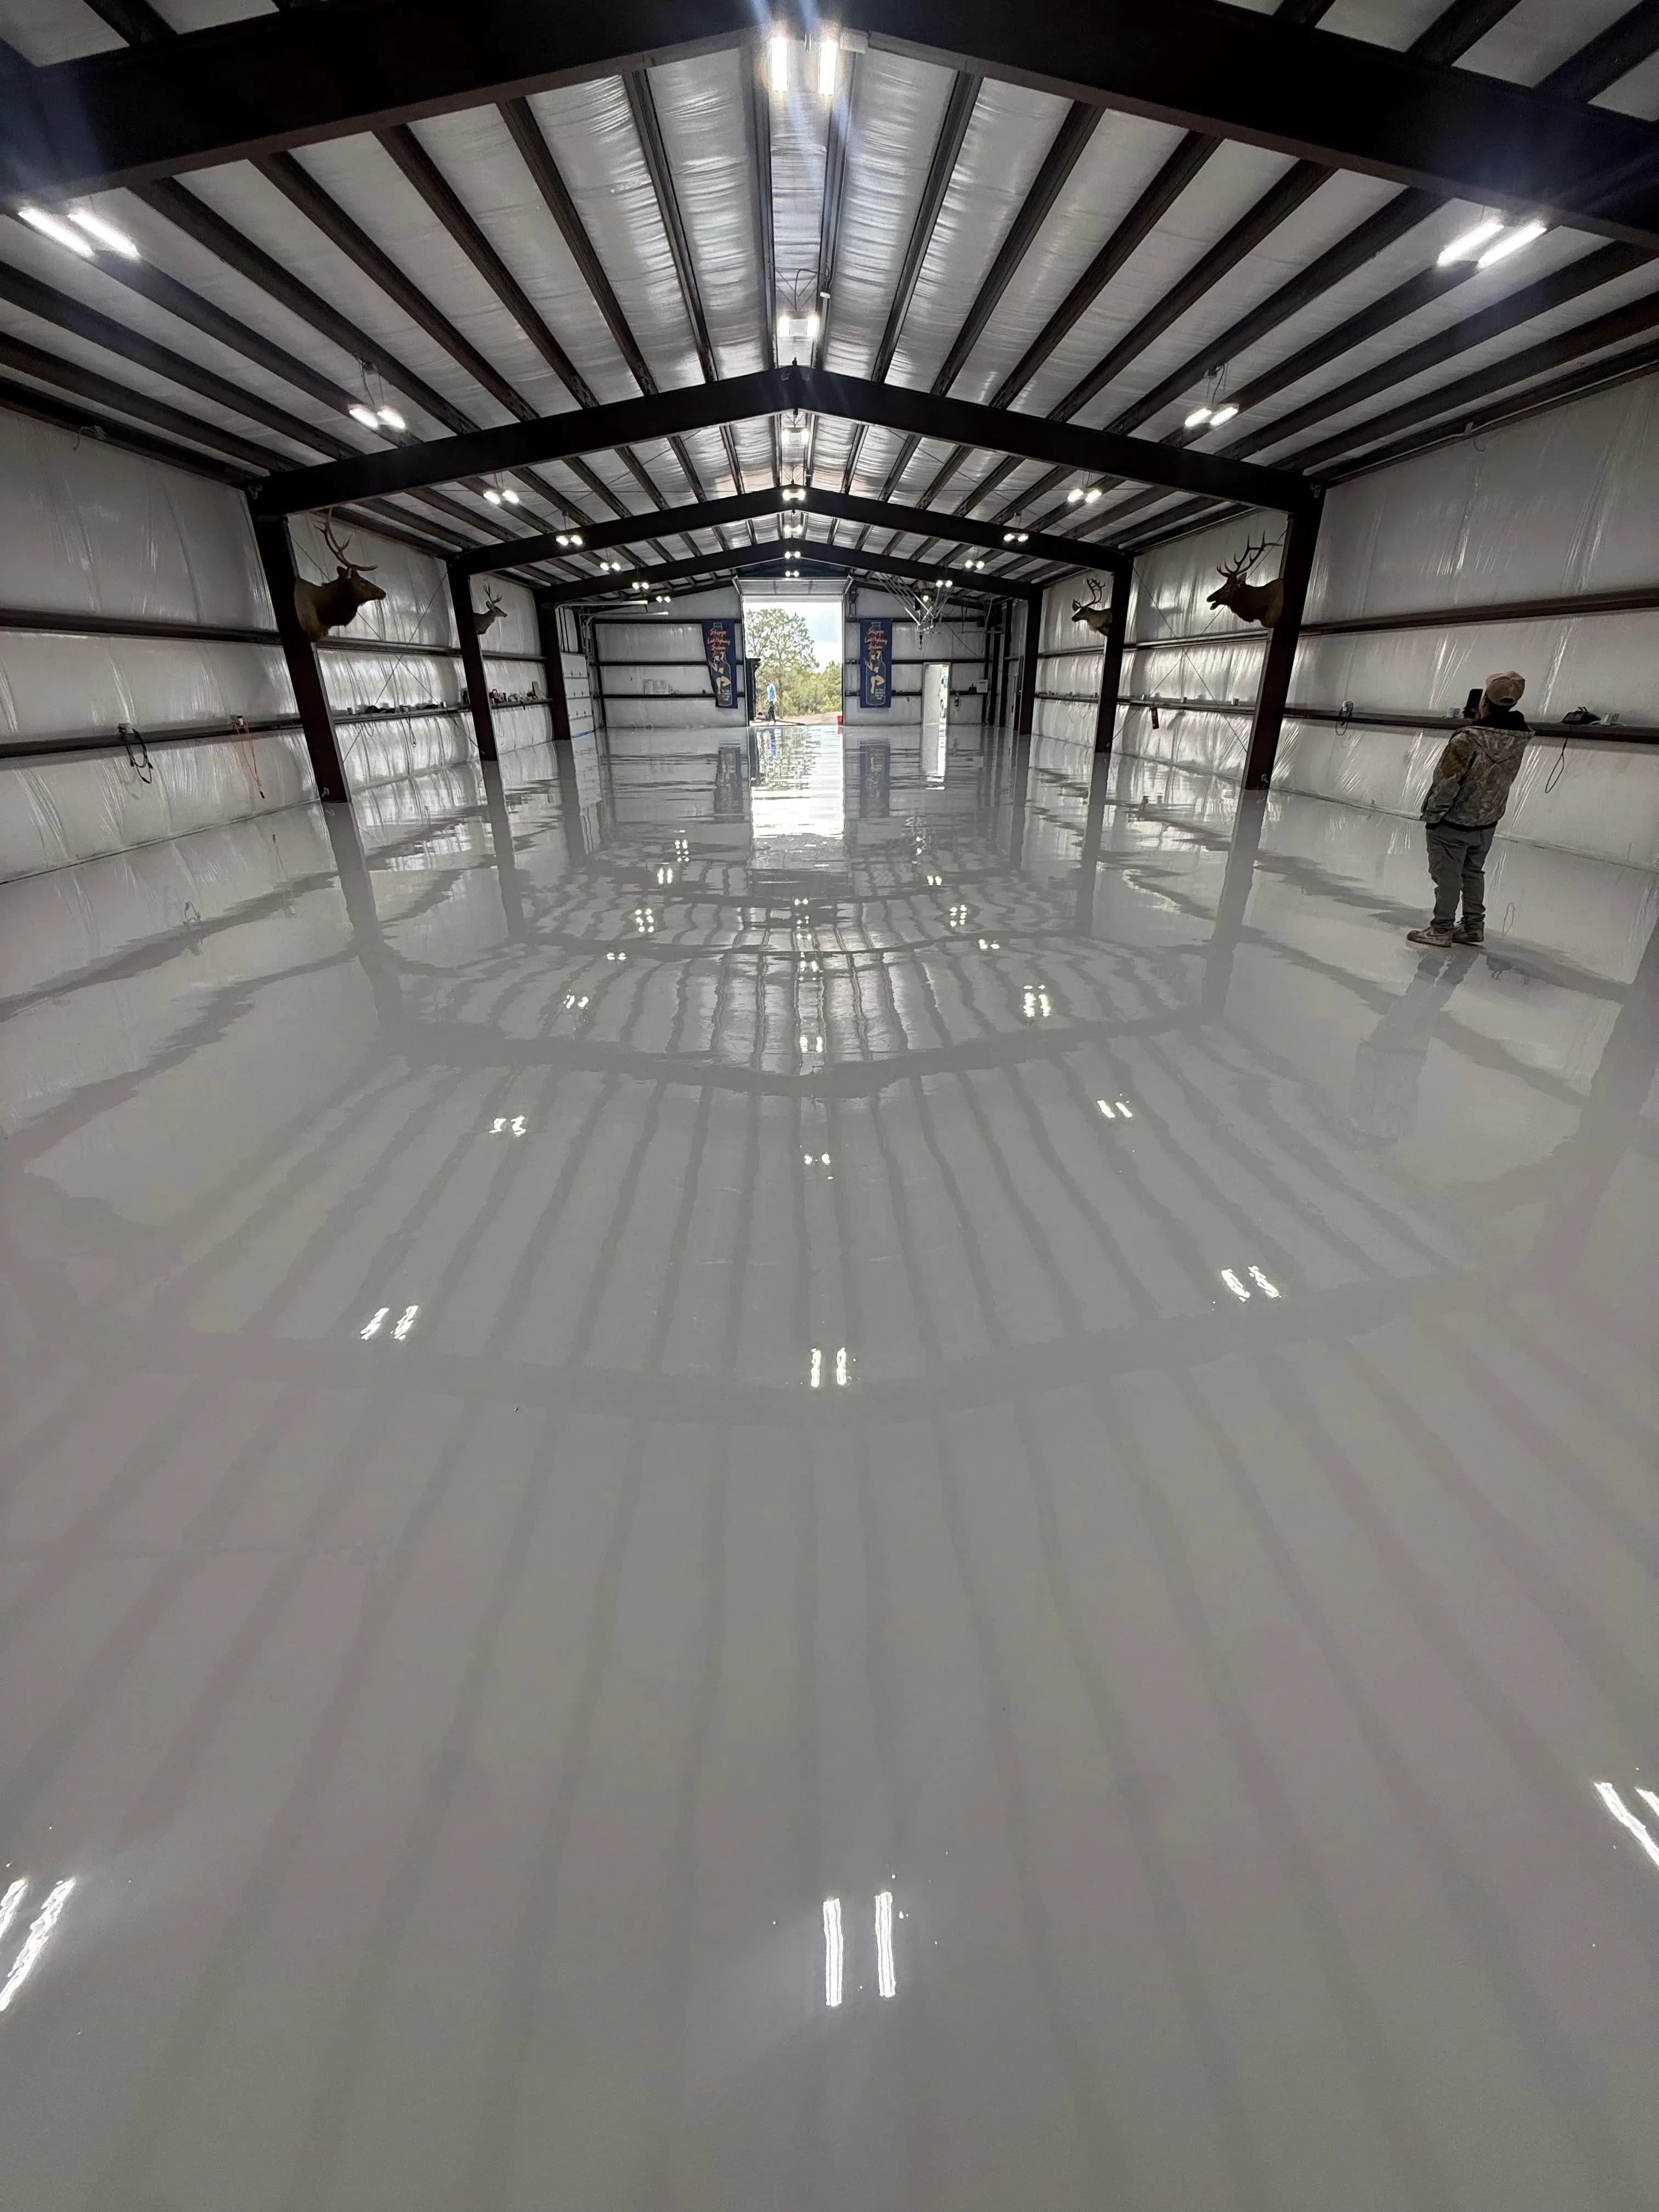 AFTER
AFTER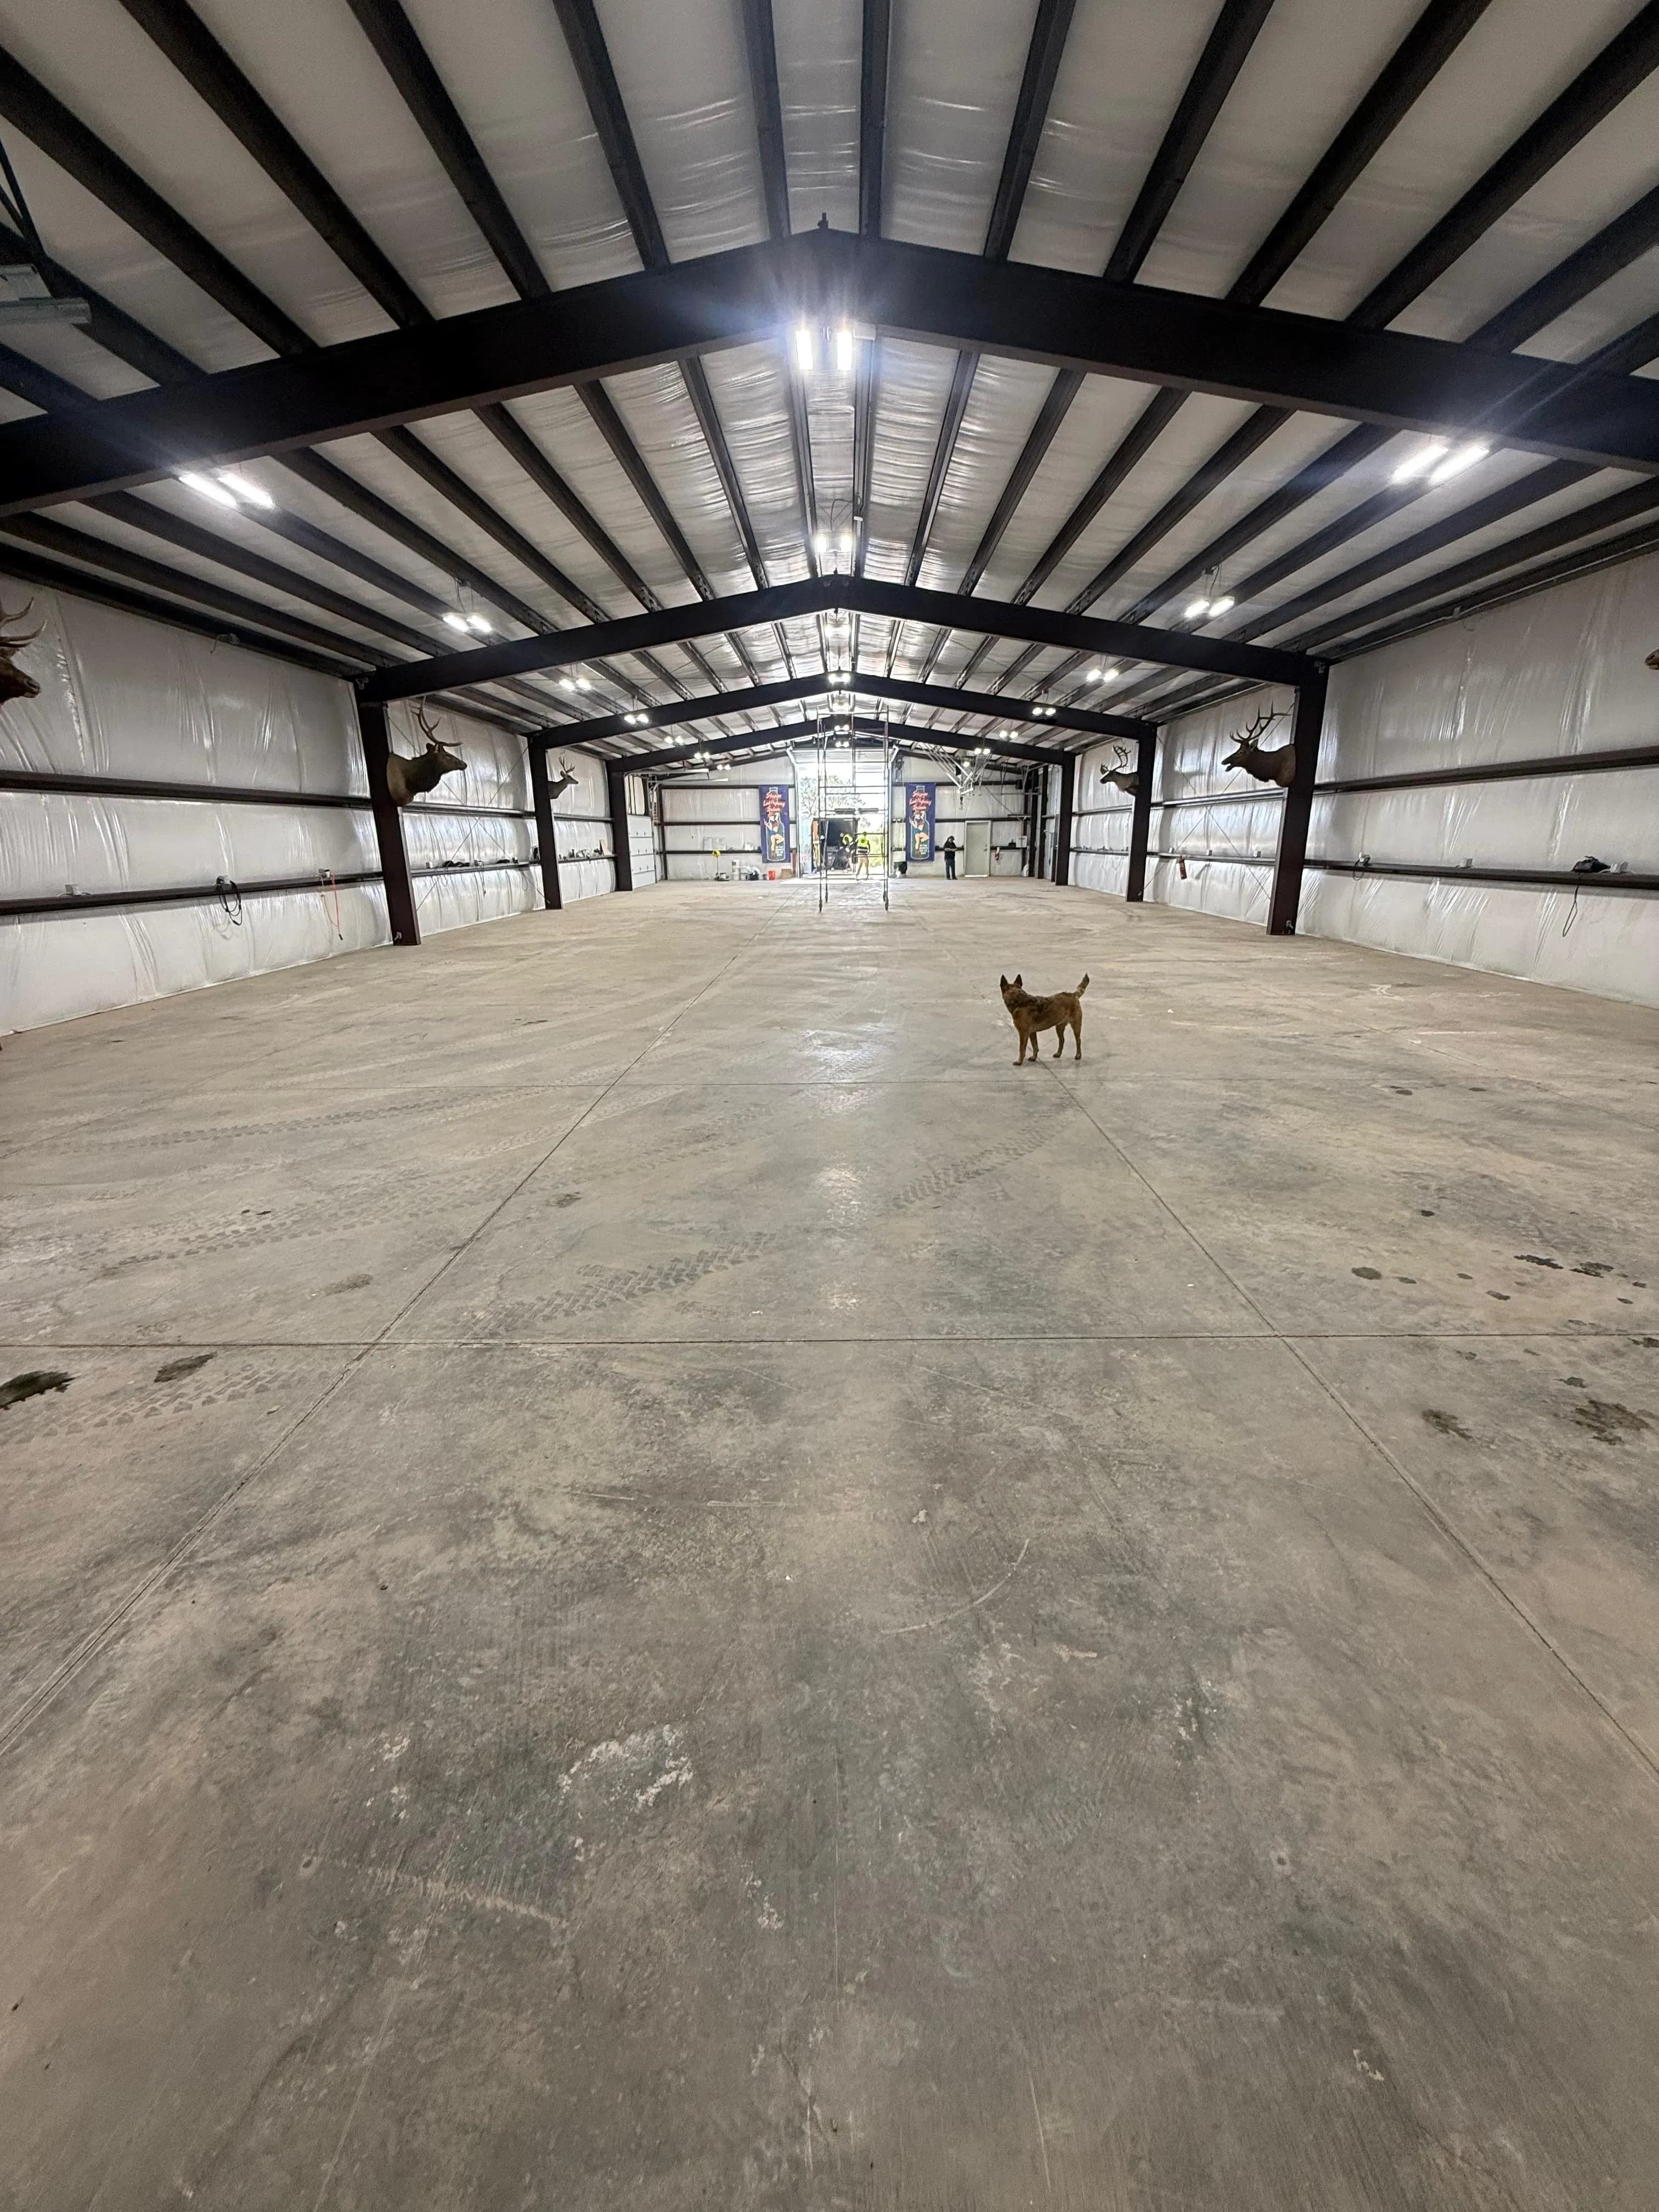 BEFORE
Installation Steps
Our Step-by-Step Installation Process
Inspection & Planning
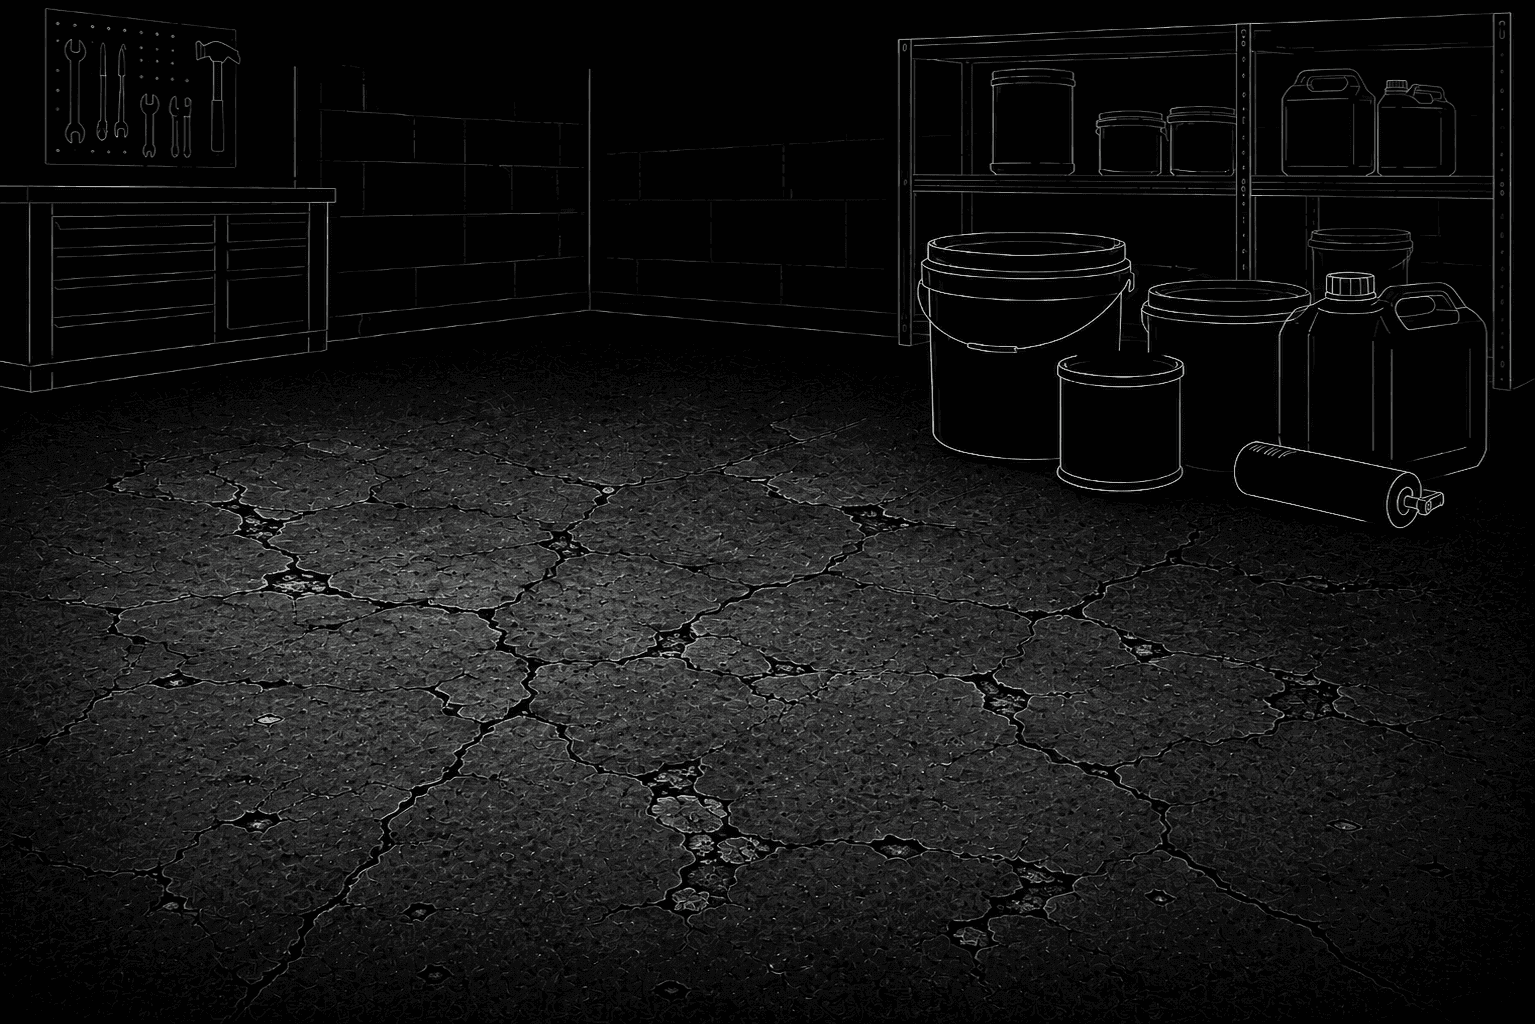
We begin by carefully inspecting your concrete floor for cracks, surface damage, moisture issues, and other conditions that could affect the final result. We also prepare and measure the materials needed for the installation so the entire process is planned accurately from the start.
Surface Preparation
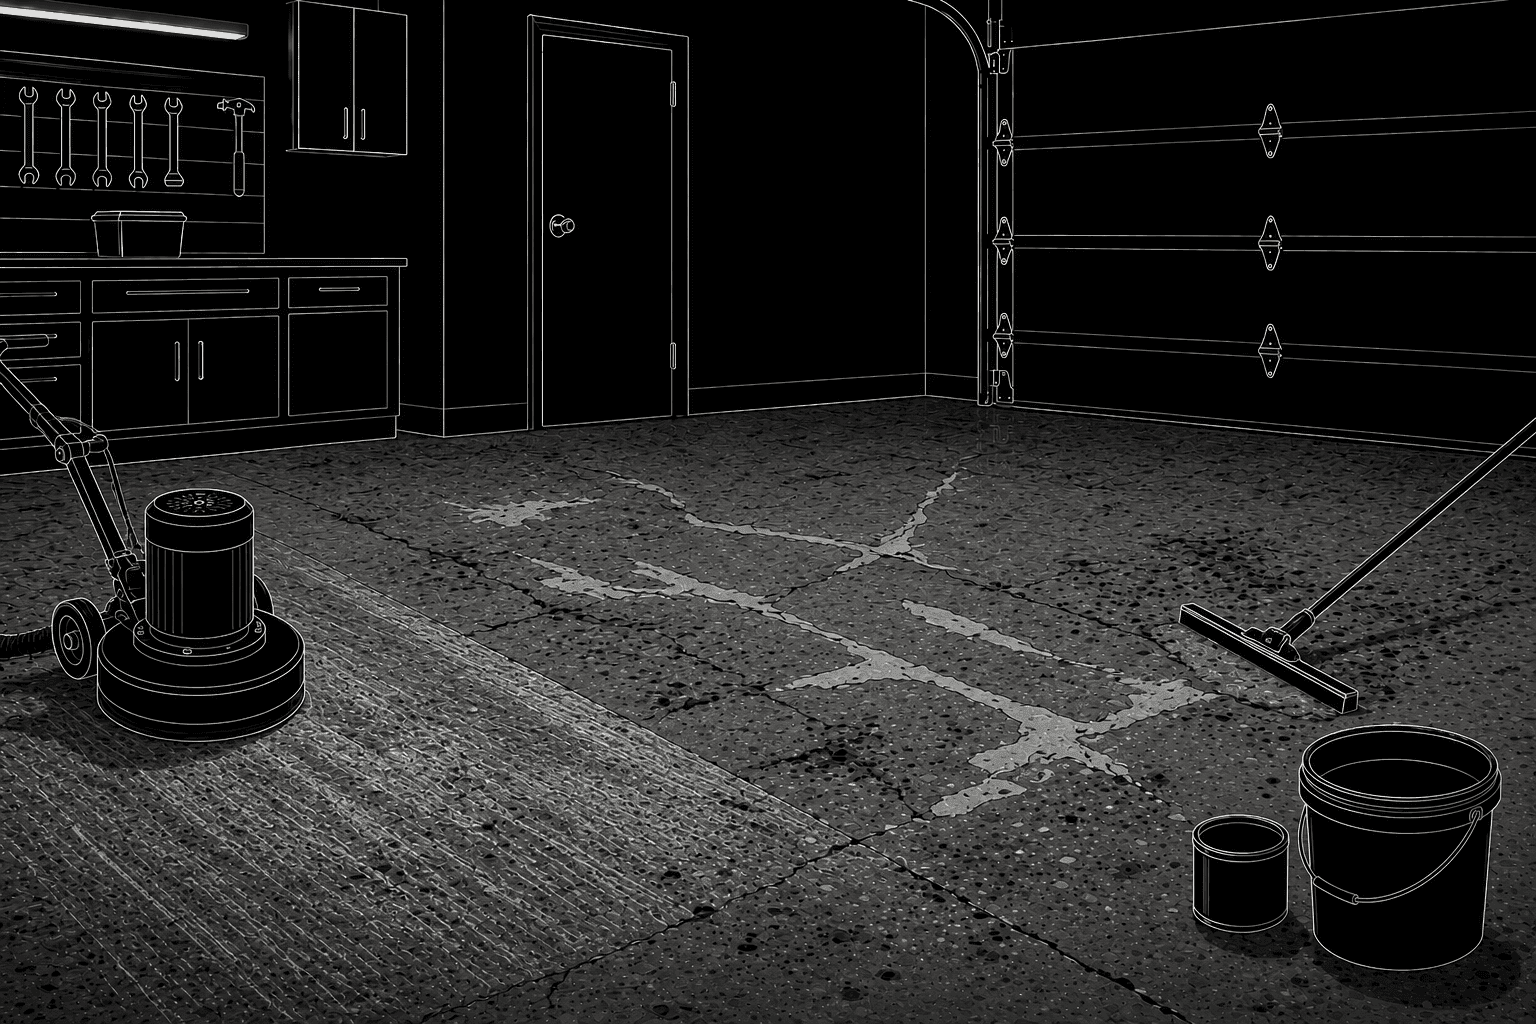
Next, we thoroughly clean the concrete to remove dirt, grease, stains, and other contaminants. We repair cracks and surface imperfections with professional-grade materials, then grind or shot-blast the floor to create the proper surface profile for strong epoxy adhesion.
Primer Application
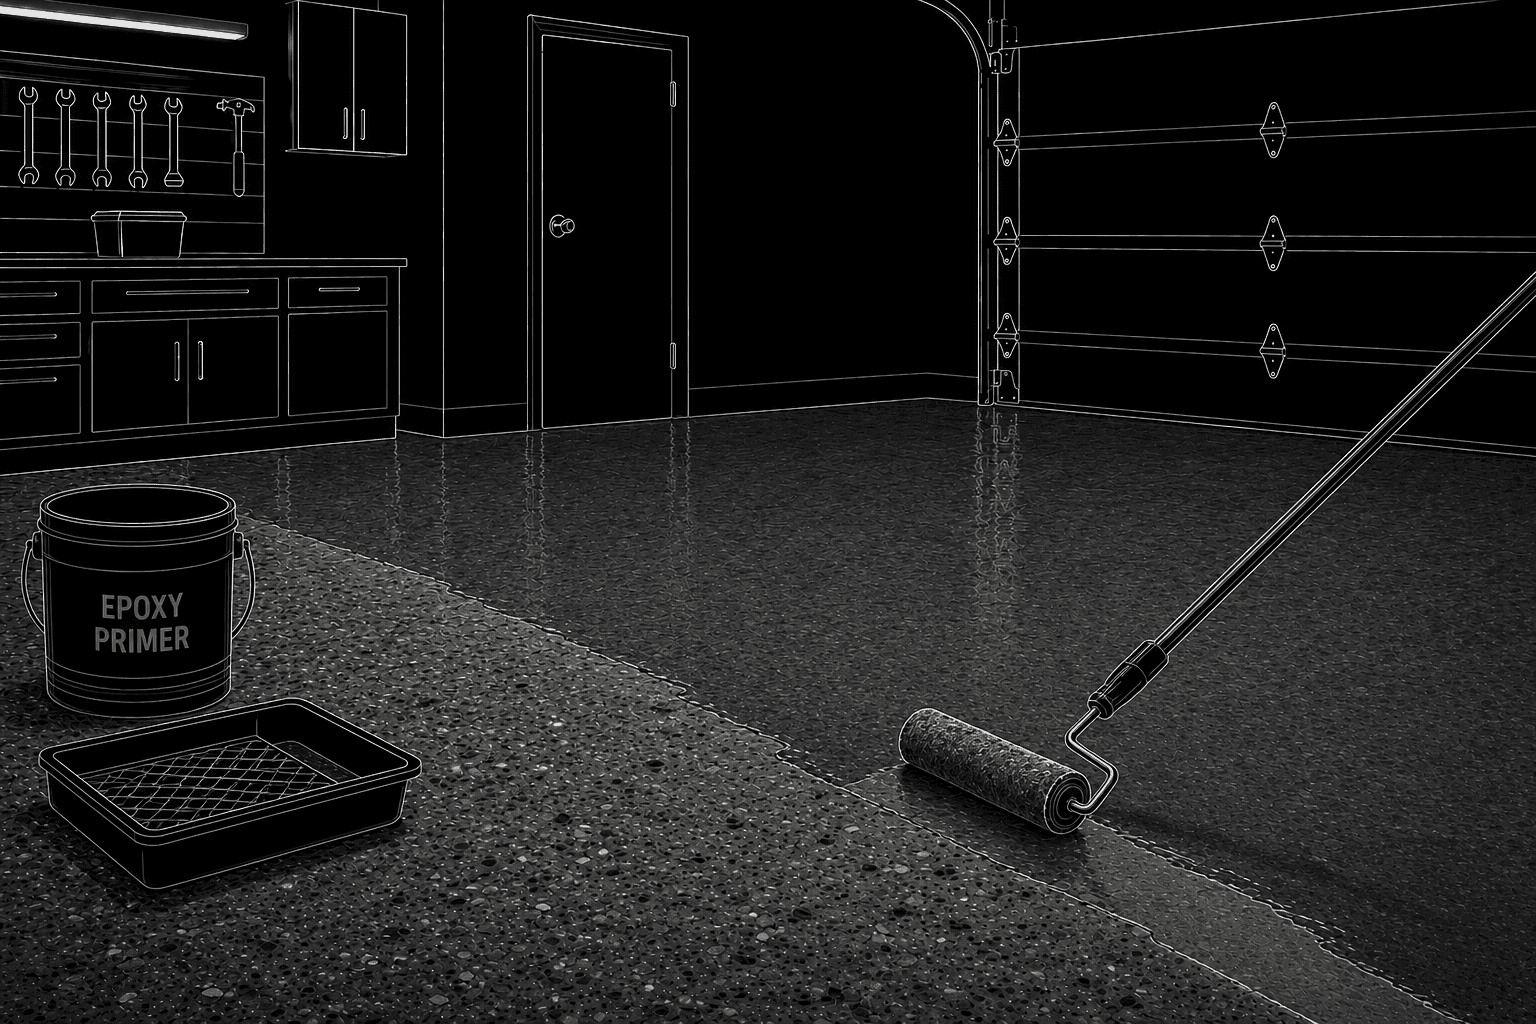
Once the concrete is properly prepared, we apply a high-quality epoxy primer. This seals the surface, improves adhesion, and creates a consistent foundation for the colored epoxy system.
Epoxy Mixing
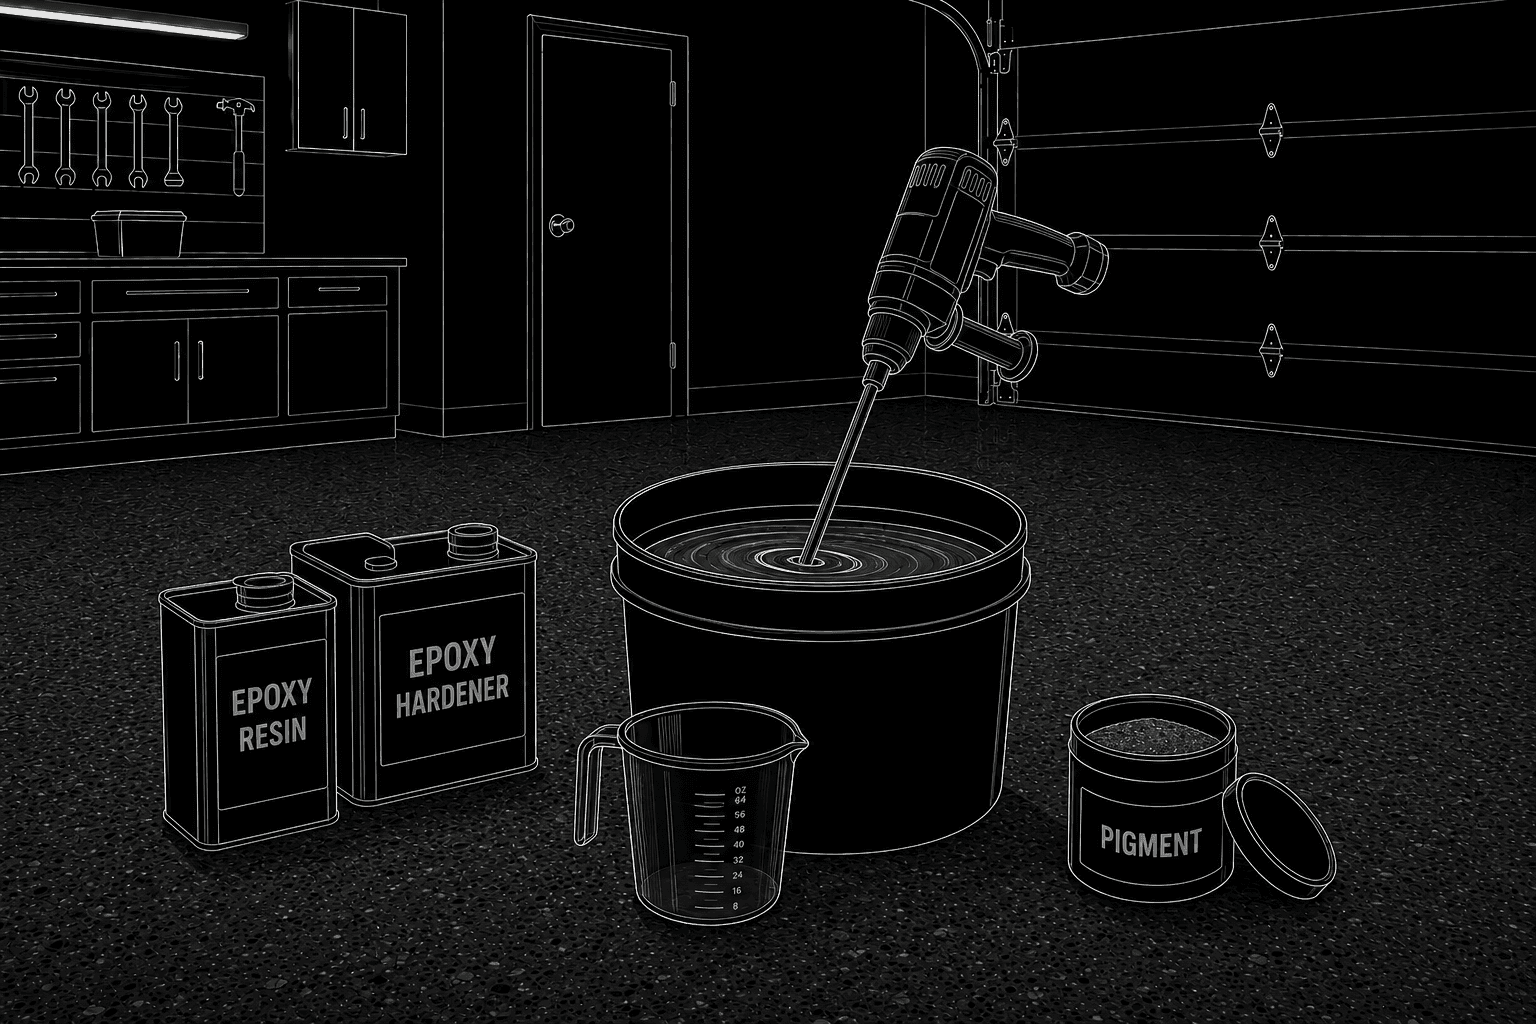
Before application, we carefully combine the resin, hardener, and selected pigment in precise proportions. This ensures the epoxy cures properly and produces a smooth, consistent, and vibrant color throughout the entire floor.
Epoxy Application
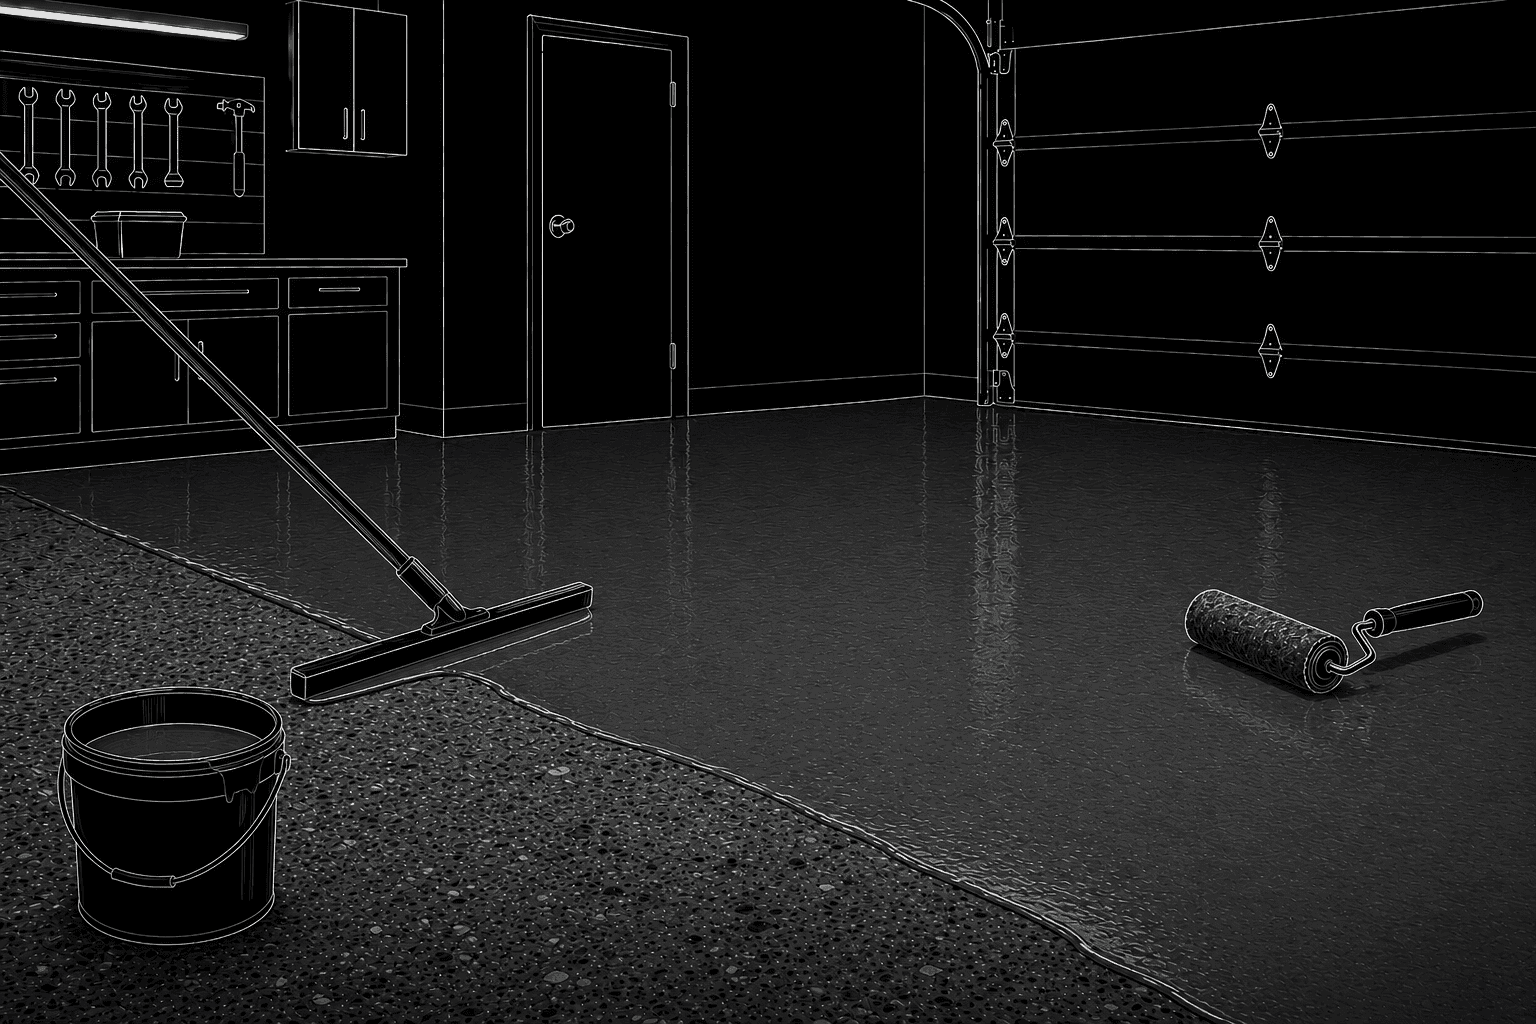
We then apply the colored epoxy evenly across the prepared surface using professional squeegees and rollers. The coating is carefully distributed to create a smooth and uniform finish, and when additional thickness or durability is needed, we apply a second coat.
Final Curing
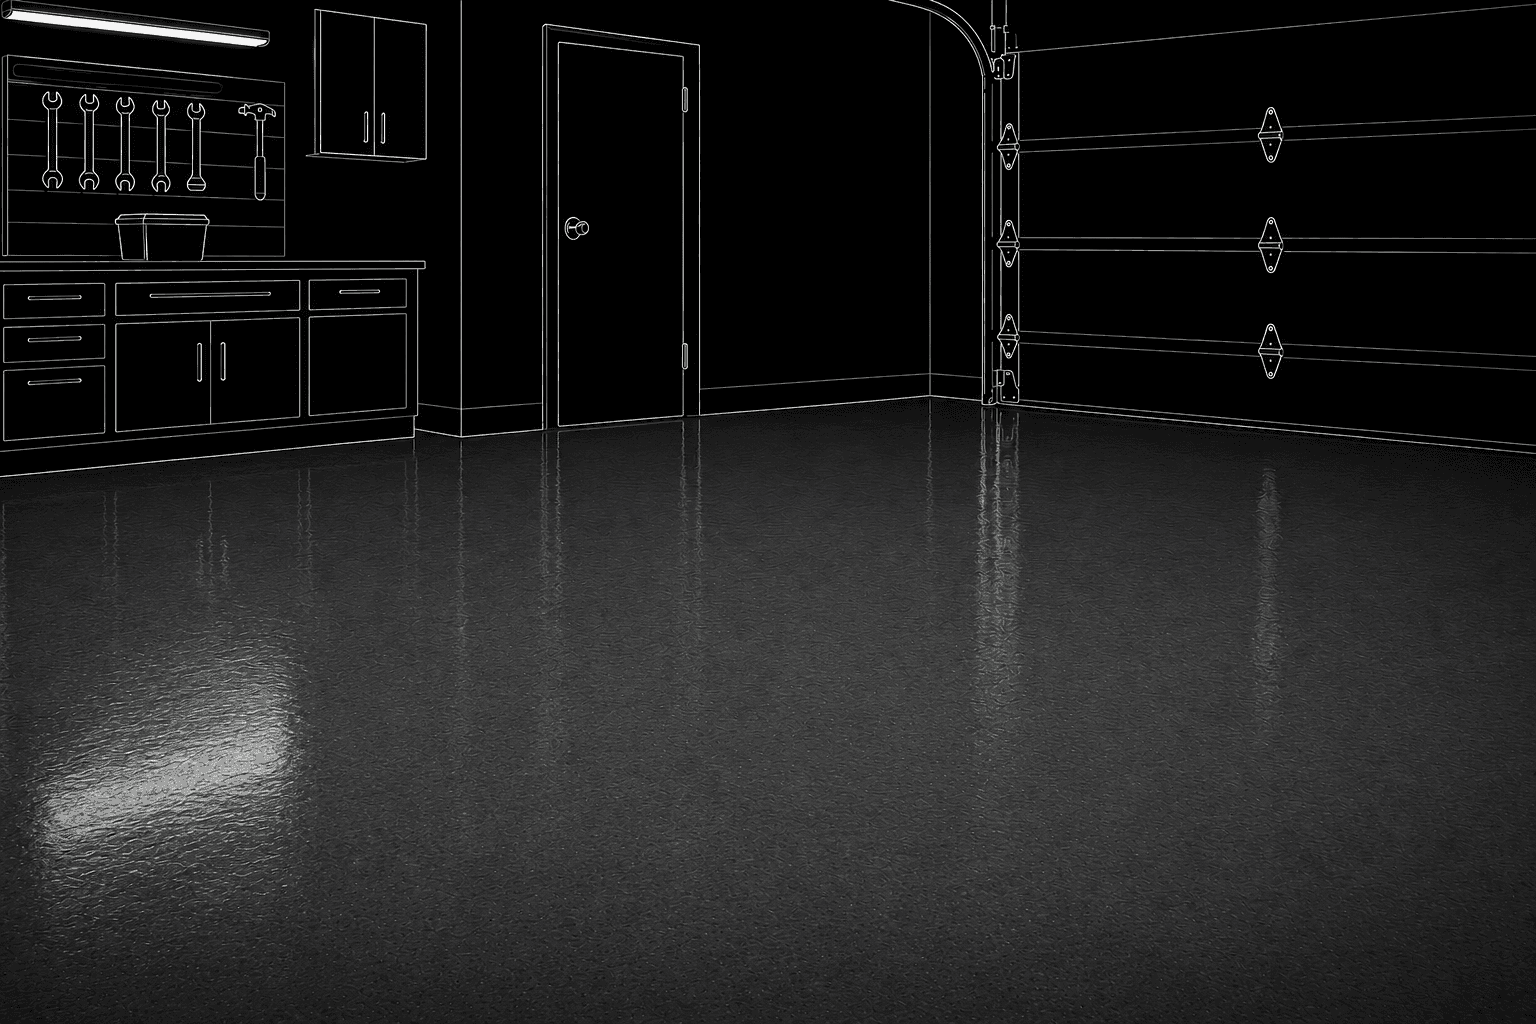
After the epoxy has been applied, we allow the floor to cure completely. During this time, the coating develops its final hardness, strength, and durability, creating a solid surface designed to withstand everyday use for years.